Sign In
Upload
Download
Table of Contents
Contents
Add to my manuals
Delete from my manuals
Share
URL of this page:
HTML Link:
Bookmark this page
Add
Manual will be automatically added to "My Manuals"
Print this page
×
Bookmark added
×
Added to my manuals
Manuals
Brands
J&M Manuals
Tractor Accessories
1520
Operator's manual
J&M 1520 Operator's Manual
Grain cart
Hide thumbs
1
2
Table Of Contents
3
4
5
6
7
8
9
10
11
12
13
14
15
16
17
18
19
20
21
22
23
24
25
26
27
28
29
30
31
32
33
34
35
36
37
38
39
40
41
42
43
44
45
46
47
page
of
47
Go
/
47
Contents
Table of Contents
Troubleshooting
Bookmarks
Table of Contents
Table of Contents
To the Dealer
General Information
Specifications
Bolt Torque Chart
Safety Rules
Decals
Operating Instructions
Lubrication Schedule
Troubleshooting
Storage Preparation
Repair Parts
Advertisement
Quick Links
1
Specifications
Download this manual
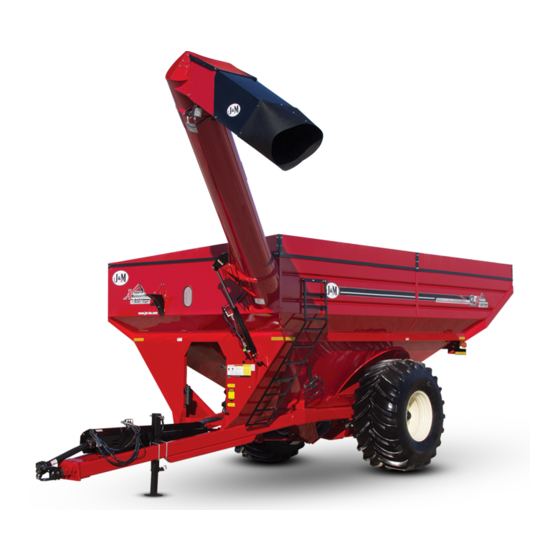
OPERATORS MANUAL
1520
1410
1310
1220
1120
1110
1010
810
J. & M. Mfg. Co., Inc.
284 Railroad Street - P .O. Box 547
Fort Recovery, OH 45846
Ph: (419) 375-2376 Fax: (419) 375-2708
www.jm-inc.com
Table of
Contents
Previous
Page
Next
Page
1
2
3
4
5
Advertisement
Table of Contents
Need help?
Do you have a question about the 1520 and is the answer not in the manual?
Ask a question
Questions and answers
Related Manuals for J&M 1520
Tractor Accessories J&M 1010 Operator's Manual
Grain cart (47 pages)
Tractor Accessories J&M 4WS17 Operator's Manual
Header transport for jdc hd & rd header (33 pages)
Tractor Accessories J&M Hydraulic Talc Manual
Talc applicator (19 pages)
Tractor Accessories J&M Nitro Gro 6018 Manual
(74 pages)
Tractor Accessories J&M 250-7S Operator's Manual
(31 pages)
This manual is also suitable for:
1410
1310
1220
1120
1110
1010
...
Show all
810
Table of Contents
Print
Rename the bookmark
Delete bookmark?
Delete from my manuals?
Login
Sign In
OR
Sign in with Facebook
Sign in with Google
Upload manual
Upload from disk
Upload from URL


Need help?
Do you have a question about the 1520 and is the answer not in the manual?
Questions and answers