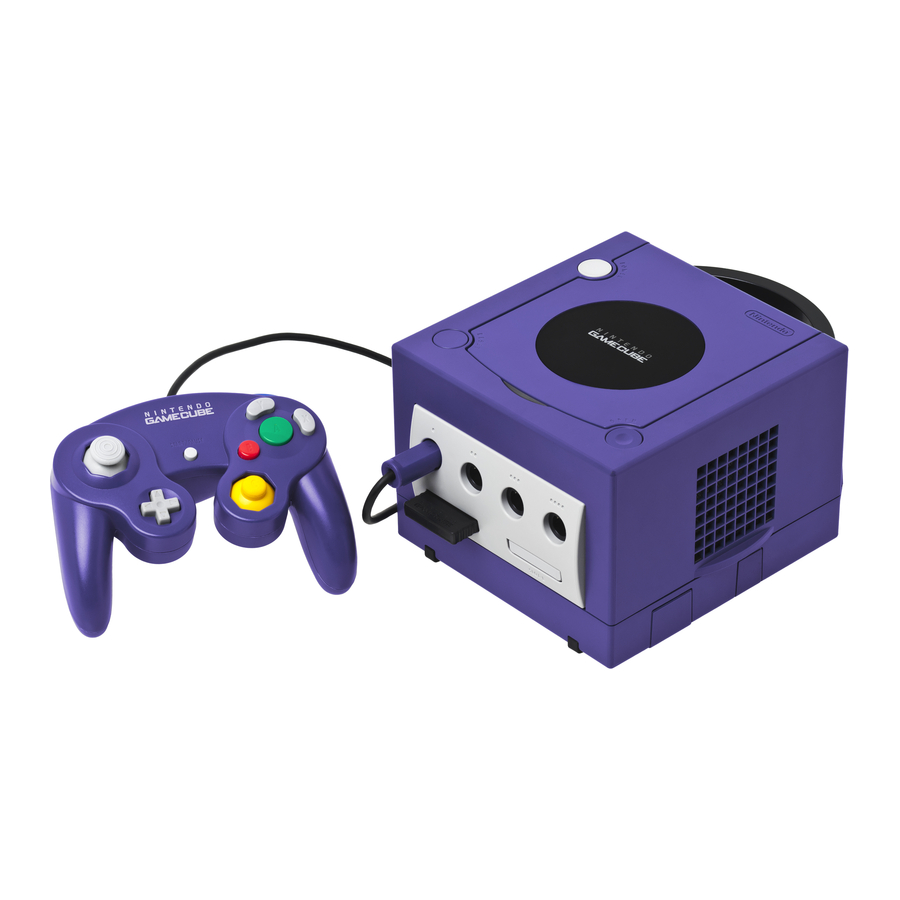
Nintendo GameCube Replacement Manual
Memory battery replacement
Hide thumbs
Also See for GameCube:
- Manuallines (16 pages) ,
- Instruction booklet (16 pages) ,
- Manual (10 pages)
Advertisement
Quick Links
Nintendo GameCube Console Memory Battery Replacement Guide
Nintendo GameCube Console Memory Battery Replacement Guide
Thank you for your purchase of a Nintendo GameCube console memory battery from Mortoff Games.
We appreciate your business and hope to serve you again in the future. This guide is intended to take
you through the steps involved in replacing your console's memory battery. If at any time you have
questions please feel free to contact us at
Things you will need
A 4.5mm security screw bit that is at least
A Philips head screw driver
A soldering iron
Soldering braid
Solder
Clean work area where small screws will not get lost
About 15 minutes of free time
Warning
When dealing with solder it is important to realize that when vaporizing the material you are exposing
yourself to gaseous forms of the material the solder is composed to. Some of these are harmful to living
creatures. We recommend that you use a gas hood for all soldering and wear proper eye and hand
protection at all time. If a gas hood is not available please solder in a well-ventilated area.
customerservice@mortoffgames.com
Page 1 of 10
Advertisement

Summary of Contents for Nintendo GameCube
- Page 1 Nintendo GameCube Console Memory Battery Replacement Guide Thank you for your purchase of a Nintendo GameCube console memory battery from Mortoff Games. We appreciate your business and hope to serve you again in the future. This guide is intended to take you through the steps involved in replacing your console’s memory battery.
- Page 2 The soldering iron will heat the braid and in turn the solder will liquefy, which will be sucked up by the braid. Please see picture one This is the inside of a Super Nintendo game cartridge. The soldering iron is...
- Page 3 Nintendo GameCube Console Memory Battery Replacement Guide Page 3 of 10 being sucked up you should periodically keep cutting off the used portion of the soldering braid and use fresh braid as needed. Soldering- Now that the solder has been removed you can now remove the object that the solder was holding in place and you are now ready to solder something new into place.
- Page 4 Nintendo GameCube Console Memory Battery Replacement Guide Page 4 of 10 Step One First please flip your Nintendo GameCube system over and locate the four 4.5mm security screw bits that are holding the casing together as seen in picture one below. 4.5mm security screw bits...
- Page 5 CR2032 Battery Picture Two: Inside of the Nintendo GameCube system In picture two above the CR2032 coin cell battery is indicated in picture two above. Simply take the controller port assembly and lift it out of the system. The controller port is attached by a small ribbon cable to the rest of the system.
- Page 6 Nintendo GameCube Console Memory Battery Replacement Guide Page 6 of 10 Step Three Now that the controller port has been detached you will notice two Philips screws on the controller port circuit board as noted in picture three below. Please unscrew them to release the plastic faceplate from the circuit board.
- Page 7 Nintendo GameCube Console Memory Battery Replacement Guide Page 7 of 10 Step Four Now that the faceplate is off the battery should be exposed as seen in picture four below. Now it is time to remove the battery using your soldering skills learned previously.
- Page 8 Nintendo GameCube Console Memory Battery Replacement Guide Page 8 of 10 Step Five We recommend that you insert the tabs into the holes and then bend the tabs as seen in picture five below. This will not only keep the battery in place, although will make the solder joint stronger. Please make sure that you are inserting the positive battery terminal into the positive terminal on the circuit board and vice versa.
- Page 9 Nintendo GameCube Console Memory Battery Replacement Guide Page 9 of 10 Step Six Now that the terminals are soldered on your circuit board should look something like picture six below. Picture Six: Proper terminal soldering Notice how the terminals have enough solder on them to make a firm connection, although not so much that it bridges to solder joints? This is what you are aiming for.
- Page 10 Nintendo GameCube Console Memory Battery Replacement Guide Page 10 of 10 Troubleshooting Guide We are sorry to hear that everything didn’t go as planned; although this section of the guide is intended to help you troubleshoot and hopefully repair the problem you are experiencing. If you have other questions please email us at customerservice@mortoffgames.com...


Need help?
Do you have a question about the GameCube and is the answer not in the manual?
Questions and answers