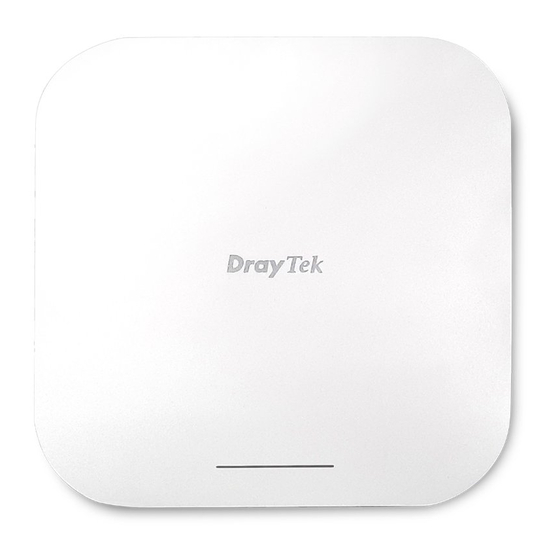
Summary of Contents for Draytek VigorAP 1060C
- Page 1 VigorAP 1060C 11ax Ceiling AP Quick Start Guide Version: 1.0 Firmware Version: V1.3.0 (For future update, please visit DrayTek web site) Date: July 9, 2020...
- Page 2 Intellectual Property Rights (IPR) Information © All rights reserved. This publication contains information that is protected Copyrights by copyright. No part may be reproduced, transmitted, transcribed, stored in a retrieval system, or translated into any language without written permission from the copyright holders. The following trademarks are used in this document: Trademarks Microsoft is a registered trademark of Microsoft Corp.
- Page 3 Declaration of Conformity Hereby, DrayTek Corporation declares that the radio equipment type VigorAP 1060C is in compliance with Directive 2014/53/EU. The full text of the EU declaration of conformity is available at the following internet address: http://www.draytek.com.tw/ftp/VigorAP 1060C/Document/CE/ Manufacturer: DrayTek Corp.
- Page 4 Company name ABP International Inc. Address 13988 Diplomat Drive Suite 180 Dallas TX 75234 USA Local Representative ZIP Code 75234 E-mail rmesser@abptech.com Contact Person Mr. Robert Messer Tel. 19728311600 Caution Any changes or modifications not expressly approved by the grantee of this device could void the user's authority to operate the equipment.
-
Page 5: Table Of Contents
1. Package Content ....................1 2. Panel Explanation ....................2 3. Installation ......................3 3.1 Ceiling-mount Installation (Wooden Ceiling) ................3 3.2 Ceiling-mount Installation (Plasterboard Ceiling) ............... 4 3.3 Suspended Ceiling (Lightweight Steel Frame) Installation ............5 3.4 Wall-Mounted Installation ......................6 4. -
Page 6: Package Content
Take a look at the package content. If there is anything missed or damaged, please contact DrayTek or dealer immediately. VigorAP 1060C Main Unit Quick Start Guide 15/16" and 9/16" Mount Base Fixings and Screws (for ceiling mounting) (for ceiling mounting) -
Page 7: Panel Explanation
Power Jack Ethernet Port Factory (DC IN) Reset Security Hole Status Explanation On (Blue) The system is in boot-loader mode. The system is not ready or fails. Blinking(Blue) The system is in TFTP mode. The system is not ready or fails. Blinking(Blue) The system is ready and can work normally. -
Page 8: Installation
VigorAP can be installed under certain locations: wooden ceiling, plasterboard ceilings, light-weighted steel frame and wall. Determine where the Access Point to be placed and mark location on the surface for the two mounting holes. Use the appropriate drill bit to drill two holes in the markings and hammer the bolts into the openings. -
Page 9: Ceiling-Mount Installation (Plasterboard Ceiling)
Place the Mount Base under the plasterboard ceiling and fasten two turnbuckles firmly. Make the screws pass through the Mount Base and insert into the turnbuckles. Fasten them to offer more powerful supporting force. When the Mount Base is in place, slide the mount base into the slot of the... -
Page 10: Suspended Ceiling (Lightweight Steel Frame) Installation
You cannot screw into ceiling tiles as they are weak and not suitable for bearing loads. Your VigorAP is supplied with mounts (Mount Base) which will be used to attach directly to the ceiling frame of your suspended ceiling. Slide the mount base into the slot of the AP. Hold the Access Point with one hand to reach the other hand over the T-Rail sides of the bracket. -
Page 11: Wall-Mounted Installation
For wall-mounting, the VigorAP has keyhole type mounting slots on the underside. Use the appropriate drill bit to drill two 8.1mm diagram and 26mm depth holes in the markings and hammer the bolts into the openings. Screw the anchors unto the holes until they are flush with the wall; screw the included screws into the anchors. -
Page 12: Connection And Configuration
Access into the web user interface of Vigor router. Here we take Vigor2865 as an example. Open Central Management>>AP>>Status. Locate VigorAP 1060C. Click the IP address assigned by Vigor router to access into web user interface of VigorAP 1060C. After entering the username and password (admin/admin), the main screen... -
Page 13: Web Configurations
As a mesh node, settings related to VigorAP 1060C must be configured by a remote Mesh Root (e.g., VigorAP 903) within the mesh network. The user must detect VigorAP 1060C via a Mesh Root to add it as a mesh node. - Page 14 You may either simply set up your computer to get IP dynamically from the router or set up the IP address of the computer to be in the same subnet as the IP address of VigorAP 1060C. If there is no DHCP server on the network, then VigorAP ...
- Page 15 (c) Follow the on-screen steps to finish the network connection. Method 2: (a) Use a mobile phone to scan the QR code named with DrayTek Wireless App to download DrayTek Wireless APP. (b) After downloading, run the APP. (c) Click Quick Start Wizard. Next, scan the QR code named with Connect SSID.
-
Page 16: Customer Service
If the device cannot work correctly after trying many efforts, please contact your dealer/DrayTek for further help right away. For any questions, please feel free to send e-mail to “support@draytek.com”. Web registration is preferred. You can register your Vigor router via http://www.draytek.com.


Need help?
Do you have a question about the VigorAP 1060C and is the answer not in the manual?
Questions and answers