Advertisement
Quick Links
Advertisement

Related Manuals for Envoy En2 CX2


Summary of Contents for Envoy En2 CX2
- Page 1 User Guide for CX2 Receiver...
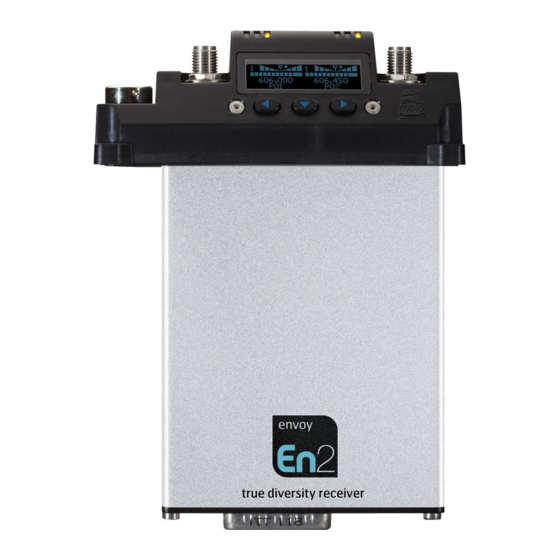
- Page 2 The CX2 receiver is designed to be fitted into the receiver slot in the professional Panasonic or Sony cameras. Fit the CX2 receiver into the appropriate slot of the camera taking care to align the D-type plug on the bottom of the CX2 receiver with the internal D-type socket of the slot. Push the receiver home firmly, but gently.
- Page 3 Frequency selection mode (P = PRESET, U = USER, TUNE = TUNE mode). Selected channel number (PRESET or USER modes only). AF ‘overload’ indicator (NOT TX overload status). When used in the internal slot of the Panasonic and Ikegami camcorders both audio channels are available through the d-type connection on the bottom of the receiver.
- Page 4 To choose a particular output setting, use the left or right arrow to highlight the desired value. To confirm this choice, press the middle button. The display will return to the main menu. Typically most cameras expect to see the level set to -12dB, or -24dB. Accessing the Options menu To access the Options menu, use the left or right arrow to highlight the Options icon and press the middle button.
- Page 5 Freq Mode To change the frequency mode of the receiver, use the left or right arrow to highlight the Freq Mode icon. Press the middle button to confirm this. To select a particular frequency mode, use the left or right arrow to highlight the desired frequency mode.
- Page 6 To choose a particular RX Power, use the left or right arrow to highlight the desired value. To confirm this choice, press the middle button. The display will return to the options menu. Display To change the brightness or screensaver settings, use the left or right arrow to highlight the Display icon.
- Page 7 Lock To choose to lock the receiver, use the right or left arrow to highlight the Lock icon. Once highlighted, press the middle button. By confirming Yes, the receiver will be locked and the ‘Options’ menu will automatically be displayed. To unlock the receiver, use the left or right arrow to highlight the ‘Unlock’...
- Page 8 If on entering the Restore menu you decide not to restore the original settings, press the down button once ‘No’ is highlighted. The display will return to the options menu. Scan The Scan feature in the En2 receivers is a very useful tool to allow the user to be able to scan the stored frequencies in order to avoid any local interference.
- Page 9 When the receiver detects no activity on any channel in ‘Free’ mode or detects a valid transmission in ‘TX’ mode, it will halt the scan. To resume scanning move the nav- switch left or right. Press to accept the channel where the scan has stopped. The screen will change to display the set or cancel screen.
- Page 10 Once the info button is highlighted, press and hold the middle button to view the information for: Serial number, Firmware Revision, Frequency table respectively.
- Page 11 CX2 Technical specification 470 – 865MHz (specify at time of order) Frequency range Switching bandwidth Up to 80MHz (typical) in 25kHz steps Number of audio channels 2 (can be operated individually if required) Receiver type True-diversity Tracking filters Front end digitally controlled tracking filters Number of frequency tables Up to 10...
Need help?
Do you have a question about the En2 CX2 and is the answer not in the manual?
Questions and answers