Garmin EchoMap ULTRA Series Installation Instructions
Hide thumbs
Also See for EchoMap ULTRA Series:
- Installation instructions (4 pages) ,
- Owner's manual (132 pages) ,
- Owner's manual (52 pages)
Advertisement
Quick Links
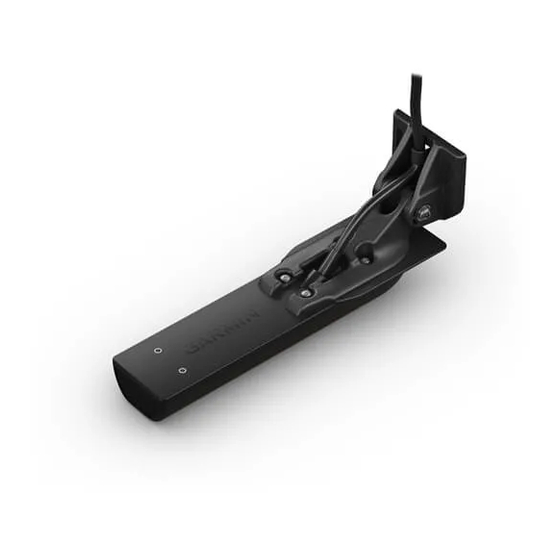
GT36UHD/GT56UHD
TRANSDUCERS
INSTALLATION
INSTRUCTIONS
Important Safety Information
See the Important Safety and Product Information guide in the
chartplotter or fishfinder product box for product warnings and
other important information.
You are responsible for the safe and prudent operation of your
vessel. Sonar is a tool that enhances your awareness of the
water beneath your boat. It does not relieve you of the
responsibility of observing the water around your boat as you
navigate.
Failure to install and maintain this equipment in accordance with
these instructions could result in damage or injury.
To avoid possible personal injury, always wear safety goggles,
ear protection, and a dust mask when drilling, cutting, or
sanding.
When drilling or cutting, always check what is on the opposite
side of the surface to avoid damaging the vessel.
To obtain the best performance and to avoid damage to your
boat, you must install the Garmin
instructions.
Read all installation instructions before proceeding with the
installation. If you experience difficulty during the installation, go
to
support.garmin.com
for more information.
Software Update
You must update the Garmin chartplotter software when you
install this device. For instructions on updating the software, see
your chartplotter owner's manual at support.garmin.com.
Tools Needed
• Number 2 Phillips screwdriver
Transom mount
• Drill
5
• Drill bits: 4 mm (
/
in.), 3.2 mm (
32
• Masking tape
• Marine sealant
Trolling motor mount
• Waterproof tape
Mounting Considerations
To ensure peak performance with the lowest noise and
interference, you should route the transducer cable away from
ignition wires, house batteries and wires, trolling motor batteries
and wires, and high-energy wires such as radar, audio amplifier,
and autopilot pump wires.
October 2020
WARNING
CAUTION
NOTICE
device according to these
®
1
/
in.), 25 mm (1 in.)
8
If your transducer cable is not long enough to reach the
chartplotter, you can add an extension cable (Garmin part
number 010-11617-42 or 010-11617-32, not included). To avoid
signal degradation, do not extend the cable more than 9 m (30
ft.).
Preparing the Transducer for Long-Term Exposure to
Water
Do not use acetone or acetone-based products on the
transducer. Acetone damages the plastic transducer housing.
When you install a transducer on a boat that spends a
significant amount of time in the water, you should coat the
transducer and mounting hardware with a water-based anti-
fouling paint to prevent marine growth.
1
Lightly sand the transducer and mounting hardware with a
fine-grit abrasive pad.
2
Wipe the transducer and mounting hardware with isopropyl
alcohol.
3
Apply water-based anti-fouling paint to the transducer and
mounting hardware.
Installing the Transducer on a Transom
Mounting Location Considerations
• The transducer should be mounted parallel to the water line
.
• The transducer should extend 3.5 mm (0.125 in.) below a
fiberglass hull or 10 mm (0.375 in.) below an aluminum hull
.
• On boats with outboard or inboard/outboard motors, the
transducer should be mounted as close to the centerline of
the transom as possible but at least 38 cm (15 in.) from the
propeller
.
• If your propeller moves clockwise when the boat moves, the
transducer should be mounted on the starboard side (right
side when facing forward).
• If your propeller moves counter-clockwise when the boat
moves, the transducer should be mounted on the port side
(left side when facing forward).
• The transducer should not be mounted behind strakes, struts,
fittings, water intake or discharge ports, or anything that
creates air bubbles or causes the water to become turbulent.
GUID-24516B07-7980-45F4-972C-79F74FE21812 v1
NOTICE
Advertisement

Related Manuals for Garmin EchoMap ULTRA Series


Summary of Contents for Garmin EchoMap ULTRA Series
- Page 1 If your transducer cable is not long enough to reach the chartplotter, you can add an extension cable (Garmin part GT36UHD/GT56UHD number 010-11617-42 or 010-11617-32, not included). To avoid signal degradation, do not extend the cable more than 9 m (30 TRANSDUCERS ft.).
- Page 2 The transducer must be in clean (non-turbulent) water for optimal performance. • On single-drive boats, the transducer must not be mounted in the path of the propeller. The transducer can cause cavitation that can degrade the performance of the boat and damage the propeller. •...
- Page 3 Place the cable-entry cover over the hole and the cable, with the opening pointing downward, and mark the location of the two pilot holes. Before tightening the screws, route the cable inside the mount to a cable exit. The trolling motor mount is designed with multiple cable exits. You should use a cable exit that allows the cable to be on the Remove the cable-entry cover, and, using a 3.2 mm ( in.)
- Page 4 Appendix trademarks of Garmin Ltd. or its subsidiaries. These trademarks may not be used without the express permission of Garmin. Specifications All models Dimensions (L x W x H) 197.9 x 38.2 x 23.1 mm (7.8 x 1.5 x 0.9 in.) Operating temperature range From 0°...