Advertisement
24Vdc
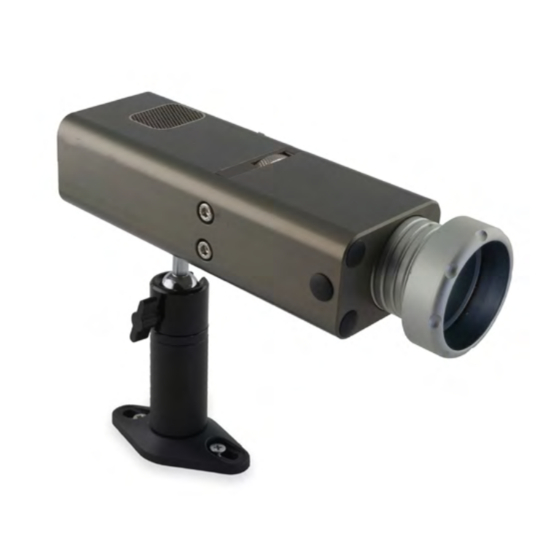
EVICA EP40 24VDC LED EFFECTS PROJECTOR
Contents
Safety instructions and precautions
Guarantee
Specification
Model:
Supply:
Mounting:
Ingress protection:
Maximum operating temp. :
Safety instructions and precautions
• Follow these instructions carefully to ensure the safe and reliable operation of this product.
• Retain this sheet for future reference.
• Never look directly into the beam or shine in anyone's eyes.
• Do not block the ventilation inlets or outlets on the unit.
• Ensure that there is sufficient ventilation around the unit, recommended minimum 1m².
• No user serviceable parts inside.
• Use only approved accessories.
• Do not use this device in the presence of flammable or oxygen rich atmospheres.
• To prevent injury, this apparatus must be securely attached to the ceiling/wall.
Installation
Prior to mounting the unit, please refer to the distance/spot size charts below & framing guide to achieve
the required image size.
Narrow Lens
1m
2m
3m
4m
17°
Distance
Attach the projector to mount bracket but screwing the ¼" stud on top of ball joint into the threaded hole
in top of projector. Place washer against projector, then nut and screw into place until tight. Lock by
tightening nut against projector housing.
Light Projects 23 Jacob St London SE1 2BG Tel +44 (0)20 7231 8282
Website www.lightprojects.co.uk Email info@lightprojects.co.uk
5371xx EP40
24Vdc 1.9A – Use only with approved 24VDC power supply provided
Suitable for direct mounting on normally flammable surfaces.
IP20 - Designed for indoor use only and should not come into contact
with water or excessive dust.
43° Celsius – Not for use in hot locations or in direct sunlight
Medium Angle Lens
0.30m
1m
0.60m
2m
0.90m
3m
1.20m
4m
25°
Diameter
Distance
Wide Angle Lens
0.44m
1m
0.89m
2m
1.33m
3m
1.77m
4m
32°
Diameter
Distance
0.57m
1.14m
1.71m
2.28m
Diameter
pg 1
Advertisement
Table of Contents

Summary of Contents for Light Projects EVICA EP40
- Page 1 Place washer against projector, then nut and screw into place until tight. Lock by tightening nut against projector housing. Light Projects 23 Jacob St London SE1 2BG Tel +44 (0)20 7231 8282 pg 1 Website www.lightprojects.co.uk Email info@lightprojects.co.uk...
- Page 2 6. To reposition the projector, loosen the butterfly screw, position as desired and tighten the butterfly screw to fix into position. Light Projects 23 Jacob St London SE1 2BG Tel +44 (0)20 7231 8282 pg 2 Website www.lightprojects.co.uk Email info@lightprojects.co.uk...
- Page 3 6. Moving side blades may move top & bottom ones as well, so set (1) and (2) first and then (3) and (4). Figure 3 Figure 4 Figure 5 Light Projects 23 Jacob St London SE1 2BG Tel +44 (0)20 7231 8282 pg 3 Website www.lightprojects.co.uk Email info@lightprojects.co.uk...
- Page 4 Any labour or postage costs associated with the removal, replacement or reassembly of the product are not covered under the guarantee. Normal wear and tear and maintenance are not covered under the guarantee. Light Projects 23 Jacob St London SE1 2BG Tel +44 (0)20 7231 8282 pg 4 Website www.lightprojects.co.uk Email info@lightprojects.co.uk...
- Page 5 If 0-10V signal is diconnected, the LED with come on at full output. With dimmer connected, adjust dimmer to achieve desired intensity. Light Projects 23 Jacob St London SE1 2BG Tel +44 (0)20 7231 8282 pg 5 Website www.lightprojects.co.uk Email info@lightprojects.co.uk...


Need help?
Do you have a question about the EVICA EP40 and is the answer not in the manual?
Questions and answers