Table of Contents
Advertisement
Quick Links
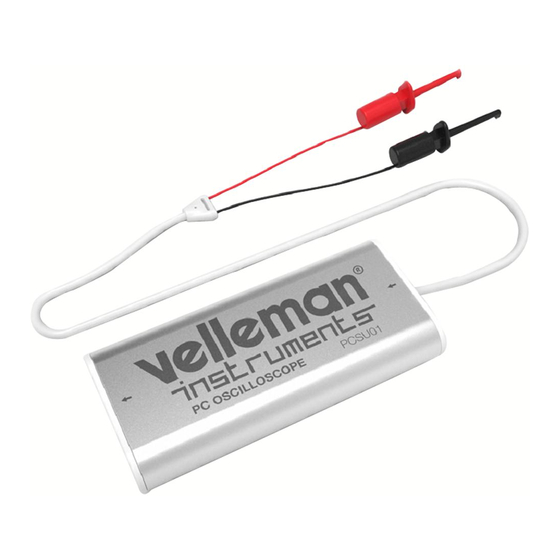
MINI PC SCOPE PCSU01
User manual
F e a t u r e s
test leads
software download
USB cable
design enclosure
S p e c i f i c a t i o n s
oscilloscope:
o
bandwidth: DC to 200 kHz ± 3 dB
o
input impedance: 100 kO / 20 pF
o
maximum input voltage: 30 V (AC + DC)
o
time base: 10 µs to 500 ms per division
o
input range: 100 mV to 5 V/division
o
input sensitivity: 3 mV display resolution
readouts: true RMS, dBV, dBm, p to p, Duty cycle, Frequency...
o
o
record length: 1k samples
o
sampling frequency: 62.5 Hz to 1.5 MHz
o
sample history function
o
auto set-up function
o
pre-trigger function: on 0.1 ms/div .. 500 ms/div ranges
o
persistence options: colour graded, Variable and Infinite
spectrum analyser:
o
frequency range: 0 .. 150 Hz to 75 kHz
o
operating principle: FFT (Fast Fourier Transform)
o
FFT resolution: 512 lines
transient recorder:
o
timescale: 20 ms/div to 2000 s/div
o
max. recording time: 9.4 h/screen
o
automatic storage of data
o
record and display of screens
o
max. number of samples: 100/s
o
min. number of samples: 1 sample/20 s
general information:
o
markers for: amplitude/voltage and frequency/time
o
input coupling: DC and AC
o
8 bit resolution
o
storage of display and data
o
dimensions: 85 x 40 x 14 mm
minimum system requirements:
o
Windows® XP, Vista, 7, 8, 10
o
mouse (or mouse pad)
o
free USB port 1.1 or 2.0
Software installation
Download the latest software version from
Type PCSU01 in the search box and check the download section.
• Download the PCSU01_setup.zip file
• Unzip the files in a folder on your drive
• Double click the "setup.exe" file
An install wizard will guide you through the complete installation
www.velleman.eu.
1
Advertisement
Table of Contents

Related Manuals for Velleman PCSU01


Summary of Contents for Velleman PCSU01
- Page 1 Software installation Download the latest software version from www.velleman.eu. Type PCSU01 in the search box and check the download section. • Download the PCSU01_setup.zip file • Unzip the files in a folder on your drive • Double click the “setup.exe” file...
- Page 2 This product is guaranteed against defects in components and construction from the moment it is purchased and for a period of ONE YEAR starting from the date of sale. This guarantee is only valid if the unit is submitted together with the original purchase invoice. VELLEMAN Ltd. limits its responsibility to the reparation of defects or, as VELLEMAN Ltd.
-
Page 3: The Oscilloscope Module
The Oscilloscope module What ? :The Oscilloscope module offers a feature-packed, easy to use digital storage oscilloscope. How ? : • Connect the circuit under test to the scope input (observe the max. input rating of the scope!). • Start measuring with “trigger off” (5). •... - Page 4 The Spectrum Analyzer Module What?: Powerful feature which allows visualization of the frequency spectrum of a signal, using FFT (Fast Fourier Transform) analysis. How?: • Connect the scope input to the circuit under test. (observe the max. input rating of the scope!). •...
-
Page 5: The Transient Recorder Module
The Transient Recorder Module What?: Record occasional events and log slow changing processes automatically, e.g. battery charge cycles, temperature changes,... or track intermittent faults in electronic circuits. Automatic data storage allows over one year of continuous recording! How?: • Connect the scope input to the circuit under test. •... -
Page 6: Oscilloscope Mode
Controls Oscilloscope mode VOLTS/DIV Selected value indicates the peak-to-peak voltage required to produce a peak-to-peak deflection of one major division on the screen. Coupling AC: the input signal is capacitive coupled to the input amplifier/attenuator. Only the AC components are measured. -
Page 7: Spectrum Analyzer Mode
Sets the frequency range of the display. Menu options File menu Note: Default folder Documents\My PCSU01 for image and data files is created when the program is run for the first time. Open Image Opens an image file and displays it on the screen. -
Page 8: Options Menu
Exit Terminates the program. Restore Default Settings & Exit Use this option to restore all values to their default factory settings. The calibration values will be reset. Use this option if the oscilloscope's calibration fails repeatedly. Note: Software reinstallation does not reset the oscilloscope settings - you have to use this menu option to restore default settings. -
Page 9: View Menu
Calibrate Makes the oscilloscope calibration and saves the calibration values to the PCSU01.INI file. This option performs following operations: 1. The fine adjustment of the trace Y-position (offset) on different Volt/Div and Time/Div scales. 2. Sets the trace labels (on the left side of the screen) to correspond the trace GND level. -
Page 10: Troubleshooting
Move the markers • Place the mouse pointer over a dashed marker line. • Press and hold the left mouse button. • The marker line turns solid. • Drag the marker to the appropriate position. Add comment text on the signal screen For explanation and documentation, each measurement can be supplied with a comment text.
Need help?
Do you have a question about the PCSU01 and is the answer not in the manual?
Questions and answers