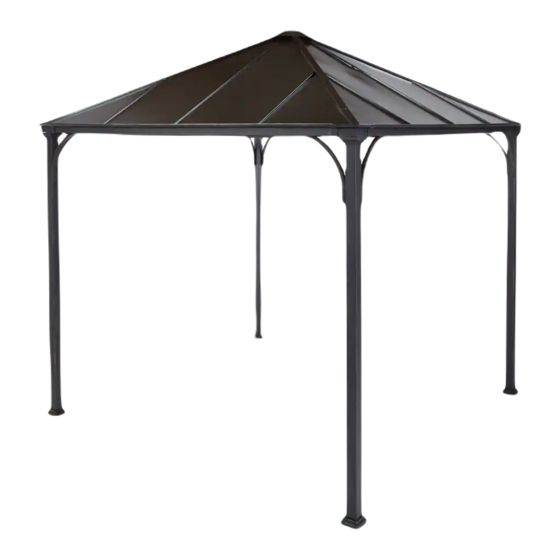
Summary of Contents for for Living Dayton
- Page 1 Dayton Hard-top Gazebo Model No. 088-1634-8 Assembly Instructions Toll-free: 1-877-483-6759 IMPORTANT: Please read this manual carefully before beginning assembly of this product. Keep this manual for future reference.
- Page 2 Table of Contents Important Safety Instructions Package Contents Assembly Cleaning and Maintenance Specifications Warranty Warning! To reduce the risk of serious injury, read the following safety instructions before assembling and using the gazebo. Caution! Always keep children under close supervision while they are playing near or in this product. Keep pets away while setting up the gazebo.
- Page 3 Product No. 088-1634-8 Caution! Post - 4 Top base - 4 • Proper placement of your gazebo is essential. Do not place the gazebo underneath electrical lines. • Keep children under close supervision while they are playing around this product. This Top bar - 4 Base - 4 product contains small parts which can be swallowed by children.
- Page 4 Product No. 088-1634-8 Step 3 Note: When using screws and nuts to assemble the product, always use a flat washer between the frames Requires 5, 12, A, B and the screw and/or nut. This will protect the parts from wear and tear. Connect one end of the slanting bars (5) to the alternate holes of the top plate connector (12) using bolt (A) and Step 1 washer (B).
- Page 5 Product No. 088-1634-8 Step 5 Step 7 Requires 4, 12, A, B Requires 5, 8, 9, B, F, H Connect one end of the middle bars (4) to remaining holes of the top plate connector (12) using bolts (A) and Connect one end of the short left bars (8) and short right bars (9) to the slanting bar (5) using bolt (F), washer (B) washers (B).
- Page 6 Product No. 088-1634-8 Step 9 Step 11 Requires 2, 8, 9, A, B Requires 18, 19, B, D Connect other end of the short left bars (8) and short right bars (9) to the top bar (2) using bolt (A) and washer (B). Insert the left top big panel (18) and the right top big panel (19) into the corresponding grooves of the top bar.
- Page 7 Product No. 088-1634-8 Step 13 Step 15 Requires 20, 21, B, D Requires 1, 15, 16 Insert the left top small panel (20) and the right top small panel (21) into the corresponding grooves of the top Insert the post (1) into the top base (16) and base cover (15). bar.
- Page 8 Product No. 088-1634-8 Step 17 Step 19 Requires 1, 3, A, B Requires 2, 7, B, F Attach the corner connector (3) to the post (1) using bolt (A) and washer (B). Attach the arc support (7) to the top bar (2) and post using bolt (F) and washer (B). Step 18 Step 20 Requires 1, 16, B, F...
- Page 9 Product No. 088-1634-8 Step 21 Caution! The gazebo is ready for use. • Check all screws and nuts periodically for tightness. Tighten them if required. • Disassemble the gazebo in the reverse order of the assembly steps. Always disassemble the gazebo completely. A partially disassembled gazebo is not stable enough to resist wind and bad weather, and therefore can be damaged and/or cause damage.
- Page 10 Product No. 088-1634-8 This For Living product carries a one (1) year limited warranty against defects in workmanship and materials. ™ Trileaf Distribution agrees to replace the defective product free of charge within the stated warranty period, when returned by the original purchaser with proof of purchase. This product is not guaranteed against wear...


Need help?
Do you have a question about the Dayton and is the answer not in the manual?
Questions and answers