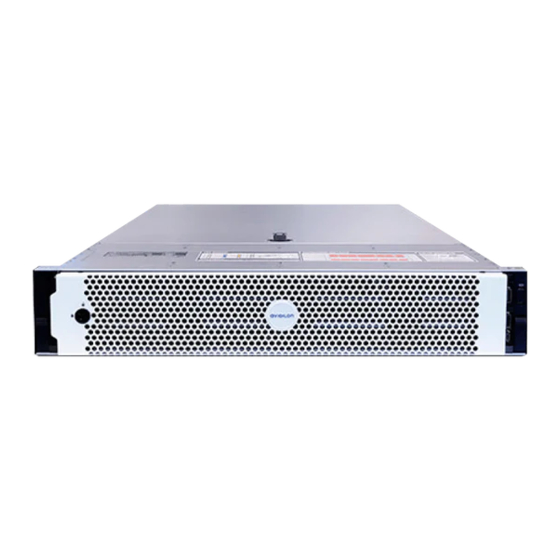
Summary of Contents for Motorola solutions avigilon NVR4 Series
- Page 1 NVR4 Storage Expansion Pack Installation Guide NVR4-HDDS-PACK-32TB NVR4-HDDS-PACK-16TB HD-NVR4X-STD HD-NVR4-STD...
- Page 2 © 2020, Avigilon Corporation. All rights reserved. AVIGILON and the AVIGILON logo are trademarks of Avigilon Corporation. Other product names mentioned herein may be the trademarks of their respective owners. The absence of the symbols ™ and ® in proximity to each trademark in this document is not a disclaimer of ownership of the related trademark.
-
Page 3: Table Of Contents
Table of Contents Introduction NVR and Hard Drive Compatibility Second ACC™ Storage Volume Configuration Required Components Drive Installation Front and Rear Drive Replacement Configuring the Extended Storage Verifying Extended Storage Configuration Initializing the Second Storage Volume Adding Extended Storage to the ACC System For More Information... -
Page 4: Introduction
Introduction This document is intended to guide Avigilon NVR customers through adding storage to their NVR4 system by setting up a second Avigilon Control Center (ACC) storage volume. NVR and Hard Drive Compatibility Storage Expansion Packs Compatible NVRs Additional Usable Storage NVR4-HDDS-PACK-32TB HD-NVR4-STD-32TB 32 TB... -
Page 5: Second Acc™ Storage Volume Configuration
Second ACC™ Storage Volume Configuration Required Components Avigilon NVR system Corresponding compatible NVR storage expansion pack. See NVR and Hard Drive Compatibility on the previous page. Drive Installation Front and Rear Drive Replacement 1. Press the release button to open the release handle for the hard drive carrier that is holding a hard drive blank. -
Page 6: Verifying Extended Storage Configuration
download the StorageExpansionNVR4STD zip file, from the following link: https://partners.avigilon.com/prm/api/objects/v1/asset/wfwjgmlp7cru/_download After you have downloaded the zip file, extract the contents to a convenient location on the NVR system. Now open the extracted files and locate the file called StorageExpansion .Right-click the StorageExpansion file and click Run as administrator. - Page 7 Figure 3: Security certificate prompt 3. Use your windows credentials to login to the Server Administrator portal. Figure 4: Server Administrator login 4. Use the navigation tree on the left-hand side to navigate to Storage > PERC XXXX > Virtual Disks. XXXX is the version of PERC controller.
-
Page 8: Initializing The Second Storage Volume
Figure 6: RAID created 6. If Storage 2 is not Ready, wait a few minutes and check again. 7. After Storage 2 is confirmed as Ready, navigate to the Alert Log (System > Logs > Alert) to check that the storage configuration initialization is complete, as shown in Figure Note: If RAID Initialization is not logged as complete after the Storage 2 state is confirmed as Ready, contact technical support for assistance completing the RAID Initialization. - Page 9 1. Use the Windows search menu to open Disk Manager. The second storage volume is labeled Disk 2. 2. Right-click Disk 2 and select Initialize Disk. Figure 8: Disk Manager 3. Select the default GPT partition style and click OK. Figure 9: Select partition type 4.
- Page 10 Figure 10: New Simple Volume 5. The New Simple Volume Wizard will open. Click Next to continue with the wizard. 6. When asked to set the volume size, leave the size set to its default setting and click Next. This will be the maximum storage size available in the new volume.
- Page 11 Figure 12: Assigning a drive letter 8. Configure the following settings on the Format Partition window and click Next: a. Select the Format this volume with the following settings option. b. Select NTFS from the File system drop-down list. c. Select Default from the Allocate unit size drop-down list. d.
-
Page 12: Adding Extended Storage To The Acc System
Figure 14: New storage volume appears under This PC Adding Extended Storage to the ACC System Note: The following steps are performed on your ACC Server and Admin Tool, not on the NVR. Adding Extended Storage to the ACC System... - Page 13 1. Open the ACC Admin Tool to start the process of adding the extended storage. 2. Shutdown your ACC server and wait for the process to finish. Once the server is shut down, your Admin tool window will look like Figure 15, below.
- Page 14 option will appear as shown in Figure 17, below. Figure 17: Add data volume 5. Click Add Data Volume. You will be prompted to select the size of this new volume. Leave the size set to the default size and click OK. Figure 18: Data volume size 6.
- Page 15 Figure 19: Start storage configuration 7. You may have to wait a few minutes while the ACC system configures the new volume. Figure 20: Wait for storage configuration 8. Once configuration is finished, you will see the new volume appear in the Storage tab of the ACC Admin tool as shown in Figure 20, below.
- Page 16 Figure 21: New storage volume configured 9. The new storage volume is now configured. You can restart the ACC Server. Adding Extended Storage to the ACC System...
- Page 17 Limited Warranty and Technical Support Avigilon warranty terms for this product are provided at avigilon.com/warranty. Warranty service and technical support can be obtained by contacting Avigilon Technical Support: avigilon.com/contact.
-
Page 18: For More Information
For More Information For additional product documentation and software and firmware upgrades, visit avigilon.com/support. Technical Support Contact Avigilon Technical Support at avigilon.com/contact. For More Information...


Need help?
Do you have a question about the avigilon NVR4 Series and is the answer not in the manual?
Questions and answers