Advertisement
Quick Links
Advertisement

Related Manuals for Portos ZF3000 C80


Summary of Contents for Portos ZF3000 C80
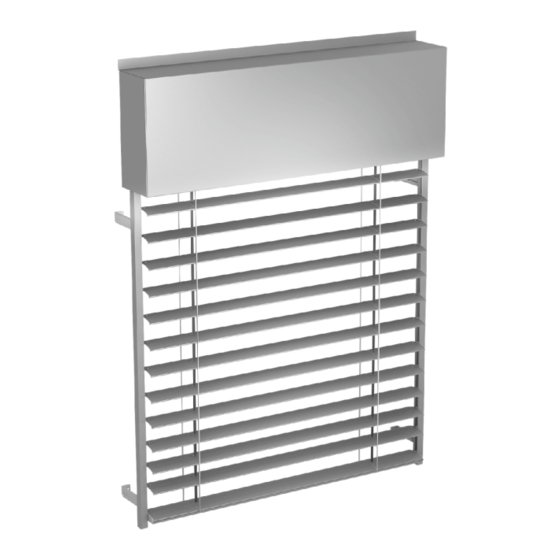
- Page 1 INSTRUCTIONS FOR INSTALLATION AND SERVICE OF ® ZF3000 EXTERNAL BLIND...
- Page 3 12 fi 8 1. Tools needed to install the external blind. The PORTOS company does not provide screws, dowels, cables for placing the electrical installation. INSTALLATION WITH GUIDES 2. In the case of dimensioning, the dimension smallest from the measurements taken is the right dimension.
- Page 4 3. The installation place of wall handles should not interfere 4. Screw the top rail handle to the mounted wall handle. with the proper functioning of the blind lifting and lowering mechanisms (crank, motor). The maximum distance between the handles should not exceed 800mm. 5.Install the top guide handles on the extreme edges of the 6.
- Page 5 11. Join the guide with the supplied crank by means of connecting and block the handle by tightening the grub screw. elements (provided by the PORTOS company) as in Figure 1. The maximum distance between the handles should Install the crank clip to the wall with screws (dowels).
- Page 6 19. Put the safety plate against the assembled structure in 20. Screw/ rivet the safety plate with the assembled sides to the pre-assembled wall handles with extensions. order to fit the elements precisely. Machining of the installed blind and guides must allow subsequent service access requiring the removal of the guides. INSTALLATION WITH A GUIDING CORD 2.
- Page 7 10. Join the guide with the supplied crank by means of connecting 9. Close the top rail handles and tighten the screws. elements (provided by the PORTOS company) as in Figure 1. Install the crank clip to the wall with screws (dowels).
- Page 8 13. The cord with the stop ring should be run through the 14. Adjust the position of the cord guide handle on the top rail spring and the hole in the cord guide handle installed in the in such a way that the guiding cord does not touch the edge top rail and then through all holes in the slats and the of the holes in the slats.
- Page 9 21. Put the safety plate against the assembled structure in 22. Screw/ rivet the safety plate with the assembled sides to the pre-assembled wall handles with extensions. order to fit the elements precisely. COLORS OF THE CONNECTING CABLE blue Neutral conductor black Lifting brown...
- Page 10 4. Screw the wall handles and keep the level. 3. Unscrew the wall handle before installation. Part 1 of the handle should be placed against the facade at a height equal to the height of the external blind measured from the bottom edge of the window frame.
- Page 11 12. Close the top rail handles and tighten the screws. 11. Install the blind package into the open handles in such a way that the "WINDOW SIDE" label with information about the installation side, is on the window side . 13.
- Page 12 20. View of the correctly installed blind. 19. Drill holes (1) in the safety plate and sides in places where the plate is mounted to the sides, then use 4x8 rivets (2). INSTRUCTION MANUAL FOR EXTERNAL BLIND 1. Drive for cardan crank. The operation of the crank lifting mechanism requires special caution and skills because the gear used allows for obtaining large forces that may damage the elements of the external blind.
- Page 13 Emergency situations: 1. It should be noted that in winter during strong frosts, do not leave the blind partially lifted when opening the window. The difference in temperatures causes the water vapor to deposit on the blind and consequently its subsequent freezing. Therefore, before opening the window, the blind slats should be lifted completely up.
- Page 14 WARNING - FOLLOWING THESE INSTRUCTIONS IS IMPORTANT FOR THE SAFETY OF PERSONS. KEEP THESE INSTRUCTIONS. PORTOS TR7 spółka z ograniczoną odpowiedzialnością s. k. PN-EN 13659 All of the certificates of the useful properties are available on the website www.portos.company...
Need help?
Do you have a question about the ZF3000 C80 and is the answer not in the manual?
Questions and answers