Advertisement
Quick Links
Download this manual
See also:
Quick Manual
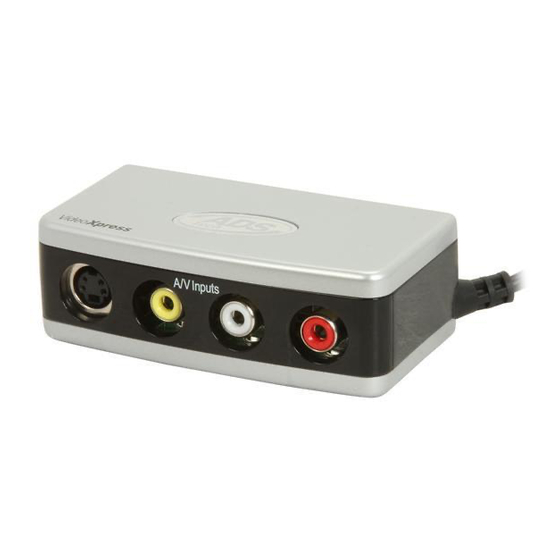
Capturing with Windows Media Encoder using the Instant Video Xpress
After starting Windows Media Encoder, select "Capture Audio or Video" when the "New Session"
window appears and click "OK".
Advertisement

Related Manuals for ADS Technologies USBAV-191-EF


Summary of Contents for ADS Technologies USBAV-191-EF
- Page 1 Capturing with Windows Media Encoder using the Instant Video Xpress After starting Windows Media Encoder, select "Capture Audio or Video" when the "New Session" window appears and click "OK".
- Page 2 Under "Device Options", ensure that "Instant VideoXpress" and "USB2.0 Analog Audio Device" are selected for the Video and Audio source.
- Page 3 Click the "Configure" button next to "Video".
- Page 4 Select either "Video Composite" or "Video SVideo" in the "Inputs" drop-down list. Choose the one that is appropriate for your capture source and click OK...
- Page 5 On the page labeled "Output File", select the desired name and location of the output video file.
- Page 6 On the page labeled "Content Distribution", select how you will distribute the output video file.
- Page 7 On the page labeled "Encoding Options", Select your desired Video and Audio qualities then click finish.
- Page 8 *Click on "Start Encoding" once you are ready to start capturing.
- Page 9 When you have arrived at the end of your capture, click "Stop".
- Page 10 The "Encoding Results" windows will appear. Click on "Play Output File" to view what you have captured. *PLEASE NOTE: Audio will not be heard while capturing only while playing back the resultant output file. If your captured file appears choppy or out of sync, lower the video and audio bitrates on the “Encoding Options”...
Need help?
Do you have a question about the USBAV-191-EF and is the answer not in the manual?
Questions and answers