Table of Contents
Advertisement
Quick Links
BABBITT
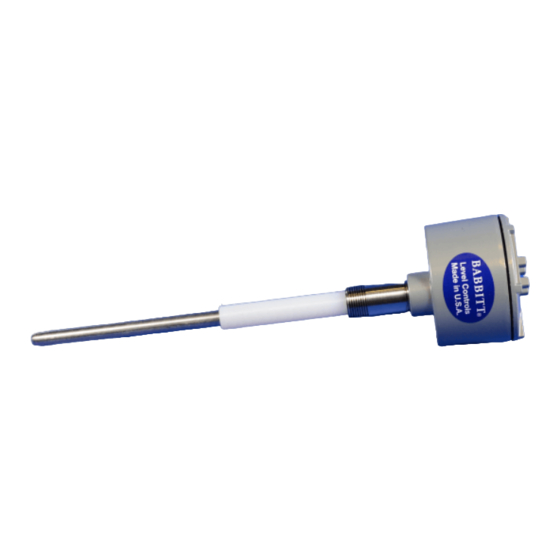
DESCRIPTION
INTERNATIONAL, INC.
L
S
2
0
0
0
L
S
2
0
0
0
O
W
N
E
O
W
N
I
N
S
T
A
L
L
A
T
I
O
I
N
S
T
A
L
L
A
T
I
O
L
E
V
E
L
S
W
I
T
L
E
V
E
L
S
W
I
T
R
S
M
A
N
U
A
E
R
S
M
A
N
U
A
N
a
n
d
C
A
L
I
B
N
a
n
d
C
A
L
I
B
C
H
C
H
L
L
R
A
T
I
O
N
R
A
T
I
O
N
P.O. Box 70094
Houston, Texas 77270
(713) 467-4438
Advertisement
Table of Contents

Related Manuals for BABBITT LS2000


Summary of Contents for BABBITT LS2000
- Page 1 BABBITT P.O. Box 70094 Houston, Texas 77270 DESCRIPTION INTERNATIONAL, INC. (713) 467-4438...
-
Page 2: Theory Of Operation
Before installing the unit, a simple operational check can be performed. On the bench, hook up the appropriate power to L1 and L2. The operating voltage of the LS2000 is marked on the power supply board. Hold the unit so that the probe is not touching any surface and touch the probe. -
Page 4: Physical Installation
Physical Installation 1) The LS2000 is installed into the vessel wall using a connection. This can be either a threaded coupling or a tapped entry such as a flange. 2) The insulator should always extend at least 2” through the vessel wall. -
Page 8: Calibration Instructions
B. Sensitivity Calibration The LS2000 should be calibrated when no material is touching the probe and when the unit is installed where it will be used. 1) Observe the red LED. If it is on, go to step 3. -
Page 9: Warranty
WARRANTY All components of the LS2000 are warranted to be free from defects in material and workmanship for a period of two years from the date of purchase . This warranty applies to general purchaser and to components installed, serviced and operated according to instructions.
Need help?
Do you have a question about the LS2000 and is the answer not in the manual?
Questions and answers