Advertisement
Table of Contents
http://waterheatertimer.org/troubleshoot-flammable-vapor-on-gas-water-heater.html
FVIR-Cleaning.pdf
FVIR WATER HEATER CLEANING INSTRUCTIONS
To perform the cleaning instructions below the following tools
are needed:
•
Vacuum cleaner with hose attachment.
•
Flame arrestor cleaning attachment.
•
Flashlight
•
Small mirror approximately 2"x3".
•
3/8", 7/16", and 3/4" open end wrenches.
•
3/8" nut driver
•
Small container of soapy water and an applicator.
Like other appliances, your water heater will need occasional
servicing to maintain peak performance. Suffi cient air fl ow
is crucial to the proper operation of your water heater. This
publication addresses one possible cause of restricted air
fl ow, and the procedure for its prevention and correction.
Signs of restricted air fl ow are yellow fl ames, pilot outage,
sooting, or unstable fl ame. Before starting, consult the
sections of your owner's manual dealing with condensation,
air requirements, gas supply, venting, and cleaning the air
intake screen. Also, make sure that your heater is properly
sized for your home. An undersized heater may result in
condensation which can drip onto the fl ame causing a pilot
outage. Your water heater is built to the current industry
safety standard and meets all FVIR (fl ammable vapor ignition
resistant) requirements. This assures that any fl ammable
vapors drawn into the combustion chamber and ignited can
not ignite remaining fl ammable vapors on the exterior of the
heater causing a fi re or explosion. This design includes a
fl ame arrestor and one or two air intake screen(s), see Figure 1.
These screen(s) prevent larger particles of dust or lint from
entering the heater, thus restricting air fl ow and causing
improper combustion. The owner's manual asks you to
visually check and clean the screen(s) as necessary. Smaller
particles may pass through these screens and lodge in the
fl ame arrestor.
This document will cover 2 levels of cleaning. The first will
cover the steps necessary to clean under the water heater,
where combustion air is drawn in through the air intake
screen(s) and flame arrestor. The second will cover the steps
necessary to clean the combustion chamber.
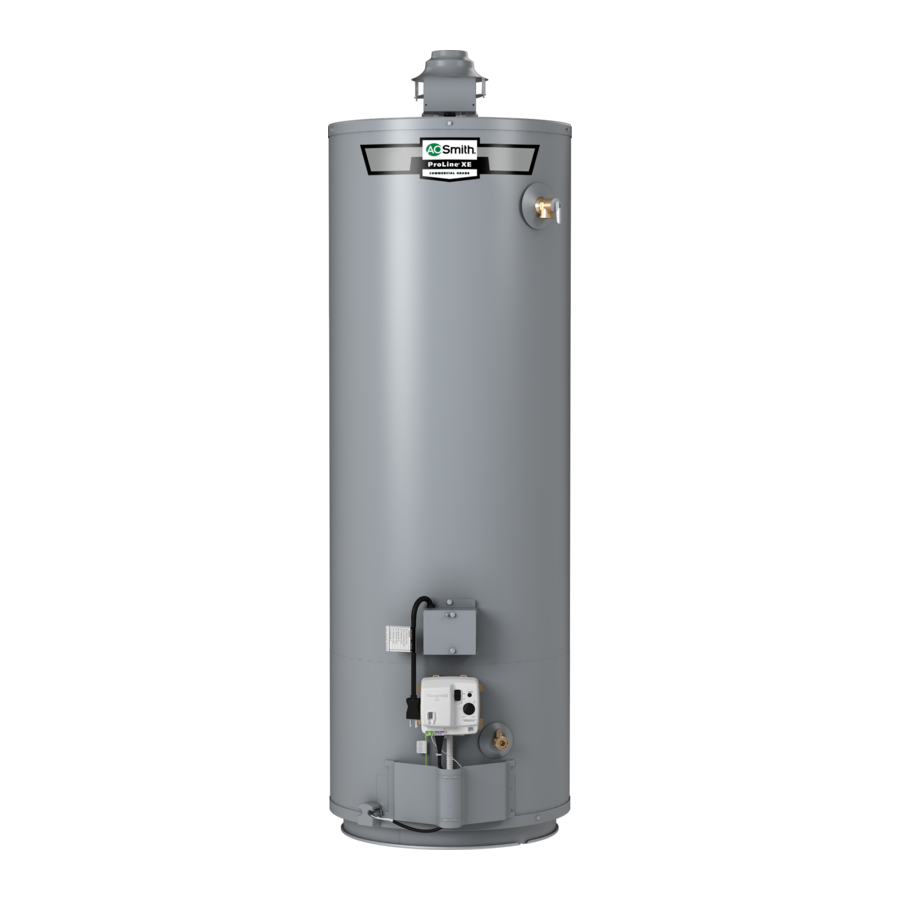
Applies to AO Smith line of products
Figure 1
Procedure: Level 1
1.
Turn the water heater gas control knob to "off" and allow
the burner area to cool, see Figure 2.
TOP
VIEW
GAS CONTROL KNOB
Figure 2
2.
Remove the plastic air intake screen(s) and use a small
mirror and flashlight to view the bottom of the flame
arrestor.
3.
Using the flame arrestor cleaning attachment, vacuum
all dust and other particles from beneath the heater, see
Figure 3.
4.
To clean the bottom of the flame arrestor, turn the flame
arrestor cleaning attachment over and insert it through
the air intake opening at the base of the heater, and use
a gentle sweeping motion to clean the entire base, see
Figure 3.
AIR INTAKE
OPENINGS
Figure 3
5.
Re-insert the air intake screen when finished.
6.
At this point, relight the pilot, and check heater for
operation. Allow an entire heating cycle to complete to
assure proper operation.
NOTE: If the original fi lter screen is missing or damaged, or you
have an installation that frequently gets lint or dust buildup, we
recommend the installation of a larger capacity fi lter screen. If
you have questions, contact Residential Technical Assistance
referencing the number in your manual.
FLAME ARRESTOR
CLEANING ATTACHMENT
186210-000
Advertisement
Table of Contents

Related Manuals for A.O. Smith FVIR


Summary of Contents for A.O. Smith FVIR
- Page 1 Remove the plastic air intake screen(s) and use a small outage. Your water heater is built to the current industry mirror and flashlight to view the bottom of the flame safety standard and meets all FVIR (fl ammable vapor ignition arrestor. resistant) requirements. This assures that any fl ammable...
- Page 2 Procedure: Level 2 touching the base (disrupting air fl ow), install 1/4-inch Turn the water heater gas control knob to “off” and allow high feet under the radiation shield. To obtain the feet the burner area to cool completely, approximately 15 free of charge, contact Residential Technical Assistance minutes, see Figure 2.
Need help?
Do you have a question about the FVIR and is the answer not in the manual?
Questions and answers