
Related Manuals for Cortex GS10

Summary of Contents for Cortex GS10
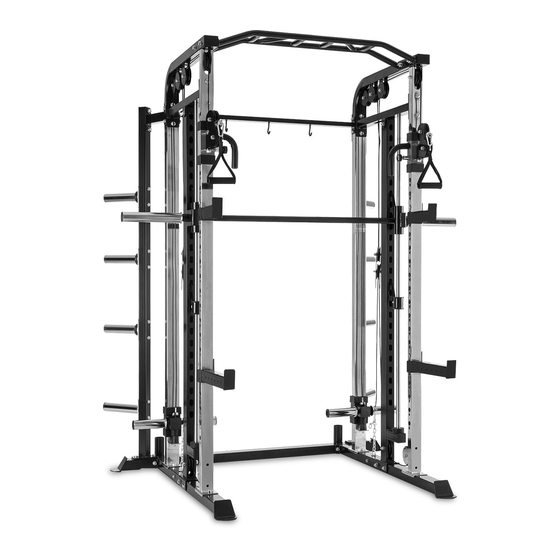
- Page 1 GS10 Multi Station Product may vary slightly from the item pictured due to model upgrades NOTE: This manual may be subject to updates or changes. Up to date manuals are available through our website at www.lifespanfitness.com.au...
- Page 2 TABLE OF CONTENTS 1. IMPORTANT SAFETY INSTRUCTIONS_____________________________________ 3 2. PARTS LIST_____________________________________________________________ 4 3. ASSEMBLY INSTRUCTION________________________________________________ 6 4. WARRANTY____________________________________________________________ 12 GS10 Multi Station...
-
Page 3: Important Safety Instructions
Do not place any sharp objects around the machine. Disabled person should not use the machine without a qualified person or physician in attendance. Never operate the machine if the machine is not functioning properly. A spotter is recommended during exercise. GS10 Multi Station... -
Page 4: Parts List
PARTS LIST GS10 Multi Station... - Page 5 GS10 Multi Station...
-
Page 6: Assembly Instruction
Attach The sliding frame (4) to Floor rack (1), using Carriage bolt M10x65 (43), Flat washer Ф10 (35), and Lock nut M10 (36). Attach Front adjusting frame (6) to Floor rack (1), using Carriage bolt M10x65 (43), Flat washer Ф10 (35), and Lock nut M10 (36). GS10 Multi Station... - Page 7 Ф10 (35) and Spring washer Ф10 (37). The same as Right rear stand (3). 3. Attach Rear adjusting frame (5) to Floor rack (1), using Screw M12x95 (46), Flat washer Ф12 (44) and Lock nut M12 (45). GS10 Multi Station...
- Page 8 3. Attach Fixed rack (8) to Front adjusting frame (6) and Short connection frame (9), using Screw M10x75 (40), Flat washer Ф10 (35), Lock nut M10 (36) and Pulley Φ90 (33); Screw M12x75 (48), Flat washer Ф12 (44) and Lock nut M12 (45). 4. The same as Right rear stand (12). GS10 Multi Station...
- Page 9 Ф12 (44) and Lock nut M12 (45). The same as Left sliding frame (16). 6. Attach Short barbell rack (20) to Rear sliding frame (19). 7. Attach Long support frame (14) and Short support frame (15) to Front adjusting frame (6). GS10 Multi Station...
- Page 10 STEP 5 1. Attach Follow below drawing to Steel cable. GS10 Multi Station...
- Page 11 4. Attach Long barbell rackong (24) to Liner pipe (23), using Screw M8x25 (54), Big washer Ф8 (52), Spring washer Ф8 (53), Pipe plug Ф50 (55) and Spring wings Ф50 (57). 5. Attach Short support frame (15) to Front adjusting frame (6), using Plug (56). GS10 Multi Station...
-
Page 12: Warranty
Please visit our website to view our full warranty terms and conditions: http://www.lifespanfitness.com.au/warranty-repairs Warranty and Support: Please email us at support@lifespanfitness.com.au for all warranty or support issues. For all warranty or support related enquiries an email must be sent to lodge a support case in our system. GS10 Multi Station...
Need help?
Do you have a question about the GS10 and is the answer not in the manual?
Questions and answers