Advertisement
Quick Links
Advertisement

Related Manuals for Smartswitch RA-800


Summary of Contents for Smartswitch RA-800
- Page 1 SMARTSWITCH RA-800 Slave Alarm Monitor Installation Manual...
- Page 2 Model RA-800 Installation Manual...
-
Page 3: Table Of Contents
Table of Contents Wiring Block Diagram Installation Steps Wiring Diagram (AL-100) Mounting Instructions Programming Instructions 7 -12 Operating Instructions Electrical Specifications... -
Page 4: Wiring Block Diagram
Wiring Block Diagram Black battery battery negative positive AL 8000 RA-800 Master Display Unit (MDU) Remote Display Unit (RDU) To next device White=Coms neg White=Coms neg Blue=Coms pos Blue=Coms pos Red=Battery + Red=Battery + Black=Battery - Black=Battery - AL-100 AL-100... -
Page 5: Installation Steps
7 of the AL-8000 manual. Step 4: Program the Remote Display Unit (RA-800) page 7 to The RA unit needs to be programmed similarly (but not exactly the same as the AL-8000) to identify the alarms that you want to monitor from that unit. -
Page 6: Programming Instructions
Programming Instructions: The AL-8000 manual will also be required when programming this unit. Explanation of override groups: There are four Override groups 1, 2, 3, and 4 If this option is selected then any input (alarm) that is joined to the override group will ONLY be active when that override input is active (typically used for engine override). - Page 7 Once the switch number has been selected push the “MUTE” key to accept. Step 3: Select Input Select Input < Down Up > Use the “SCROLL” or “BACKLIGHT” keys to change the input number, which corresponds to the input being programmed. Once the switch number has been selected push the “MUTE”...
- Page 8 Three overrides (Two engine vessel & Aux) When programming I/O Box switch position 2 Input 1 Answer YES to “ DO YOU WANT TO USE OVERRIDE ONE” When programming I/O Box switch position 2 Input 2 Answer YES to “ DO YOU WANT TO USE OVERRIDE TWO” When programming I/O Box switch position 2 Input 3 Answer YES to “...
- Page 9 Step 5: Setting Alarm Tones There are three alarm tones available 1/ Alarm & Tone. Gives an audible alarm tone on fault 2/ Alarm NO Tone. Does NOT give an audible alarm tone on fault 3/ Alarm & Repeat Tone. Gives an audible alarm tone on fault & after muting will return in 1 minute Use the “SCROLL”...
- Page 10 Step 8: Which Override Group The display will now show: Override group < Down Up > Push the “SCROLL” or “BACKLIGHT” keys to scroll thought the override groups. Upon pushing the “MUTE” key the input that you have just setup now belongs to whichever group you selected and will only be active when the override input is active.
- Page 11 RA-800 to different address numbers. If adding or replacing a RA-800 on an existing system please check the address of the unit or units already on the system and set the new / replaced RA-800 to a different number.
-
Page 12: Operating Instructions
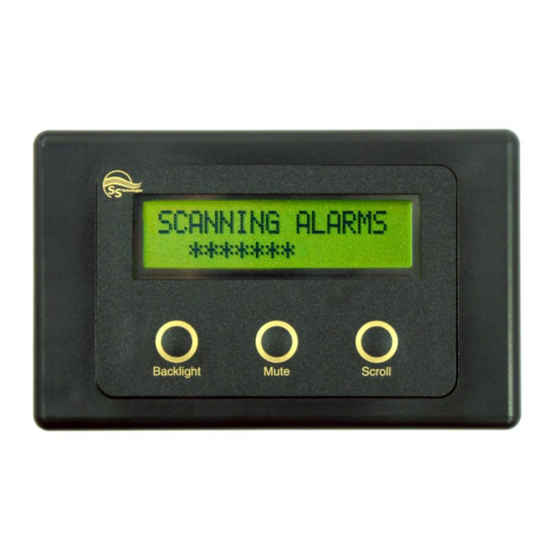
If the fault condition has gone the fault text will disappear from the screen. Normal Operation Screen: SCANNING ALL ALARMS ************************* Electrical Specifications RA-800 Supply Voltage 12 to 32 Volts DC (Auto-sensing) Quiescent Current 0.03 Amps... - Page 13 © All technologies, design and Intellectual Property is owned by Penguin Electronics Ltd Po Box 272, Waikanae, New Zealand Ph: 0064-4 293-4201 Fax: 0064-4 293-4201 Mobile: 0064-274-919-805 Email: info@smartswitch.co.nz Web: www.smartswitch.co.nz...
Need help?
Do you have a question about the RA-800 and is the answer not in the manual?
Questions and answers