Table of Contents
Advertisement
Quick Links
Your device defaults to centigrade upon power up. To change your readout to Fahrenheit follow these
steps:
1.
Press and release the MODE button one time to get the bottom readout into calendar mode.
2. Hold the MODE button for 2 seconds to get into the SET mode. The year will blink.
3. Press and release the SET button 4 times until the "C" for Centigrade blinks.
4. Press the up or down arrow to change from "C" to "F" for Fahrenheit.
5. Press and release the Mode button to complete.
INSTALLING BATTERIES
Two CR2032 Lithium batteries should be used in this unit. Use a coin to open the lid of the battery
compartment on the back of the unit. Turn to the direction of the Unlock icon to open. Please make
sure the positive post (+) of the two batteries face upward when the batteries are placed inside. Put the
lid back on the compartment and turn to the direction of the Lock Icon to close. Please make sure the
rubber ring is in position and the lid is closed firmly to make sure the unit is water resistant.
Note: If the Low Battery Power Icon is displayed, it is highly recommended to have the batteries
replaced as soon as possible.
TIMING FUNCTION
There are 4 modes in the Timing Function: Clock, Date, Alarm and Count-Down Timer. Pressing Mode
Button will switch from one mode to another sequentially.
TO SET THE CLOCK
1. Get to the Clock Mode by pressing the MODE Button.
2. Hold the MODE Button for 2 seconds.
3. Press the UP or DOWN Button to adjust the digit.
4. Press SET Button to advance to another digit and repeat procedure (3). You will be able to set
the Hour, Minute and 12/24 Hour format here.
5. When you are done with the setting, press the MODE Button to complete.
TO SET THE DATE / TEMPERATURE UNIT / DATE FORMAT
1.
Get to the Date Mode by pressing MODE Button.
2. Hold the MODE Button for 2 seconds.
3. Press the UP or DOWN Button to adjust the digit.
4. Press the Set Button to advance to another digit and repeat procedure (3).
5. When you are done with the setting, press the MODE Button to complete.
TO SET THE ALARM
1.
Get to the Alarm Mode by pressing MODE Button.
TI Plus 2 Manual
Advertisement
Table of Contents

Subscribe to Our Youtube Channel
Related Manuals for SkyScan TI Plus 2


Summary of Contents for SkyScan TI Plus 2
- Page 1 TI Plus 2 Manual Your device defaults to centigrade upon power up. To change your readout to Fahrenheit follow these steps: Press and release the MODE button one time to get the bottom readout into calendar mode. 2. Hold the MODE button for 2 seconds to get into the SET mode. The year will blink.
- Page 2 2. Hold the MODE Button for 2 seconds. 3. Press UP or DOWN Button to adjust the digit. 4. Press the SET Button to advance to another digit and repeat procedure (3). 5. When you are done with the setting, press the MODE Button to complete. TO USE THE ALARM FUNCTION Get to the Alarm Mode by pressing MODE Button.
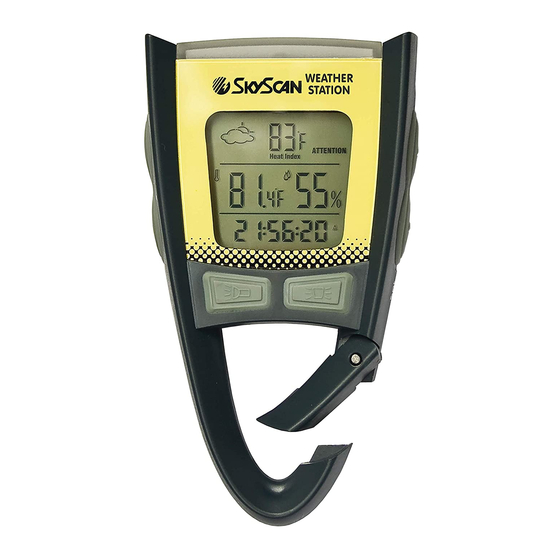
- Page 3 This unit will display HEAT INDEX to provide feels like temperature which is how warm it is felt on skin by considering the effect of humidity on the perspiration of human body beside the ambient temperature. The feels like temperature is considered more important for people having outdoor activities, vigorous exercise or elderly and people having health problems.
- Page 4 BATTERY TYPE: 2 CR2032 Lithium Batteries WARRANTY INFORMATION Xtreme Research Corp, SkyScan Division, PO Box 336, Port Richey, FL 36473-0336 will repair or replace this product for one year from the original date of purchase absolutely free. This warranty does not include any physical damage to the unit.
- Page 5 SkyScan’s liability shall be limited to the cost of repair or replacement of the unit and SkyScan shall in no event be liable for incidental or consequential damages. Some states do not allow the exclusion or limitations of incidental or consequential damages, so the above imitation or exclusion may not apply to...
Need help?
Do you have a question about the TI Plus 2 and is the answer not in the manual?
Questions and answers