Advertisement
Quick Links
Installation Guide
USB Cable
1. Verify the package contents.
5. Secure the caddy to the housing using the screws
provided.
Information in this document is subject to change without notice.
Reproduction of these materials in any manner whatsoever without written permission is strictly forbidden.
Printed in China
Printed on Recycled Paper.
SATA/Power Connector
LED
USB 3.0
2. Parts Layout.
USB Cable
6. Connect the USB cable. (Power will be drawn
from the USB port and provide power to the
hard drive)
tape rubber
here to
cushion
drive when
inserted
Peel off white tape ,
secure the translucent
plastic sheet on the
printed circuit side of
the hard drive.
3. Carefully connect the 2.5" hard drive to the
connector.
7A. If you install a new drive, proceed with the
necessary setup procedure to initialize, partition
and format the new hard drive using the OS tool.
Copyright © 2016 Vantec Thermal Technologies. All Right Reserved.
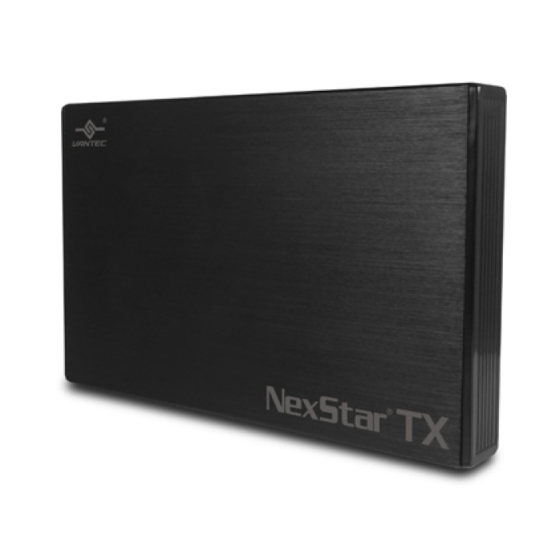
Enclosure for 2.5" 7/9.5mm SATA 6Gbps SSD/HDD
4. Insert the hard drive caddy back into the NexStar
TX housing as the picture show. Be sure to align
the caddy with the guides within the housing.
7B. If you install a drive with exsiting data, you
should be able to use the OS le manager to
see your data.
v1.01
NST-228S3-BK
www.vantecusa.com
|
All Registered Trademarks Belong To Their Respective Companies.
Advertisement

Related Manuals for Vantec NexStar TX NST-228S3-BK


Summary of Contents for Vantec NexStar TX NST-228S3-BK
- Page 1 NST-228S3-BK Reproduction of these materials in any manner whatsoever without written permission is strictly forbidden. www.vantecusa.com Printed in China Printed on Recycled Paper. Copyright © 2016 Vantec Thermal Technologies. All Right Reserved. All Registered Trademarks Belong To Their Respective Companies.