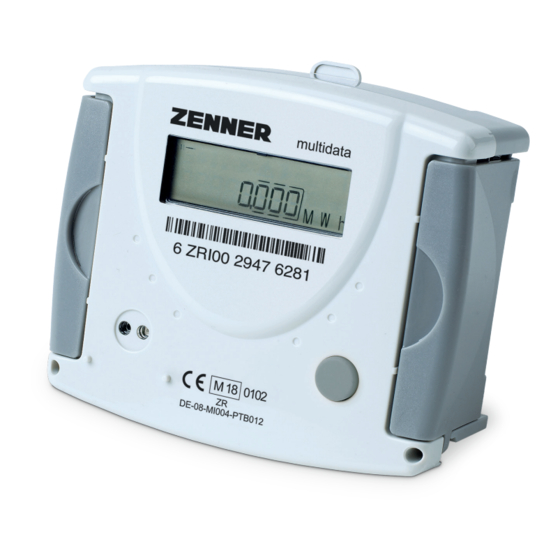
Zenner multidata WR3 Installation And Operating Manual
Electronic energy calculator for heat meters m-bus and 2 inputs/outputs optional
Hide thumbs
Also See for multidata WR3:
- Installation and operating manual (72 pages) ,
- Installation and operating instructions manual (60 pages)
Summary of Contents for Zenner multidata WR3
- Page 1 EnergyMetering multidata Installation and operating manual Electronic energy calculator for heat meters M-Bus and 2 inputs/outputs optional All that counts.
-
Page 2: General Information
General information Electro-magnetic interference With multidata you have acquired one of the quirements for interference resistance. To avoid most up-to-date, modern heat calculators cur- malfunctions due to other interferences, do not rently available on the market. Expressive symbols in the display and easy menu electric devices such as motors or pumps in the navigation make readout simple. -
Page 3: Status Display / Error Codes
Status display / Error codes The symbols in the table below show the meter’s operational status. The status messages only appear bol be displayed over a longer period of time you should contact the service company. Symbol Status Event Flow existent Emergency operation Exchange device External power supply... - Page 4 Technical data remote readout outputs Technical data I/O...
-
Page 5: M-Bus (Optional)
Communication M-Bus (optional) sary. The pulse value is permanently set and corre- sponds with the last position of the associated display value. Example: The calculator can be ordered with two inputs op- tionally. The pulse value can be called up in the multidata multidata Output... - Page 6 Dimensions ZENNER International GmbH & Co. KG Römerstadt 4 D-66121 Saarbrücken Telephone +49 681 99 676-0 +49 681 99 676-100 E-Mail info@zenner.com Internet www.zenner.com...
-
Page 7: Installation Instructions
Installation instructions General Information Take care of: Safety instructions the display must readable at all times, to avoid malfunctions due to other interfer- sonnel. Read the instructions carefully right up to the end before starting to mount the device. cabinets or electric devices such as motors or pumps in the immediate vicinity of the meter The current laws and regulations have to be the ambient temperature must not exceed... -
Page 8: Installation Heat Calculator
Installation heat calculator Connection sensors ZENNER recommends to mount the calculator The mounting of the temperature sensors should be done symmetrical with direct immersion. If immersion sleeves are used they have to be The mounting adapter at the backside of the cal- marked accordingly. -
Page 9: Maintenance
If the error appears permanently, it will be de- Switch 2-/4-wire tected at the next measuring cycle and displayed updated and the displayed temperatures corre- the top left side of the connection board. spond to the present ones while the system is When attaching the top cover on the housing Connection flow sensor pulses on the inputs can possibly be generated. -
Page 10: Connector Pin Assignment
Connector pin assignment Temperature sensors Switch Flow sensor Input/Output If water meters with a potential free reed contact are connected to the inputs the connection can be made in any direction. M-Bus The connectors are given twice for the incoming and outgoing of the... - Page 11 Level 1 Level 2 switches to another level Energy (main display) or switches back from the Energy at SRD sub-menu. Date SRD Volume SRD value external counter 1 Volume external counter 1 Pulse value counter 1 SRD value external counter 2 Volume external counter 2 Pulse value counter 2 Segment test...
- Page 12 Level 3 Legend to switch through the display Sensor type and installation point from top to bottom.When ha ving reached the last menu item the device automatically Pulse value jumps back to the menu item Basic configuration Model number then release the button. The 1st monthly value heat energy Date battery end menu is then updated resp.


Need help?
Do you have a question about the multidata WR3 and is the answer not in the manual?
Questions and answers