Advertisement
Table of Contents
Article Number - 00046-2012
rd
Date -
23
June 2015
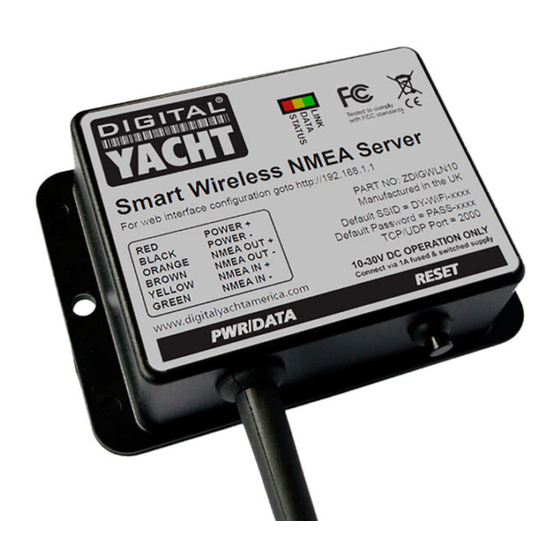
Article applies to - iAIS/WLN10/WLN10HS/NavLink/SonarServer Wi-Fi Products
ISSUE:
Using our Wireless Products with an existing wireless network
All of Digital Yacht's wireless NMEA devices use the same Wi-Fi module that is pre-configured during
production with settings that will give good operation for the majority of customers. However, some
customers have requested the ability to change some of these settings i.e. the wireless SSID network
setting, or to make the product join an existing wireless network onboard the boat.
This Tech Note provides a command reference that explains how to check and change many of the settings.
This procedure is not recommended for all customers and assumes a certain level of experience and
expertise in wireless networking.
SOLUTION:
To configure our wireless NMEA products you need to use a free terminal program called Tera Term. To
carry out this configuration, it is necessary to have a Windows PC that has a wireless adaptor and a copy of
"Tera Term" installed. A copy of this program is included on the Digital Yacht "Software and Drivers" CD-
Rom (in the Utilities folder), or is available for download at the link below;
http://osdn.jp/frs/redir.php?m=jaist&f=%2Fttssh2%2F63335%2Fteraterm-4.87.exe
After installing Tera Term, it is necessary
to connect the PC to our wireless device
using the Windows Wireless Network
utility, scan for available networks and
connect to the device to be configured.
Once connected, run Tera Term and when the "New Connection" window is displayed, select the TelNet
service, enter the IP address and Port number of our wireless device – which is 169.254.1.1 Port 2000.
Advertisement
Table of Contents

Subscribe to Our Youtube Channel
Summary of Contents for DIGITAL YACHT iAIS
- Page 1 Windows PC that has a wireless adaptor and a copy of “Tera Term” installed. A copy of this program is included on the Digital Yacht “Software and Drivers” CD- Rom (in the Utilities folder), or is available for download at the link below;...
- Page 2 If Tera Term successfully creates a TCP/IP connection to our wireless device, then you should see the window below with the word “*HELLO*” displayed. In order to see what you are typing in Tera Term, click on Setup>Terminal and then make sure the “Local Echo”...
- Page 3 To change the configuration, you need to be in “Command” mode. To put our wireless device into “Command” mode, type on your PC keyboard and then press the ENTER key. You should see the text CMD appear, just below the *HELLO* text, in the terminal window. Press the ENTER key again and a cursor will appear with the current software version shown.
- Page 4 Digital Yacht wireless products can only create OPEN (unencrypted) networks which does mean that anyone can connect to them. At sea this is very unlikely to cause a problem, unless you don’t trust your crew (!), but it is possible to make all of our wireless products connect to an existing encrypted wireless network.
- Page 5 Then find the DHCP Client List and you will see a device called WiFly- GSX and this is your Digital Yacht wireless device. Make a note of the IP address and if possible, set the router to reserve this IP address for your device –...
- Page 6 If your wireless device has UDP enabled (all units sold since April 2012) or you have enabled this yourself by following our Tech Note 00030-2012, then you do not need to find out what IP address your wireless product has been given, simply connect your iPhone/iPad/Laptop/etc. to your wireless network and then initiate a UDP connection on port 2000.


Need help?
Do you have a question about the iAIS and is the answer not in the manual?
Questions and answers