Advertisement
Available languages
Available languages
Quick Links
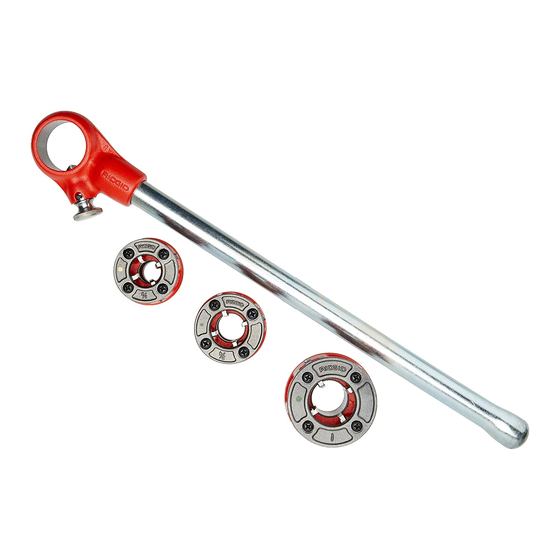
RIDGID 00-R, 12-R and 11-R Threaders are designed to
thread pipe or conduit using individual die heads for each
size of pipe and a manually operated ratchet.
Warning! Read these instructions carefully before
using this tool. Failure to follow all instructions may
result in property damage and/or serious injury.
1. Inspect the threader before use. Replace dies or any
other part that shows damage or wear. To ensure a
high quality thread, only use RIDGID replacement dies.
Worn dies can result in poor thread quality
WARNING
and high handle forces.
2. Mount the pipe firmly in a pipe vise. When threading
an existing pipe, make sure it is secure and will not
move. Cut the end of the pipe cleanly and squarely
using a pipe cutter (Figure 1).
When working on a scaffold or lift, the oper-
WARNING
ator should be properly secured to prevent injury in the
event of a fall.
Figure 1 – Cutting End of Pipe
3. Ream the end of the pipe to remove any burrs that
may have been produced during the cutting of the pipe
(Figure 2).
Figure 2 – Reaming End of Pipe
4. Select the correct die head for the size and type of
pipe to be threaded and the thread form you require.
Insert die head into the ratchet. Slip the pipe guide at
the rear of the threader over the pipe and gently apply
pressure to the front of the die head at the same time
Printed in U.S.A.
1.800.561.8187
Manual Pipe Threader Instructions
www.
moving the handle down in order to start the threader
(Figure 3).
Make sure the handle is clean and free from
WARNING
oil and grease. This allows for better control of the tool.
Figure 3 – Sliding Threader On Pipe
5. Before applying force to the handle, ensure that the
ratchet pawl is engaged.
Pawl may fail to engage if pushed against
WARNING
the side of the die head. Specific care should be taken
when threading pipe that is vertical.
6. When hand threading, your weight should be above the
handle ensuring maximum leverage. If possible, do not
do all the work with your arms, use your weight. Do not
overreach. Keep proper footing and balance to main-
tain better control.
Do not slide a pipe or "cheater" over the
WARNING
handle to gain extra leverage. This practice can result in
serious injury.
7. Apply a generous quantity of RIDGID Thread Cutting Oil
when threading (Figure 4). Use of a lubricating oil or a
poor thread cutting oil can result in a poor quality cut
thread, leaky joints, short die life and high handle forces.
Figure 4 – Applying Thread Cutter Oil
8. Stop threading when the end of the dies are flush with
the end of the pipe. At this point, the correct size has
been reached to produce the proper joint. To continue
information@itm.com
.com
999-997-601.10
Advertisement

Related Manuals for RIDGID 00-R


Summary of Contents for RIDGID 00-R
- Page 1 Manual Pipe Threader Instructions moving the handle down in order to start the threader RIDGID 00-R, 12-R and 11-R Threaders are designed to (Figure 3). thread pipe or conduit using individual die heads for each size of pipe and a manually operated ratchet.
- Page 2 (Figure 2). 00-R, 12-R et 11-R Les fileteuses RIDGID 00-R, 12-R et 11-R sont prévues pour le filetage des tuyaux et conduits à l’aide d’une clé à cliquet manuelle et de têtes de filière adaptées à chaque diamètre de tuyau.
- Page 3 Corte el extremo del tubo limpiamente en ángulo recto, em- Las Roscadoras Ridgid 00-R, 12-R y 11-R están hechas para roscar tubos y conductos empleando un trinquete de pleando un cortatubos (Figura 1).
- Page 4 (Figura 2). 7. Aplique una cantidad abundante de Aceite para Cortar Roscas de RIDGID cuando rosque (Figura 4). El uso de un aceite lubricante o un aceite para cortar roscas deficiente, puede producir roscas de mala calidad, junturas defectuosas, acortar la vida útil de las terrajas...