Table of Contents
Advertisement
Quick Links
Advertisement
Table of Contents

Related Manuals for Cerlic BB2


Summary of Contents for Cerlic BB2
- Page 1 BB2 Profibus DP option 2017-09-06 MANUS09/17 VER 1.03...
-
Page 2: Table Of Contents
Unpacking ....................4 Damages ........................4 Packaging ......................... 4 Content ........................4 Module Overview ..................4 Mounting in the BB2 control box ..............5 Wiring Connections ....................5 Configuration ....................6 Baudrate ........................6 Termination of DP Network ..................6 Data structure ...................... -
Page 3: Introduction
1. Introduction The BB2 Profibus module is used to connect the BB2 central unit to a Profibus network as a slave. The user is assumed to be familiar with Profibus, and the Profibus configuration of the master. 2. A few words about this manual The manual primarily contains information about the BB2 Profibus module. -
Page 4: Unpacking
DAMAGES If damages occurred during shipment, immediately contact the shipping company and the Cerlic representative. The shipment should be returned only after an return authorization number has been issued by Cerlic or representative. PACKAGING The original packaging is designed to protect the equipment and should be used for storage or if the product must be returned. -
Page 5: Mounting In The Bb2 Control Box
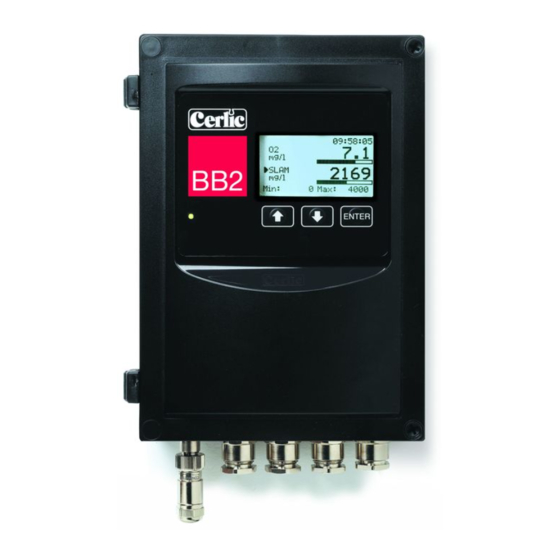
6. Mounting in the BB2 control box The Profibus module shall be mounted in a BB2 control box. Make sure the power to the control box is switched off before mounting the Profibus module. Connect yourself and the control box chassis to protective ground before opening the antistatic package of the module to avoid static discharges that can damage the module or the box. -
Page 6: Configuration
7. Configuration BAUDRATE The baudrate on a Profibus-DP network is set during configuration of the master and only one baudrate is possible in a Profibus-DP installation. The Profibus-DP module has an auto baudrate detection function and the user does not have to configure the baudrate on the module. - Page 7 2. Setting the switches to 00 tells the module to use the address configured in the BB2 menu. It can be set from 1-125. To set up address you go into BB2 menu by pressing “ENTER & ↑” for 5 seconds together. Then go down to “SETUP”...
-
Page 8: Data Structure
DATA STRUCTURE The data to and from the control box is structured as described in the table below. Total length for input data is 84 bytes, and for output data 4 bytes. We use “Big Endian”. In/Out Type Length Name Content 16 byte Id Four bytes ID for each sensor. -
Page 9: Indications
8. Indications The module is equipped with four LED's mounted at the front and one LED on the board, used for debugging purposes. The front LED's can be mounted in two ways, either top mounted or angle mounted. The function of the LED's are described in the table and figure below. -
Page 10: Getting Started
Connect the Profibus network, A-line (negative) line to screw terminal 3, B-line (positive) to terminal 4, and shield to terminal 5. Switch on the power to the BB2 box and check that the green led on the module starts flashing. -
Page 11: Technical Specification For The Profibus Module
DC/DC converter. Bus signals (A-line and B-line) are isolated via optocouplers. CONFIGURATION & INDICATIONS • Address range: 1-99 using switches on the module or 1-126 via BB2 menus. • Bus termination switch onboard. • LED-indications: ON-line, OFF-line, Fieldbus related diagnostic. - Page 12 'Revision' to 1.2 ; 14 May 2003: - Corrected 'MaxTsdr_xxx' for all baudrates according to the new specification. - Changed 'Revision' to 1.3 ; 11 July 2007 - Ported to Cerlic BB2 ;============================================================ #Profibus_DP GSD_Revision ; Device identification Vendor_Name = "Cerlic AB"...
- Page 13 ; Maximum responder time for supported baudrates MaxTsdr_9.6 = 15 MaxTsdr_19.2 = 15 MaxTsdr_45.45 = 15 MaxTsdr_93.75 = 15 MaxTsdr_187.5 = 15 MaxTsdr_500 = 15 MaxTsdr_1.5M = 25 MaxTsdr_3M = 50 MaxTsdr_6M = 100 MaxTsdr_12M = 200 ; Supported hardware features Redundancy ;...
Need help?
Do you have a question about the BB2 and is the answer not in the manual?
Questions and answers