Table of Contents
Advertisement
Quick Links
MORE FUN! MORE MAGIC!
MORE ENTERTAINMENT!
Need further assistance?
Contact us:
Phone number
+61 3 9729 6300
Website
www.smartdigital.com.au
Facebook
@smart.digital.australia.pty.ltd
Instagram
@SmartDigitalAustralia
Youtube
www.youtube.com/c/SmartDigitalAu
INSTRUCTION GUIDE
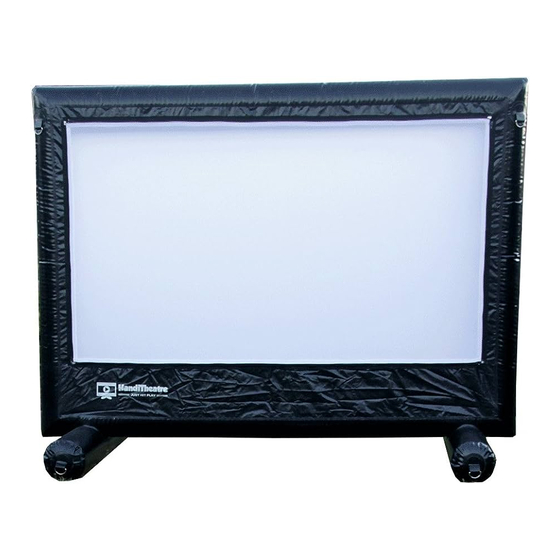
HandiTheatre Home
Step by step assemble
Advertisement
Table of Contents

Related Manuals for Smart Digital HandiTheatre Home

Summary of Contents for Smart Digital HandiTheatre Home
- Page 1 INSTRUCTION GUIDE MORE FUN! MORE MAGIC! MORE ENTERTAINMENT! Need further assistance? Contact us: Phone number +61 3 9729 6300 Website www.smartdigital.com.au Facebook @smart.digital.australia.pty.ltd Instagram @SmartDigitalAustralia Youtube www.youtube.com/c/SmartDigitalAu HandiTheatre Home Step by step assemble...
- Page 2 STEP BY STEP SCREEN VIDEO AUDIO CHECK SCREEN SCREEN VISUAL SETUP SETUP LIST PACKUP CARE SETUP SCREEN SCREEN VIDEO SETUP TROUBLE DEFLATION INFLATION SETUP PLAN SHOOTING...
-
Page 3: Package Includes
PACKAGE INCLUDES Inflation Blower Inflatable screen` Soundbar/Speaker Audio Cables Projector LED HDMI Cable White (optional) Tethers (4-8) Protective tarp Stakes (optional) Projector Stand (optional) -
Page 4: Screen Setup
SCREEN SETUP SCREEN INFLATION 1. Decide on a location with enough space for the screen, projector and speakers, that is relatively flat. Allow for space either side of the screen area for tether points. Top view (see video setup section on placement distances for projector) 2. -
Page 5: Video Setup
SCREEN INFLATION VIDEO SETUP 2. Use the supplied electric air pump to fully inflate the screen via the 1. The Handitheatre screen can be used in a front or rear projection open valve. There maybe di erent nozzles supplied with the electric configuration –... -
Page 6: Audio Setup
VIDEO SETUP AUDIO SETUP 3. Connect your video source (such as DVD player, Apple TV or The audio setup will vary depending on your package configuration Smartbox) to the projector via a HDMI cable. If your projector has and supplied speakers. For most setups, speakers are connected to multiple HDMI inputs, connect to “HDMI 1”. - Page 7 SET UP PLAN AUDIOVISUAL SETUP (speakers and position may di er – plus Projection screen choice of front or rear projection) Other Adjustments: 1. Line up the projector to the centre of your screen. Speakers - Even though you will still get the image, if the projector is o centre, the image will be distorted.
- Page 8 CHECK LIST SCREEN PACKUP Turn everything on 1. Lay out the deflated screen. Remove or loosen the valves on both Power boards sides (this will allow any trapped air to escape when being rolled up) – be careful not to lose these. Soundbar Projector 2.
-
Page 9: Troubleshooting
TROUBLESHOOTING TROUBLESHOOTING Problem Resolution For laptops connected via HDMI, ensure the laptop’s operating system has audio output Check to ensure you have selected the selected to external HDMI. appropriate projector ‘source’ for the input For setups with soundbars or speakers that connection on your projector (typically ‘HDMI 1. - Page 10 SCREEN CARE Drying Patching If your screen obtains a cut, a hole, or is pierced by a sharp object, it If your screen gets wet from dew or rain, don’t stress! Simply follow can be repaired! the next steps: Simply use your repair kit to fix your screen: 1.
Need help?
Do you have a question about the HandiTheatre Home and is the answer not in the manual?
Questions and answers