Table of Contents
Advertisement
Advertisement
Table of Contents

Subscribe to Our Youtube Channel
Related Manuals for La Crosse Technology W88723v2


Summary of Contents for La Crosse Technology W88723v2
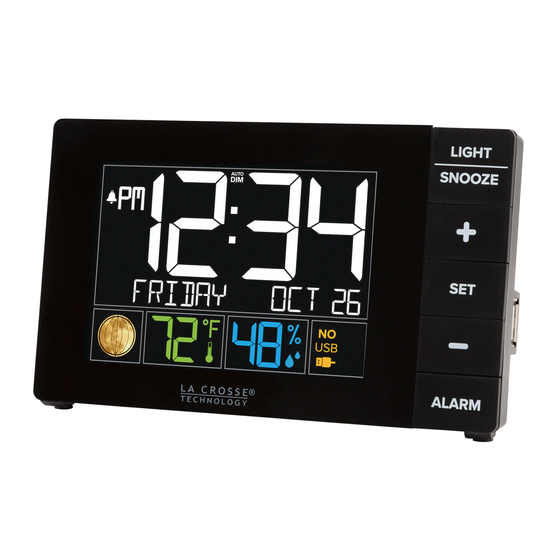
- Page 1 MULTI-COLOR ALARM CLOCK MODEL: W88723v2 DC: 032519...
- Page 2 TABLE OF CONTENTS 3. Power up 3. Features 3. Custom Date Display 4. Settings Menu 5. Time Alarm 6. Adjustable Backlight 6. Auto Dim Backlight 7. Moon Phase 7. USB Charging Port 7. Low Battery 7. Specifications 8. We’re Here to Help 8.
- Page 3 POW E R U P 1. Insert the 5 volt power cord into the outlet, then into your Alarm Clock. Optional: Insert 2-AAA batter- ies for backup. 2. Set time, date, etc. W88723v2 Alarm Clock F E ATU R E S Auto Dim...
- Page 4 SE T T I N G S ME N U 1. Hold the SET button 3 seconds to enter settings mode. 2. Press the + or - button to adjust the flashing values. 3. Hold the + or - buttons to adjust quickly. 4.
- Page 5 T I ME A L A R M 1. Hold the ALARM button for 3 seconds to enter alarm time set mode. The alarm hour will flash. Press the + or - buttons to set alarm hour 2. Press the ALARM button to confirm and move to the minutes. The alarm minutes will flash. Press the + or - buttons to set the minutes.
- Page 6 Snooze • When alarm sounds, press LIGHT/SNOOZE button to stop the alarm and activate SNOOZE function. SNOOZE - duration will show in date area. Alarm icon will flash. • During snooze count down, press any button except for LIGHT/SNOOZE to exit snooze count down •...
- Page 7 M O ON P H AS E The 12 Moon Phase icons are based on the lunar calendar and will adjust according to the year, month, and date you have set. Small Waxing Large Waxing First Small Waxing Large Waxing Moon Crescent Crescent...
- Page 8 Ask questions, watch detailed setup videos, and provide feedback on our social media outlets! WA RR A N T Y I N F O La Crosse Technology, Ltd. provides a 1-year limited time warranty (from date of purchase) on this product relating to manufacturing defects in materials & workmanship.
Need help?
Do you have a question about the W88723v2 and is the answer not in the manual?
Questions and answers