Advertisement
Advertisement
Table of Contents

Related Manuals for ClearOne Conference Controller


Summary of Contents for ClearOne Conference Controller
- Page 1 Quick-Start Guide Conference Controller QSG-0088-001 v2.0 August 2020...
-
Page 2: Table Of Contents
Contents Introduction ...........................3 Packing List ...........................3 Power Connections ........................4 Communication Connections .......................4 Configure the Conference Controller for CONVERGE Pro 2 VoIP/Telco ........7 Configure the Conference Controller for COLLABORATE Live ............9 ClearOne Contacts ........................11... -
Page 3: Introduction
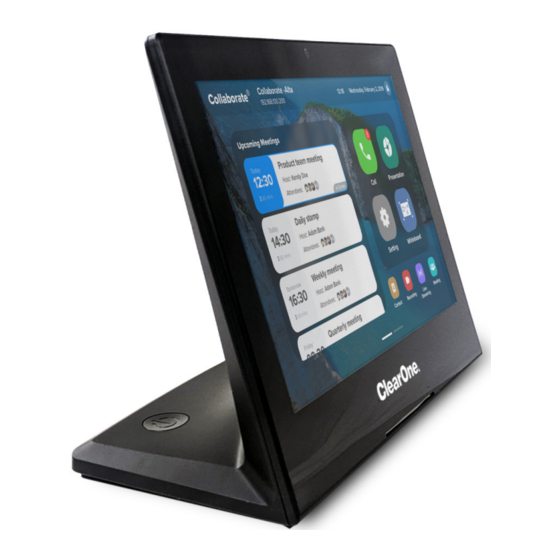
Introduction Congratulations on your purchase of a ClearOne Conference Controller. The Conference Controller is a highly intuitive 10-inch, touch-screen device that allows users to con- trol their audio conference, including managing contacts and placing and controlling calls. Flexible connectivity options offer an integrator-friendly solution that fits perfectly in any space. -
Page 4: Communication Connections
Conference Controller Communication Connections You can provide communications to the Conference Controller in two ways: Wi-Fi, or • Ethernet • Note: If you connect the controller by both Ethernet and Wi-Fi, the Ethernet connection takes prece- dence over the Wi-Fi connection. - Page 5 Conference Controller Ethernet CONVERGE Pro 2 CONVERGE Pro 2 CAT6 Cable (up to 200 feet) Network Switch Network Switch Legend CAT6 Cable (up to 200 feet) Conference Controller Power Options: A. Power Adapter B. PoE Injector C. PoE Ethernet D. Power over P-link...
-
Page 6: Configure The Conference Controller For Converge Pro 2 Voip/Telco
Conference Controller Configure the Conference Controller for CONVERGE Pro 2 VoIP/Telco To configure the Conference Controller for CONVERGE Pro 2 VoIP/Telco, complete the following steps: 1. On the Apply and Restart screen, tap the CONVERGE Pro 2 VoIP/Telco Dialer icon. - Page 7 • For example, tap Network to select Ethernet or Wi-Fi. More detailed information about Settings is available in the Touch Panel Controller for CONVERGE Pro 2 User Manual, available on the ClearOne website (www.clearone.com) in the Resource Library. QSG-0088-001 v2.0 August 2020...
-
Page 8: Configure The Conference Controller For Collaborate Live
Conference Controller Configure the Conference Controller for COLLABORATE Live To initially configure the Conference Controller for COLLABORATE Live, complete the following steps: 1. On the Apply and Restart screen, tap the Collaborate Live logo. The system displays the Language screen. - Page 9 Conference Controller 5. Tap Apply. The system displays the PROXY screen. 6. If you plan to use a proxy server for COLLABORATE Space, enter the server information. Then Tap Done. You have completed the configuration. The system displays the COLLABORATE Live home screen QSG-0088-001 v2.0 August 2020...
-
Page 10: Clearone Contacts
US & Canada Technical Support Tel: 801.974.3760 Tel: 801.975.7200 e-mail: tech.support@clearone.com Fax: 801.303.5711 International Tel: +801.974.3621 e-mail: global@clearone.com © 2020 ClearOne, Inc. Information in this document is subject to change without notice. Document: QSG-0088-001 v2.0 May 2020 QSG-0088-001 v2.0 August 2020...
Need help?
Do you have a question about the Conference Controller and is the answer not in the manual?
Questions and answers