
Subscribe to Our Youtube Channel
Related Manuals for VivoLink VLFS3770

Summary of Contents for VivoLink VLFS3770
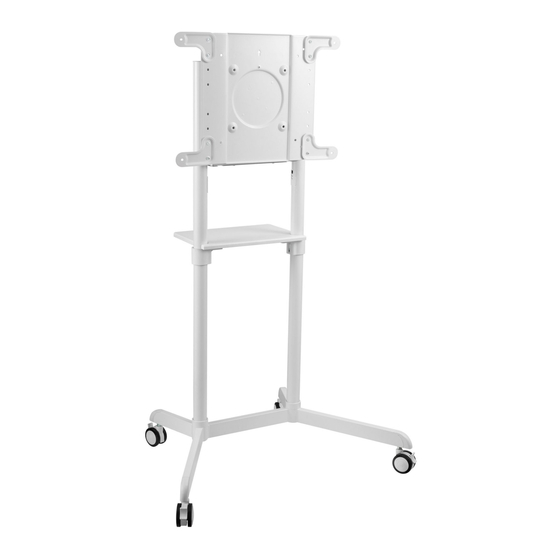
- Page 1 TV Cart INSTALLATION MANUAL 200x200/300x300 VLFS3770 70" rated rated 350x350/400x200 for TV for DVD 400x400/600x200 70kg/154lbs 5kg/11lbs 600x400...
- Page 2 Read the entire instruction manual before you start installation and assembly. If you have any questions regarding any of the instructions or warnings, please contact your local distributor for assistance. CAUTION •Use with products heavier than the rated weights indicated may result in instability causing possible injury.
- Page 3 1. Installing the Wheel Casters Position the cable management holes (found on each upper column leg) facing inward as shown. 2. Attaching the Columns to the Base Align the column as shown, making sure that the cable management holes and the shorter legs on the same side.
- Page 4 5. Installing the Front Cover and Equipment Shelf Position G as indicated, make sure the front of G and the longer legs on the same side. Make sure E and the shorter legs on the same side. CAUTION: Fully tighten the screws M under the base.
- Page 5 6b-1. Installing the VESA Extension Adapter Arms VESA 600x200mm VESA 600x400mm Note: Choose the appropriate screws, washers and spacers (if necessary) according to the type of screen. 6b-2. Attaching the Mounting Plate to the Display 7. Mounting the Display onto the Screws...
- Page 6 8. Adjusting the Tilting Angle of the Display Default Position (0°) Tilted Position (5°) Tighten the screw to fix the screen. 9. Snuggly Adjusting the Rear Bolts 11a: Routing the Cable 10. Fixing the Display in Landscape/Portrait Position(If Necessary) 11b-1: Attaching the Cable Clip Holders Tighten the screw to fix the screen.
- Page 7 11b-2: Routing the Cable through Cable Clips 12. Attaching the Cable Covers...
- Page 8 13. Attaching the Rear Cover 0 ~+90° ° · It is recommended to adjust the columns to the desired height before installing the display. · If you want to adjust the columns height after finishing the display installation. Please remove the equipment shelf, then adjust the columns to the desired height.
Need help?
Do you have a question about the VLFS3770 and is the answer not in the manual?
Questions and answers