Table of Contents
Advertisement
Quick Links
Advertisement
Table of Contents

Related Manuals for Eletech DP-501

Summary of Contents for Eletech DP-501
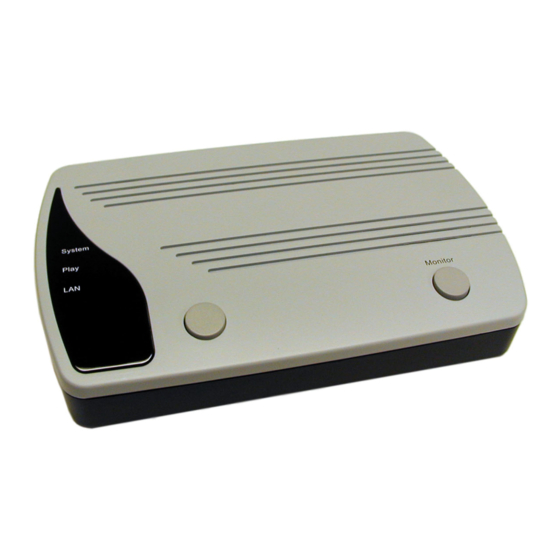
- Page 1 DP-501 eHold Player User’s Guide...
-
Page 2: Table Of Contents
(including damages for loss of profits, loss of business, loss of use Software Installation ..................8 or data, interruption of business and the like), even if Eletech has been advised of The Main Menu ....................9 the possibility of such damages arising from any defect or error in this manual or The Accounts Command ................ -
Page 3: Package Contents
Package Contents Hardware Installation 1 x Audio player IP Address Configuration 1 x System USB drive To access the player via the Internet, you’ll need both a public static IP address 1 x Ethernet cable (obtained from your ISP provider) and a private static IP address (obtained from 2 x Audio cables your network administrator.) To access the player via private LAN only, then only 1 x Power adaptor... -
Page 4: Device Configuration
ETM to work properly. Please consult with your network administrator on these issues, as there are simply too many different routers, operating systems and anti- virus softwares for this manual to cover. The IP address configuration does not need to be done at the installation site. It can be done anywhere as long as you set the IP address to the one that will actually be used in the final installation. -
Page 5: Site Installation
Site Installation Phone System Connection There are three possible connection schemes for site installation. IP addresses in the Connect the player’s audio output to the music input on the phone system. The following illustrations are for example only. player has two audio outputs and only one needs to be used. The 8 Ohm output should be used in most cases. -
Page 6: The Server Program
The Server Program The Main Menu The server program is compatible with Windows 7 ~ 10, all versions including both 32- and 64-bit. It allows you to set up a database of accounts and upload new audio files to the players immediately or at a later time. You can also remotely adjust the audio volume. -
Page 7: The Accounts Command
The Accounts Command The Reset button in this dialog box, not to be confused with the hardware reset button, issues a software reset command to the player when it locks up for some Add Accounts reason. If the player cannot be restored by a software reset, recycle its power. Values of the HTTP Port, the FIFO Port and the Digital IO Port should usually be left unchanged. -
Page 8: The Tasks Command
The Tasks Command Get/Set Volume Edit/Clear Tasks Use this command to create or clear tasks for one or more accounts. Select multiple accounts by shift-clicking (range) and/or control-clicking (individual). Click the Get button to obtain the current volume. Move the slide to the desired value and click the Set button to set the volume. -
Page 9: The View Command
The View Command The File Command Plain Text Password Admin Preferences If this box is checked, the account password will be displayed in plain text. Other- wise, it will be displayed as “xxxxxxxx”. Show Tool Tips If this box is checked, tool tips will be displayed when the mouse is moved on certain command buttons. - Page 10 Max. Transfer File Threads Retries This is the maximum number of concurrent transfers. By setting this value greater The following image shows the Transfer Retry Configuration dialog box. than 1, multiple transfers should complete faster because more than one will be done at once.
Need help?
Do you have a question about the DP-501 and is the answer not in the manual?
Questions and answers