Advertisement
Quick Links
Advertisement

Related Manuals for KONTRONIK Pyro 650-103L


Summary of Contents for KONTRONIK Pyro 650-103L
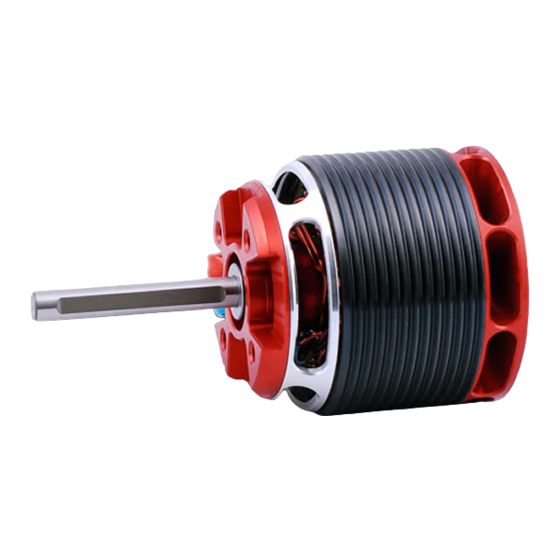
- Page 1 Pyro 650-103L, 550SX Edition Modifying the Logo 550SX to fit the Kontronik Pyro 650-103L...
-
Page 2: Parts Needed
Parts Needed • Mod 1, 106T Main Gear- MIK4621 • Mod 1, 11T or 12T Pinion- MIK4635 or MIK4636 – Note: the above parts are for the 600SX, which has a thicker main gear and matching pinion • (1) 6x13x5 Bearing- can use MIK4521 (two come per package) •... - Page 3 Step One- Cut Motor Shaft The motor shaft on the Pyro 650-103L needs 8mm removed from the end. This is to prevent the shaft from damaging and interfering with the installation of the battery.
- Page 4 Step One- Cut Motor Shaft • Always protect the motor from metal particles. • Add chamfer to end of shaft.
- Page 5 Step Two- Install Mod 1 Main Gear • If you have previously installed the Mod .7 main gear in your 550SX, please remove it along with the counter bearing components. • Remove the auto hub from the Mod .7 gear (if installed) and install in the new Mod 1 main gear.
- Page 6 Step Two- Install Mod 1 Main Gear...
- Page 7 550SX has a bearing with a 5mm ID and the 600SX has a bearing with a 6mm ID. Since the powerful Pyro 650-103L has a 6mm motor shaft, the appropriate bearing must be installed. • Carefully press the existing bearing out of MIK4714.
- Page 8 Step Three- Install new bearing in Counter Bearing Support • Insert the new bearing (6x13x5) in the existing location and press until fully seated.
- Page 9 Step Four- Install Motor • Loosely install the pinion on the motor shaft and install into the frame with the counter bearing support. Follow the Logo instruction manual for proper sequence of installation. • Remember to add thread lock to appropriate screws and check to see the motor wires are not rubbing against and components.
- Page 10 Step Four- Install Motor...
- Page 11 Step Five- Adjust your settings and go fly! • Please adjust your throttle settings per the new gear ratio and motor kV. (the motor kV is 1030) • Enjoy your new Pyro motor!!!
Need help?
Do you have a question about the Pyro 650-103L and is the answer not in the manual?
Questions and answers