Table of Contents
Advertisement
<Important>
Be sure to correctly follow the procedures in order as explained in this Installation Manual.
If you do not follow the procedure in order, the image trouble may occur.
1. Outline of installation procedures
When installing the machine and associated options as a system, follow the order shown on the upper.
Note:
• For the detailed installation procedures for each option, follow the instructions given in the corresponding
installation manual and perform the procedures correctly.
• Once the Power Switch is turned ON, do not turn OFF it until the installation work has been completed.
Caution:
• Lifting the machine in an awkward position or transporting it in a poorly balanced position could result in
personal injury. When transporting the machine, assign an adequate number of persons to the job and
ensure that each person can take a good position of not being excessively loaded (mass: approx. 24.4 kg
(53-13/16 lb))
PUB1041-001
2017. 10 Printed in China
INSTALLATION MANUAL
FS-P02
EK-P05*
/
Applied Machines:
2
DK-P02*
PF-P16
PF-P15
AU-201S
AU-102
Machine
UK-216*
1
1
EK-P06*
*1
: No particular order in installation
KP-101
procedures
*2
: Varies depending on the applicable
1
EK-P07*
marketing area
UK-219*
1
FK-517
E-1
/
2
AA1P-9601-00
Advertisement
Table of Contents

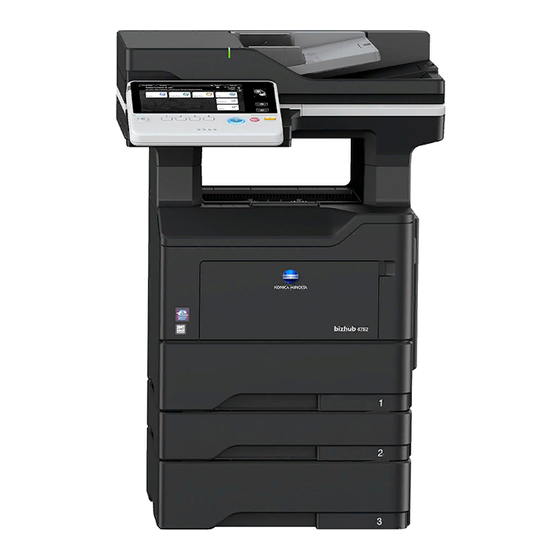
Summary of Contents for Konica Minolta bizhub 4752
- Page 1 INSTALLATION MANUAL Applied Machines: <Important> Be sure to correctly follow the procedures in order as explained in this Installation Manual. If you do not follow the procedure in order, the image trouble may occur. 1. Outline of installation procedures DK-P02* PF-P16 PF-P15 AU-201S...
-
Page 2: Installation Space
2. Installation space 3. Pre-installation check items To make it easier to control, replace the consum- (1) Select a level and stable place for installing the ables, inspect, and etc., maintain some space for machine. installation shown below. (2) Be sure to use a power source of the voltage and frequency indicated in the product specifications. -
Page 3: Accessory Parts
5. Accessory parts 6. Unpacking the machine (1) Open the packing carton and remove the acces- Name Q’ty sory parts and cushions. 1. Quick start guide (2) Raise and remove the packing carton. 2. Installation manual 1 set (3) Assign two or more persons and put their hands at the positions indicated in the illustration to 3. - Page 4 7. Removing protective tape, packing and (4) Press the front door button to open the front door. other shipping materials (1) Remove tapes for protective sheet and get rid of the protective sheet. (2) Remove all protective tapes and protective mate- rials used for fixing the machine housing.
- Page 5 (7) Shake the imaging unit from front to back and (9) Reinstall the imaging unit. from side to side. Note: Align the arrows on the imaging unit with the arrows on the machine. (8) Remove the protective materials from the imag- ing unit.
-
Page 6: Loading The Tray
8. Loading the tray 1 (11) Reinstall the toner cartridge. Note: (1) Slide the paper guides to the appropriate paper Align the arrows on the toner cartridge with the size. arrows on the machine (2) Fix the paper guide. (3) Set paper with the printing side downward. (12) Close the front door. -
Page 7: Starting Procedure
4752/4052 H SERVICE MODE > 2. Starting procedure 2. Starting procedure NOTE ▪ Ensure appropriate security for Service Mode function setting procedures. They should NEVER be shown to any unauthorized person not involved with service jobs. 2.1 Procedure 1. Touch Menu. -
Page 8: Setting Procedure
4752/4052 H SERVICE MODE > 3. Setting procedure 3. Setting procedure 1. Press the key corresponding to the function you would like to change the setting for. Keys or setting screens will appear for each function. Ex.: System 1 1. Press the key for the item that you would like to change the setting for. Setting screens will appear for each item. -
Page 9: Exiting Procedure
4752/4052 H SERVICE MODE > 4. Exiting procedure 4. Exiting procedure 1. Touch [Exit] on the Service Mode screen. 2. Turn OFF the main power switch. Wait 10 seconds, then turn ON the main power switch again. -
Page 10: Installing Options
9. Installing options 11. Starting the machine To install options, refer to the installation manual for Turn ON the power switch on the rear of the main each option and follow the “Installation Procedures.” body. 10. Connecting the power cord 12. -
Page 11: Configuring Options
15. Performing Non-Image Area Erase 16. Configuring options Check (1) If any of the following options are installed, refer to the “Configuration procedures” of the installa- Note: tion manual for each option and configure the Perform the below at the site where customer option(s). -
Page 12: Connecting The Network Cable
19. Connecting the network cable 21. Confirming the copy sample (1) Connect the main body and networking equip- After completing all the steps, take a sample copy ment (HUB) using the network cable. and confirm the image. If image troubles occur, first turn OFF and ON the Main Power Switch, and then Note: redo the steps from E-7 “12. -
Page 13: Installation Procedures
UK-219 Upgrade Kit INSTALLATION MANUAL 1. Accessory parts • This manual provides the illustrations of the accessory parts and machine that may be Name Shape Q’ty slightly different in shape from yours. In that case, instead of the illustrations, use the 1. -
Page 14: Configuration Procedures
3. Configuration procedures (4) Insert the memory into the slot shown in the illus- tration in the MFP board at an angle while paying <Check after the memory has been Installed> attention to the insertion direction. (1) Plug the power cord into the power outlet and turn ON the power switch.


Need help?
Do you have a question about the bizhub 4752 and is the answer not in the manual?
Questions and answers