Advertisement
CWDM‐xxxxxCR‐B
Mux/Demux and Optical Add/Drop Multiplexer Modules
Quick Start Guide
Passive optical CWDM devices utilize thin‐film filter technology. They are available in various wavelength
combinations based on the entire wavelength spectrum (1270nm–1610nm in 20nm increments) defined by the
ITU‐T G.694.2 CWDM standard. The CWDM modules are available in two main configurations: Mux/Demux
modules and Optical Add/Drop Multiplexer (OADM) modules. Each module is a pluggable device that slides into a
one rack unit (1RU) chassis that can hold two modules and mount into a 19" equipment rack.
Note: See the User Guide for important Product Description, Ordering Information, Application Examples, Unpacking,
Rack Mount Safety Instructions, Installation, Front Panels, Fiber Cable Handling & Installation, CWDM and OADM Theory
of Operation, CWDM Wavelength specifics, Specifications, Troubleshooting, and Product and Box Label information.
Unpacking
: Carefully unpack the mux. Verify you have received one mux, one support card, and one printed Quick
Start Guide. Save the packaging for possible future use.
Installation
: The CWDM modules install into the optional CWDM‐MB19R2 mounting bracket for installation in a
free‐standing rack. 1. Locate the CWDM module and bracket. 2. Mount the Bracket to the equipment rack, using four
screws. 3. Pull the CWDM mounting plungers fully out. 4. Slide the CWDM module into one of the slots. 5. Secure the
CWDM module to the bracket.
Front Panels
Add/Drop Mux Front Panel:
CWDM Front Panels
33793 Rev. A
: The CWDM modules have no LEDs as shown below.
4‐Channel CWDM Mux Front Panel (CWDM‐M551LCR‐B)
8‐Channel CWDM Mux Front Panel (CWDM‐M947LCR‐B)
http://www.transition.com/
Page 1 of 2
Advertisement
Table of Contents

Related Manuals for Transition Networks CWDM Series


Summary of Contents for Transition Networks CWDM Series
- Page 1 CWDM‐xxxxxCR‐B Mux/Demux and Optical Add/Drop Multiplexer Modules Quick Start Guide Passive optical CWDM devices utilize thin‐film filter technology. They are available in various wavelength combinations based on the entire wavelength spectrum (1270nm–1610nm in 20nm increments) defined by the ITU‐T G.694.2 CWDM standard. The CWDM modules are available in two main configurations: Mux/Demux modules and Optical Add/Drop Multiplexer (OADM) modules. Each module is a pluggable device that slides into a one rack unit (1RU) chassis that can hold two modules and mount into a 19” equipment rack. Note: See the User Guide for important Product Description, Ordering Information, Application Examples, Unpacking, Rack Mount Safety Instructions, Installation, Front Panels, Fiber Cable Handling & Installation, CWDM and OADM Theory of Operation, CWDM Wavelength specifics, Specifications, Troubleshooting, and Product and Box Label information. Unpacking : Carefully unpack the mux. Verify you have received one mux, one support card, and one printed Quick Start Guide. Save the packaging for possible future use. Installation : The CWDM modules install into the optional CWDM‐MB19R2 mounting bracket for installation in a free‐standing rack. 1. Locate the CWDM module and bracket. 2. Mount the Bracket to the equipment rack, using four screws. 3. Pull the CWDM mounting plungers fully out. 4. Slide the CWDM module into one of the slots. 5. Secure the CWDM module to the bracket. Front Panels Add/Drop Mux Front Panel: CWDM Front Panels : The CWDM modules have no LEDs as shown below. 4‐Channel CWDM Mux Front Panel (CWDM‐M551LCR‐B) 8‐Channel CWDM Mux Front Panel (CWDM‐M947LCR‐B) 33793 Rev. A http://www.transition.com/ Page 1 of 2 ...
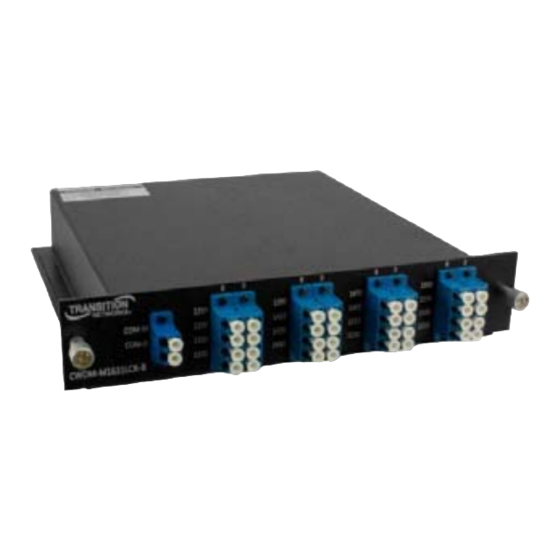
- Page 2 Transition Networks CWDM‐xxxxxCR‐B Quick Start Guide 16‐Channel CWDM Mux/Demux Front Panel (CWDM‐M1631LCR‐B) Handling Fiber Cables : Inspect the ends of all connectors for dust or imperfections. Keep the connectors’ protective cover on when not in use. Use care in handling all fiber‐optic connectors. Inspect fiber ends for signs of damage. Always clean and inspect fiber connectors before making a connection. Installing Fiber Cables : To install the fiber cables: 1. Remove the protective cover from the port. 2. Locate a 2‐ strand fiber cable with the appropriate male connectors installed on both ends. 3. Carefully insert the fiber cable into the CWDM and the device. Connections CWDM Mux/Demux right; CWDM Add/Drop Mux far right: CWDM Connections The figure below shows Transition Networks CWDM Mux/Demux & Add/Drop Mux modules. In the figure, λ1 indicates Lambda 1 (for one particular wavelength). Troubleshooting: 1. Make sure the fiber connectors are clean; see the FOA.org termination cleaning webpage. 2. Make sure your model supports the feature or function attempted. 3. Verify the install process. 3. Troubleshoot connected network devices to point to the switch. 4. When calculating optical loss, ensure that the total loss, plus a safety factor (typically 3dB) does not exceed the optical power budget (the difference between the transmitter optical output power and the receiver’s optical sensitivity). See the equipment manufacturers’ documentation for transmitter optical output power and receiver optical sensitivity values. 5. See the FOA.org Testing & Troubleshooting Fiber Optic Systems webpage. 6. Record device information and Contact Tech Support. Contact Us: Tech Support 24‐hours a day US & Canada: 1‐800‐260‐1312. Intl: 00‐1‐952‐941‐7600. Main Office: tel: +1.952.941.7600 | toll free: 1.800.526.9267 | fax: 952.941.2322 sales@transition.com | techsupport@transition.com | customerservice@transition.com Address: 10900 Red Circle Drive | Minnetonka, MN 55343, U.S.A. | ...
Need help?
Do you have a question about the CWDM Series and is the answer not in the manual?
Questions and answers