Table of Contents
Advertisement
Advertisement
Table of Contents

Subscribe to Our Youtube Channel
Related Manuals for Hercules DJMONITOR 32


Summary of Contents for Hercules DJMONITOR 32
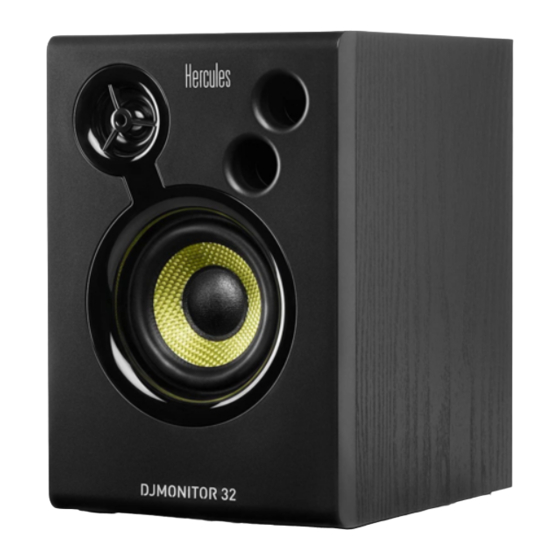
- Page 1 DJMONITOR 32...
-
Page 2: Table Of Contents
Package contents ....................3 1.2. Specifications ......................3 1.3. Recommendations ....................4 INSTALLING THE DJMONITOR 32 SPEAKER KIT ..........4 2.1. Positioning the speakers ..................4 2.2. Connecting the speaker kit ..................5 2.2.1. Connection to a PC .................... .6 2.2.2. -
Page 3: Introduction
DJMONITOR 32 INTRODUCTION 1.1. Package contents 2 amplified satellite speakers 1 jack (male) / 2 RCA (male) cable 1 connection cable between the satellite speakers 1 power cable User manual 1.2. Specifications Output power (effective power) Satellite speakers: 2 x 15 W RMS... -
Page 4: Recommendations
The speaker kit's power plug serves to power off the device and must therefore be easily accessible at all times. Markings are located on the back of the speakers. INSTALLING THE DJMONITOR 32 SPEAKER KIT 2.1. Positioning the speakers Place the satellite speakers on a desk to either side of your monitor, keeping them at least 50 cm away from the side walls. -
Page 5: Connecting The Speaker Kit
DJMONITOR 32 2.2. Connecting the speaker kit Switch off the audio source (PC, television set, DVD player) to which you wish to connect your speaker kit. - General connection diagram: Right speaker Left speaker On/Off switch Power connector Connectors for main audio input... -
Page 6: Connection To A Pc
DJMONITOR 32 - Right speaker with controls: Master volume control knob Power LED 2.2.1. Connection to a PC Connect your speaker kit's main input (RCA connectors on the back of the right satellite speaker) to the green FRONT SPEAKERS or FRONT OUT connector on your sound card or on the sound card integrated into your computer's motherboard, using the included jack (male) / 2 RCA (male) cable. -
Page 7: Using Your Djmonitor 32 Speaker Kit
DJMONITOR 32 USING YOUR DJMONITOR 32 SPEAKER KIT Switch on the audio source you wish to use (PC, television set, DVD player). Plug your speaker kit’s power cable (4) into an electrical outlet. Set the On/Off switch (3) to ON. - Page 8 Hercules product. In other countries, the warranty period corresponds to the time limit to bring an action for conformity with respect to the Hercules product according to applicable laws of the country in which the consumer was domiciled on the date of purchase of the Hercules product (if no such action exists in the corresponding country, then the warranty period shall be one (1) year from the original date of purchase of the Hercules product).
- Page 9 During the warranty period, Guillemot shall not provide, in principle, any spare parts, as Technical Support is the only party authorized to open and/or recondition any Hercules product (with the exception of any reconditioning procedures which Technical Support may request that the consumer carry out, by way of written instructions – for example, due to the simplicity and the lack of confidentiality of the reconditioning process –...
- Page 10 DJMONITOR 32 COPYRIGHT © 2019 Guillemot Corporation S.A. All rights reserved. Hercules® is a registered trademark of Guillemot Corporation S.A. All other trademarks and brand names are hereby acknowledged and are property of their respective owners. Illustrations not binding. Contents, designs and specifications are subject to change without notice and may vary from one country to another.
Need help?
Do you have a question about the DJMONITOR 32 and is the answer not in the manual?
Questions and answers