Table of Contents
Advertisement
Quick Links
Advertisement
Table of Contents

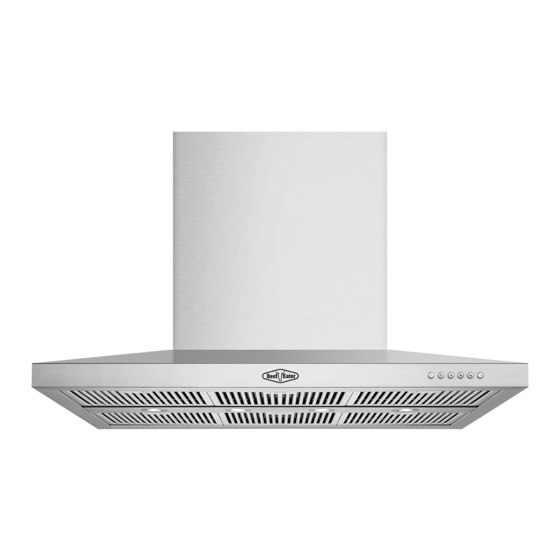
Summary of Contents for Beef Eater BRC214SA
- Page 1 RANGEHOOD Assembly and Operating Instructions BRC214SA AUSTRALIA / NEW ZEALAND...
-
Page 2: Table Of Contents
CONGRATULATIONS CONTENTS IMPORTANT SAFETY INSTRUCTIONS Thank you for purchasing a BeefEater cooker hood. Important safety instructions .......... 3 • Always switch off gas burners before you remove IMPORTANT INFORMATION THAT MAY You’ve chosen a product that brings with it decades of pots or pans. -
Page 3: Product Description
COOKER HOOD INSTALLATION Dimensions ø 200 780~1077 1220 Components list PART MODEL WIDTH HEIGHT DEPTH WEIGHT BRC214SA 1200mm 780~1077mm 730mm 50.2kg Ceiling mount bracket Upper flue cover 1 (427mm) Lower flue cover 1 (500mm) Wall bracket Air outlet with non-return valve... - Page 4 COOKER HOOD INSTALLATION COOKER HOOD INSTALLATION Using a spirit level mark a vertical centre line on the * If the instructions of the cooker specifies a greater Install flue cover wall mounting brackets with suitable Use cable ties or suitable duct tape to secure flexible wall where the cooker hood is to be positioned, and distance than the minimum height stated, then that fixings.
-
Page 5: Using The Cooker Hood
USING THE COOKER HOOD Circuit connection for gas solenoid valve: Ensure locking tab of lower flue cover is bent before Control operation installing covers. Solenoid valve Power supply for solenoid valve 1 Lamp on/off 4 Speed 2 2 Delay end 5 Speed 3 3 Speed 1 6 Speed 4 (maximum) -
Page 6: Maintenance And Cleaning
MAINTENANCE AND CLEANING MAINTENANCE / TROUBLESHOOTING 2. Pull down the filter lock level and then pull the filter To remove the lamp, ensure the power to the hood has WARNING! assembly down and out of the hood. been disconnected. Then use a screwdriver to push the Before maintenance or cleaning is carried out, the cooker LED lamp assembly out of the hood body. -
Page 7: Typical Installations Showing Accessory Applications
TYPICAL INSTALLATIONS SHOWING ACCESSORY APPLICATIONS ACCESSORIES (200mm) ROOF COWL ACCESSORY Some installations may require a vertical discharge cowl. FLUE (extension may be required, depending on installation) NOTE: Flue positioning with flexible ducting or bends will be required to create sufficient clearance between the flue pipes to allow for weather proofing fittings when penetrating roof lines. -
Page 8: Warranty
ODELS: BRC214SA EX. VIEW DRAWING 956004006 CIRCUIT DIAGRAM Warranty CIRCUIT DIAGRAM FOR SALES IN AUSTRALIA AND NEW ZEALAND APPLIANCE: BEEFEATER RANGEHOODS (d) damage to the Appliance caused by: This document sets out the terms and conditions of the product warranties for BeefEater Appliances. It is an important document. - Page 9 For more information on all BeefEater products, or for dimension and installation information, call into your retailer, phone or email our customer care team or visit our website: AUSTRALIA phone: 1300 307 939 fax: 1800 356 669 email: customercare@electrolux.com.au web: beefeaterbbq.com NEW ZEALAND phone: 0800 436 245...

Need help?
Do you have a question about the BRC214SA and is the answer not in the manual?
Questions and answers