Advertisement
Quick Links
Advertisement

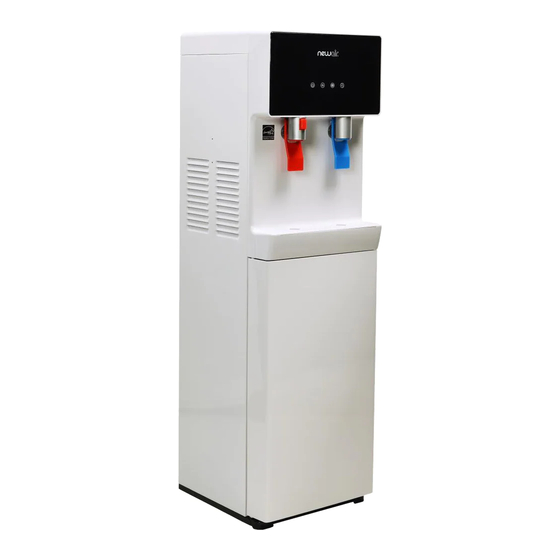
Summary of Contents for NewAir WAT40
- Page 1 WAT40 Water Dispenser OWNERS MANUAL Read and save these instructions.
- Page 2 Count on NewAir. As a proud NewAir owner, welcome to our family. There are no robots here, real people shipped your product and real people are here to help you.
-
Page 3: Table Of Contents
Safety Information & Warnings ................4 Disposal Guidelines ..................5 Parts List ....................... 6 Installation & Setup ..................... 6 Cleaning & Maintenance ..................9 Troubleshooting ....................10 Limited Manufacturer’s Warranty ..............11 SPECIFICATIONS WAT40 ODEL 115 V OLTAGE 60 Hz REQUENCY 120 W OOLING... -
Page 4: Safety Information & Warnings
Never remove the round grounding prong from the plug and never use a two-prong grounding adaptor. Use of an extension cord is not recommended. Do not pull or place strain on the power cord when moving the appliance. http://www.NewAir.com... -
Page 5: Disposal Guidelines
Altering or cutting of power cord, removal of power cord, removal of power plug, or direct wiring can cause serious injury, fire, or loss of property and/or life, and will void the warranty. If the power cord is damaged, it must be replaced by an electrician or specialized technician authorized by the manufacturer in order to prevent fire. -
Page 6: Parts List
PARTS LIST INSTALLATION & SETUP Before connecting the appliance to a power source, let it stand upright for approximately 2 hours. This will reduce the possibility of a malfunction in the cooling system from handling during transportation http://www.NewAir.com... - Page 7 LOCATION The water dispenser should be placed on a firm, even foundation to minimize noise and vibration. Do not place the dispenser in direct sunlight or near other heat producing appliances. To avoid accidental water damage, locate it away from furniture or other appliances.
- Page 8 Place the probe into the bottle and slide the collar down until it clicks into place. Push the head down until the tubes hit the bottom of the bottle. Slide the bottle into the cabinet and shut the door. http://www.NewAir.com...
-
Page 9: Cleaning & Maintenance
CLEANING & MAINTENANCE Make sure the power switch is in the off positions and unplug the unit from the electric outlet before performing any maintenance or servicing the product. CLEANING THE HOUSING Use a soft, damp cloth to wipe the body clean. Clean the drip tray and storage cabinet as needed. -
Page 10: Troubleshooting
There is no water The water bottle may Replace the water bottle. flow. be empty. The unit is noisy. The unit is not on a flat Place the machine on a flat and level surface. and level surface. http://www.NewAir.com... -
Page 11: Limited Manufacturer's Warranty
When making a warranty claim, please have the original bill of purchase with purchase date available. Once confirmed that your appliance is eligible for warranty service, all repairs will be performed by a NewAir™ authorized repair facility. The purchaser will be responsible for any removal or transportation costs.


Need help?
Do you have a question about the WAT40 and is the answer not in the manual?
Questions and answers