
Subscribe to Our Youtube Channel
Related Manuals for Clare Controls CVP-B3DB50-ODIW


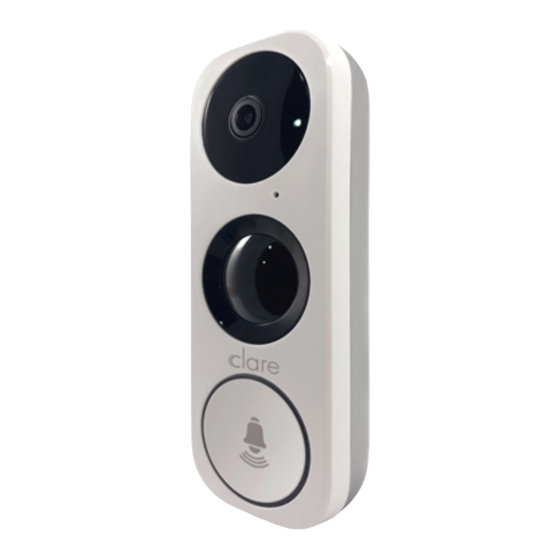
Summary of Contents for Clare Controls CVP-B3DB50-ODIW
- Page 1 Clare Video Doorbell v3 Model CVP-B3DB50-ODIW QR code QR code required for doorbell registration. Keep the QR code for your records. Last modified: 09/26/19 DOC ID - 1890 • Rev 01...
- Page 3 Copyright © 26SEP19 Clare Controls. All rights reserved. This document may not be copied in whole or in part or otherwise reproduced without prior written consent from Clare Controls, LLC., except where specifically permitted under US and international copyright law.
-
Page 5: Table Of Contents
Content Package contents...1 Installation notes...1 Power kit installation...2 Doorbell installation...4 Appendix...8 Warranty information...10 Contact information...10... -
Page 6: Package Contents
Package contents Installation notes • You may need a pencil and power drill. • If you have a mechanical chime installed in your home, install the power kit and doorbell. • If you have an electronic chime, refer to the chime’s manual for installs with the power kit, and doorbell installation. -
Page 7: Power Kit Installation
Power kit installation Follow these instructions to ensure that the power kit is installed correctly. Serious injury or death may occur if any of the warnings are ignored. Injury or equipment damage may occur if any of the cautions are neglected. Figure 1: Wiring overview To install the power kit: 1. - Page 8 4. Remove the existing chime wires from the terminals labeled TRANS and FRONT. 5. Connect the wire harness to the chime’s terminals labeled TRANS and FRONT. 6. Insert the existing chime wire and the other end of the wire harness into the wire connector and twist it tightly.
-
Page 9: Doorbell Installation
8. Replace the chime cover. Clare Video Doorbell (CVD) installation Follow these instructions to ensure that the doorbell is installed correctly. Serious injury or death may occur if any of the warnings are ignored. Injury or equipment damage may occur if any of the cautions are neglected To install the doorbell: 1. - Page 10 3. Insert the mini-level into the mounting plate, and then mark the drill points when the level’s bubble stays in the center. Note: Remove the mini-level after marking the drill points. 4. Drill holes according to the drill points, and then insert the anchors. 5.
- Page 11 7. If you have a chime installed follow option A; if not, follow option B. Option A Connect the doorbell with your existing doorbell wires. Option B Connect the fuse wire with your existing doorbell wire. 8. Use the doorbell screws to affix the doorbell to the mounting plate. 9.
- Page 12 Notes • When the doorbell flashes blue quickly, it is powered on. Continue doorbell setup. If the doorbell does not power on, verify the electricity is off, and then check the wiring. • Due to the internal “chime” battery charging requirements, first time doorbell chime operation may take up to 3 hours 10.
-
Page 13: Appendix
After connecting to network, return to CVP app, CVD should now join the target network. The following voice prompts should be heard during this process: “Connecting to Wi-FI, please wait.” “Platform registration successful.” “Configuration complete.” Follow remaining on-screen prompts. 11. Put the faceplate back and insert two security screws into the bottom of the doorbell to secure the faceplate. - Page 14 LED indicator Blue light Flashing Doorbell is ready for Wi-Fi configuration Steady on Doorbell is working Red light Flashing fast Device exception Steady on Doorbell is powering on SD card management 1. In the app, tap the Storage Status in the Devices Settings interface to check the SD card status.
-
Page 15: Warranty Information
Warranty information Clare Controls offers a three (3) year limited warranty on original Clare Controls components, from the date of shipment from Clare Controls. To view complete limited warranty details, including limitations and exclusions, www.clarecontrols.com/warranty. Scan the code to view...
Need help?
Do you have a question about the CVP-B3DB50-ODIW and is the answer not in the manual?
Questions and answers