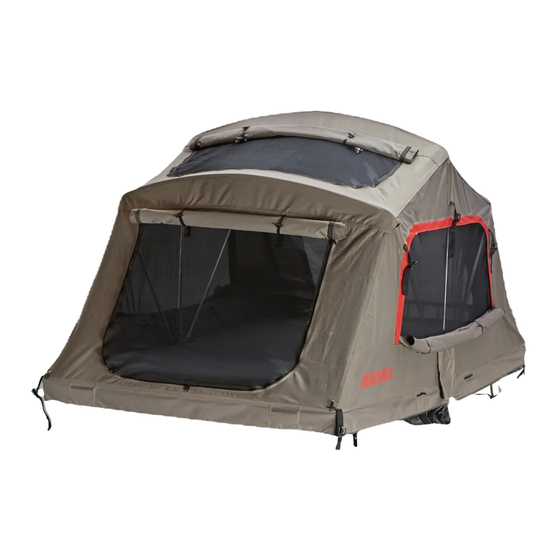
Summary of Contents for Yakima SkyRise
- Page 1 SkyRise CONTENTS Tent (1X) Mounting Hardware (4X) RoundBar Adapter (4X) Ladder (1X) Rainfly (1X) Key (2X) Ladder Bracket (2X) Rainfly Rod (8X) Cover (1X) Ladder Hardware (2X) Rod Bag (1X)
-
Page 2: Read Me First
Yakima products. Please note that virtually all factory crossbars are too flexible for Roof-Top tents. So vehicles on the approved Fit list will still require a Yakima base rack system. If we have not tested your particular vehicle and rack system, you can use the checklist below to evaluate whether your vehicle and rack system may support a SkyRise. - Page 3 Unzip the tent, remove them, and set them aside. holes Note: Have a friend help hold tent steady. Attach the Mounts to Bottom of the SkyRise. Orient mounts horizontally for a side opening: Orient mounts vertically for a rear opening: no locks...
- Page 4 Flip SkyRise over to rest on clamps. Locate the predrilled holes under the stickers near the edge. Lay the ladder mounting brackets over the holes. Orient them as shown here. Thread a washer onto each of the long screws. Reach in through the opening in the tent, and insert the long screws up through the tent floor, and through the ladder brackets.
- Page 5 B. Measure the distance between the crossbars on your vehicle. C. Tilt the SkyRise back on its end. Open all the clamps completely. Set the distance between the clamps by sliding them along their tracks so that they will match up with your crossbar spread.
- Page 6 SkyRise onto your vehicle’s crossbars. If you have Yakima roundbars you must use the included roundbar adapters. The adapters go around the roundbars, and the clamps fit over the adapters. Tighten the clamps around your crossbars.
- Page 7 With a secure grasp on the ladder, use it is needed adjust the next highest rungs. Listen for to fully lower the SkyRise until it’s open, a“click” as rungs lock into place. Never adjust and the floor of the tent is flat. Rest the the ladder from the lower rungs! The tent floor feet of the ladder on the ground.
- Page 8 The easiest way to deploy the rainfly is from within the tent. With the rainfly attached to the tent climb inside, and open the 3 side windows. Reach through the side windows and find the 2 flaps on each side of the tent. Place the straight ends of 4 rods into the holes beneath the side flaps, and hook the curved ends into the grommet holes on the rainfly.
-
Page 9: Weight Limits
CLOSE & SECURE Never operate your vehicle with the SkyRise open! You must close and secure your SkyRise before driving. Use the ladder to fold the tent back onto itself. Collapse the ladder and fully retract it. Secure the velcro straps. Unroll and replace the protective cover, zip it closed, and buckle it up. -
Page 10: Important Warnings
Record Height Here. IMPORTANT WARNINGS • Remove your tent and Yakima Rack before entering an automated car wash. • Do not use fuel burning, oxygen consuming devices inside the tent. This includes: candles, gas lanterns, kerosene lamps, stoves, cooking and heating appliances. - Page 11 Roof-Top Tent Care and Maintenance Your Roof-Top Tent is designed to be a durable companion on your adventures. In order to keep it performing at its best, we recommend some simple care and maintenance steps that will help prolong the life of your Roof-Top Tent. •...


Need help?
Do you have a question about the SkyRise and is the answer not in the manual?
Questions and answers