Advertisement
Quick Links
Advertisement

Related Manuals for Premium LID Q15P


Summary of Contents for Premium LID Q15P
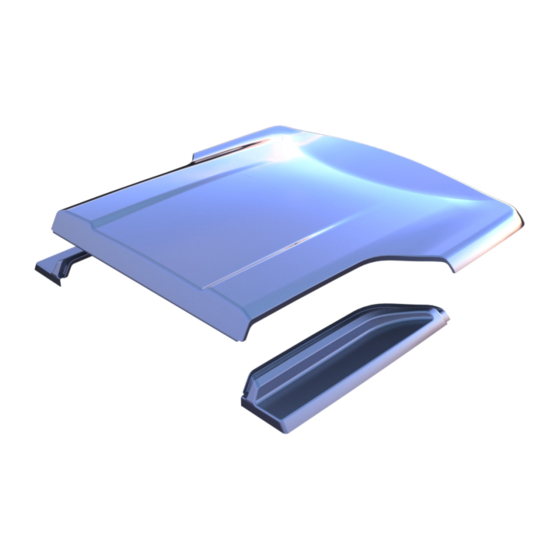
- Page 1 Q15P Mitsubishi MQ Triton Dual Cab Q15P Page 1 of 12...
- Page 2 Fitting Instructions Part Number Q15P Mitsubishi MQ Triton Dual Cab 2015+ To suit Sports Bars Check contents of kit before commencing fitment and report any discrepancies *Image example shown only • Do not stand/sit or rest heavy objects on Tonneau Cover •...
- Page 3 Installation Steps Flow Chart START SPORTS BAR REMOVAL TUB PREP FOR LID INSTALL LID INSTALL AND ADJUSTMENT FINISH Q15P Page 3 of 12...
- Page 4 Remove white paper tape from rubber seal and attach the FBA using self-drilling screws (supplied) through holes pre-drilled in bar. Apply clear or black silicone to any gaps and between the FBA and the vehicle to pre- vent water entry. Q15P Page 4 of 12...
- Page 5 Fig.3 - Gas strut bracket fitment Attach small shaft end of gas strut onto gas strut brackets, by clicking them in place. Refer to Fig.4 with regard to gas strut orientation. Fig.4 - Gas strut orientation Q15P Page 5 of 12...
- Page 6 Ensure the inside of the foot caps is clean. Apply a bead of non acetic silicon (not supplied) around the inside surface of the foot cups. Re-attach foot cups to the sports bar feet to ensure silicon seals foot cups. Ensure silicon does not protrude above foot cups. Q15P Page 6 of 12...
- Page 7 Pull down on the sports bar and attach bar with attachment washers and bolts to torque setting 20Nm into the tub. Repeat for the other side of the vehicle. Q15P Page 7 of 12...
- Page 8 With the Hard Tonneau Cover opened, attach the cylinder end of each gas strut onto the mounting brackets attached to the Hard Tonneau Cover by clicking into place Refer to Fig. 9 Important: Ensure tongues are fully inserted into the hinge slots with hinge pin securely in place. Q15P Page 8 of 12...
- Page 9 Adjust nuts on latch bar to alter height of bar to suit. Repeat for the opposite side. Important: If you have purchased a Central Locking Ute Lid please ignore the next page concerning Lock Bracket Installation and Lock Bracket adjustment. Q15P Page 9 of 12...
- Page 10 Use an Allen key to loosen the hex key screw on the catch and tension cable so it is tight but doesn’t move the catch at all, then re-tighten the hex key screw. Q15P Page 10 of 12...
- Page 11 FIGURE 2 NOTE: 2 people are required to lift and re- move the tonneau cover from the vehicle. 2. Remove hinge pins (1) and remove tonneau cover (2). Refer to figure 3. FIGURE 3 Q15P Page 11 of 12...
- Page 12 Wash Hard Tonneau Cover using water and normal carwash detergent and polish with an automo- tive polish. Please ensure Lid is kept locked at all times when not being used, for both safety and longevity. NOTE: Having trouble? Call your Supplier. Q15P Page 12 of 12...
Need help?
Do you have a question about the Q15P and is the answer not in the manual?
Questions and answers