Advertisement
Quick Links
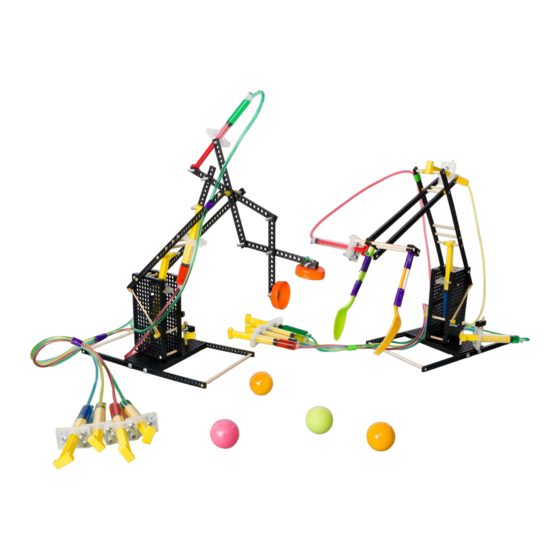
Hydraulics are AMAZING!
Use the power of water to control a machine.
This guide will help you create
your own Hydraulic Arm.
Perfect for Grades: 3+
Difficulty: Beginner
THINKING AHEAD
What kinds of objects can you
move with different gripper designs?
Download Documents
teachergeek.com
at
Advertisement

Related Manuals for TeacherGeek Hydraulic Arm


Summary of Contents for TeacherGeek Hydraulic Arm
- Page 1 Hydraulics are AMAZING! Use the power of water to control a machine. This guide will help you create your own Hydraulic Arm. Perfect for Grades: 3+ Difficulty: Beginner Download Documents teachergeek.com THINKING AHEAD What kinds of objects can you move with different gripper designs?
- Page 2 Page...
- Page 3 Below is the list of “ingredients” you’ll need for each Hydraulic Arm Build. Available as a 10 pack, which includes extra parts for your own innovative creations! Connector Blocks Cable Tie Tubing 300mm (12″) 100mm (3″) cut to Strips Dowels Slide Stop a 2.85m (10ft) piece...
-
Page 4: Quick Tip
Hydraulic Systems are the foundation of how this build design functions. Follow the steps below to connect and fill cylinders to create your own hydraulic system. Please note: in order to work properly, there can be no air bubbles in the cylinders or tubes. - Page 5 From the end of a dowel, measure Push, wiggle or tap the 55mm (2 ⅛″) and cut three 55mm (2 ⅛″) sections - dowels into the holes of a connector strip as shown below. save the extra, you will use this later. Push, wiggle or tap a second connector Ream the two holes marked with a strip onto the 55mm (2 ⅛″) dowels.
- Page 6 150mm (6″) dowel. ends of the connector strips from Step 13 to complete the base. Good job! You just completed the base and first boom of your hydraulic arm. You should be able to pivot the boom at the fulcrum. Page...
- Page 7 With the 60cm (24″) hydraulic systems Cut a 150mm (6″) dowel and insert from Steps 1-6, ream the hole marked through the reamed hole from Step 15. on one of the cylinder’s pistons. with a Cut two 6mm (¼″) sections of slide stop Insert the 150mm (6″) dowel in between the base connector strips and insert the pegs of the cylinder in...
- Page 8 Create a second boom by cutting two Ream the four holes marked with a 45mm (1¾″) dowels and inserting them between two connector strips. Cut a 65mm (2½″) dowel and slide With the 85cm (34″) hydraulic systems through the reamed holes to connect from Steps 1-6, ream the hole marked the first and second boom.
- Page 9 Quick Experiment! Change where the cylinders attach to your arm to allow it to move as far in and out as possible. Start to create the gripper by cutting Cut two 110mm (4⅜″) dowels and push, two 90mm (3½″) dowels and push, wiggle, or tap into the outside holes of wiggle, or tap into the center holes of one of the blocks from Step 25.
- Page 10 Use the remaining hydraulic system Use a cable tie to attach the from Steps 1-6 (the 13mL cylinder cylinder’s piston to the dowel connected to the 4.5mL cylinder) with the sliding block. and insert the two dowels into the holes of the 4.5mL cylinder. Place two blocks on the ends of the Cut the last two holes off the 60mm (2 ⅜″) dowels to complete the...
- Page 11 Use different colored markers, tape, or colored water in the cylinder tubing to identify which control panel cylinders connect to which arm parts. If you are going to do the optional Fluid Power Lab, now’s the time teachergeek.com/learn Documents at Page...
Need help?
Do you have a question about the Hydraulic Arm and is the answer not in the manual?
Questions and answers