Advertisement
Quick Links
For technical assistance or troubleshooting
please call 1-855-994-2825 or visit www.sibrandssupport.com
This product Wall Mount frame is intended for use only with an apparatus which has a maximum weight of 66 lbs. See apparatus
instructions. Using with an apparatus heavier than the maximum weight indicated may result in instability and cause possible
injury.
READ THIS FIRST Read this entire manual! Do not attempt to install this product if you do not understand the instructions.
Contact a qualified mount installer if you have any doubts about a safe and secure mount installation, or if you are not sure what
specific wall materials you are attaching this mount to. Check all the parts carefully to make sure there are no missing or
damaged parts. Improper installation may result in damage to your TV, property, and personal injury.
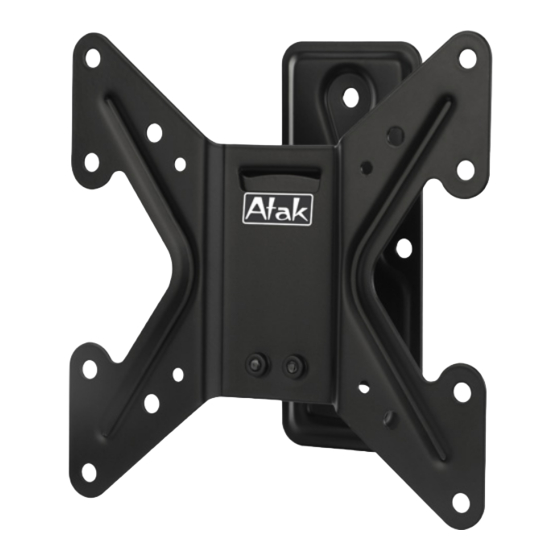
Tilting & Swiveling
Flat Panel Wall Mount
Installation Guide
Model: AXS2040
Supports VESA sizes up to: 200x200
20''-40''
66 lbs.
Advertisement

Subscribe to Our Youtube Channel
Related Manuals for Atak AXS2040

Summary of Contents for Atak AXS2040
- Page 1 Tilting & Swiveling Flat Panel Wall Mount Installation Guide Model: AXS2040 20’’-40’’ 66 lbs. Supports VESA sizes up to: 200x200 For technical assistance or troubleshooting please call 1-855-994-2825 or visit www.sibrandssupport.com This product Wall Mount frame is intended for use only with an apparatus which has a maximum weight of 66 lbs. See apparatus instructions.
- Page 2 ATAK...
- Page 3 Parts and Hardware WARNING: This product contains small items that could be a choking hazard if swallowed. Before starting assembly, verify all parts are included and undamaged. NOTE: Not all hardware included will be used. Allen Key Spacers TV Screws M4x12mm M8x22mm M4x30mm...
- Page 4 1-2 Choose Configuration Align the 4 holes on the rear of your TV with the 4 corresponding holes on the TV plate from options 1, 2, or 3. ③ ③ ② ① ① ② ① 100mm x 100mm ② 200mm x 100mm ③...
- Page 5 1-5 Attach the TV Plate to the Rear of the TV Screw and washer Spacer(s), screw and washer Tips: If you need to combine M8(d/h) screw with 2.5mm Spacer(n), you have to remove the inner circle of the Spacer (n).
-
Page 6: Wood Stud Installation
For wood stud installation, follow STEP 2A For concrete installation, follow STEP 2B on PAGE 7 Parts and Hardware Socket tool M8 Washer Lag Bolt M8x60mm Do not use in drywall or wood CAUTION: Wall plate Concrete Wall Anchor 2pcs Wood Stud Installation Min. - Page 7 Use a pencil to mark the center Use a pencil to mark the mounting holes on the of the stud. wall. Make sure the holes will be in the center of the stud. Bolt Head UP! Center line Wall plate CAUTION: To avoid potential personal injury or property damage: Both lag bolts...
- Page 8 Solid Conrete Wall Installation Min. 8"(203mm) ELECTRIC LINE WATER LINE DANGER Use a pencil to mark the Use 3/8” (10mm) drill bit to pre-drill holes at least 2.5” inches mounting holes on the wall. (64mm) deep at the marked locations. Bolt Head UP! 3/8"...
- Page 9 Before hanging TV, please conduct "wall plate installation integrity test" first. 66 LBS (30 kg) Re-attach the Wall Plate and TV Plate using the two screws (#5)
- Page 10 4-1 TV leveling adjustment (±5°): Loosen 2 leveling bolts on the rear of TV plate by maximum 2 turns, adjust to level, and retighten to secure. Loosen Tighten 4-2 Tilting angle adjustment (+5°/-15°) : Pull TV to your desired angle then fasten 2 tilting bolts with Allen key Tilting bolts Tilting bolts...
- Page 11 224mm 200mm 78mm +5° 145mm 224mm 200mm -15° 80mm +15°/-15 °...
- Page 12 We warrant this product to you, the original purchaser at the time of purchase printed on a dated store receipt from an authorized ATAK retailer and for a period of six-years thereafter that our wall mount product and all it’s parts and components are free of defects in material and workmanship under normal use.
Need help?
Do you have a question about the AXS2040 and is the answer not in the manual?
Questions and answers