Advertisement
Quick Links
Advertisement

Subscribe to Our Youtube Channel
Related Manuals for Hoover H-PURIFIER Series


Summary of Contents for Hoover H-PURIFIER Series
- Page 1 ® USER MANUAL...
-
Page 2: Instructions For Safe Use
Make sure all filters are properly installed before you switch on the appliance. Only use the original HOOVER filters specially intended for this appliance. Do not use any other filters. Avoid knocking against the appliance (the air inlet and outlet in particular) with hard objects. - Page 3 Holidays). If the alarm fails to ring after touching the [CO Alert] button for 3 seconds, please contact the Hoover customer care centre to arrange a qualified technician to repair the fault. If the display indicates that the CO sensor is faulty or end of life has been reached, please contact the Hoover customer care centre to arrange a qualified technician to replace the CO sensor.The expected lifetime of the CO sensor is 5 years and must be replaced after this time.
- Page 4 They are not a substitute for a third-party emergency monitoring service. HOOVER service: To ensure the continued safe and efficient operation of this appliance we recommend that any servicing or repairs are only carried out by an authorised HOOVER service engineer.
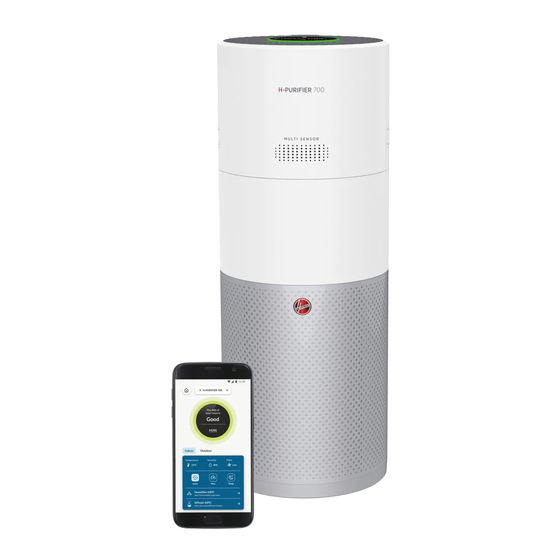
- Page 5 GETTING TO KNOW YOUR H-PURIFIER Air Outlet Control Panel / Display Product Carry Handle Filter Assembly Air Inlet Cover Handle Filter Release Switch Air Inlet Cover Cord Hook Power Cord & Plug Transportation Location Storage Hook Air Quality LED Ring Power Button Child Lock Button Sleep Mode Button...
- Page 6 Multi Sensor Monitoring System Thanks to the Multi Sensor Monitoring System your product will continuously monitor the indoor air condition in terms of PM10, PM2.5, Volatile Organic Compounds (GAS), and Carbon Monoxide concentration (CO). Each time you switch your product on, the Multi Sensor Monitoring system will start analyzing the indoor air and the Air Quality LED Ring will illuminate with different colors representing real time air quality conditions.
-
Page 7: Light Control
USING YOUR H-PURIFIER Plug in the Product [Fig. 2]: Pull out the power cord and plug into a power supply. All lights on the Control Panel / Display will fully illuminate for approximately 1 second to indicate a succesful plug in. The POWER button will be dimly lit and the CO sensor light will be ON to indicate that the Multi Sensor Monitoring System has started working to monitor the indoor Carbon Monoxide level. - Page 8 SLEEP MODE [Fig. 8]: Press the SLEEP mode button to activate air purifying at the lowest silent power setting. The SLEEP mode button will be dimly lit and all other display lights will be off. This can be modified by pressing the LIGHT CONTROL button.
- Page 9 MAINTAINING YOUR H-PURIFIER IMPORTANT: ALWAYS UNPLUG YOUR APPLIANCE FROM THE POWER SUPPLY WHEN PERFORMING MAINTENANCE TASKS. FILTER CLEANING / REPLACEMENT Your H-Purifier will monitor the condition of your filter. FILTER CLEANING button or FILTER REPLACEMENT button will turn yellow indicating action is required to clean or change the filter.
-
Page 10: Troubleshooting
Alert: need call service. malfunctioning yellow ATTENTION: If any of these failures persist, contact your local Hoover representative. DO NOT try to disassemble the H-Purifier by yourself. TROUBLESHOOTING The following is a list of commonly encountered problems and solutions. If any of these problems persist contact your local Hoover representative. - Page 11 IMPORTANT INFORMATION Hoover Spares and Consumables Always replace parts with genuine Hoover spares. These are available from your local Hoover dealer or direct from Hoover. When ordering parts always quote your model number. Quality Hoover’s factories have been independently assessed for quality. Our products are made using a quality system which meets the requirements of ISO 9001.
- Page 12 ® PRINTED IN P.R.C. 48032691/01...
Need help?
Do you have a question about the H-PURIFIER Series and is the answer not in the manual?
Questions and answers