Table of Contents
Advertisement
Quick Links
Advertisement
Table of Contents

Related Manuals for Dahua HAC-HFW2200EP


Summary of Contents for Dahua HAC-HFW2200EP
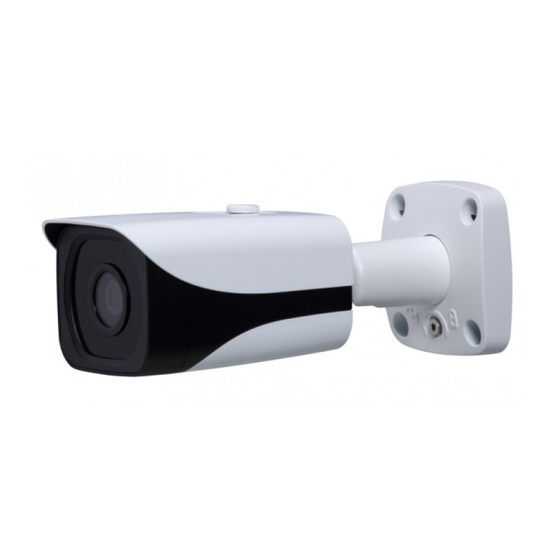
- Page 1 2 Megapixel HDCVI Camera User’s Manual Version 1.0.1...
-
Page 2: Table Of Contents
Table of Contents General Introduction ........................1 Overview ........................1 Features.........................1 Functions ........................1 Specifications ........................1 Framework...........................4 Dimensions........................4 Structure ........................4 Installation ...........................6 Menu.............................8 Menu List ........................8 Note ..........................10 Appendix Toxic or Hazardous Materials or Elements ...............12... - Page 3 Welcome Thank you for purchasing our HDCVI camera! This user’s manual is designed to be a reference tool for your system. Please read the following safeguard and warnings carefully before you use this series product! Please keep this user’s manual well for future reference!
- Page 4 Important Safeguards and Warnings 1.Electrical safety All installation and operation here should conform to your local electrical safety codes. The power shall conform to the requirement in the SELV (Safety Extra Low Voltage) and the Limited power source is rated 12V DC in the IEC60950-1. We assume no liability or responsibility for all the fires or electrical shock caused by improper handling or installation.
- Page 5 Please shut down the device and then unplug the power cable before you begin daily maintenance work. Use the dry soft cloth to clean the device. If there is too much dust, please use the water to dilute the mild detergent first and then use it to clean the device. Finally use the dry cloth to clean the device. Please put the dustproof cap to protect the CMOS component when you do not use the camera.
-
Page 6: General Introduction
1 General Introduction 1.1 Overview This series megapixel HD camera conforms to the HDCVI standard. It supports video signal high-speed long distance transmission without any delay. It can be controlled by the DVR conforming to the HDCVI. 1.2 Features High-performance CMOS image sensor, megapixel definition. HD video, coaxial cable to transmit the control signal. - Page 7 Please refer to the following sheet for specification. Model 2 Megapixel HDCVI Camera Parameter HAC-HFW2200EP/N 1/3" 2 Megapixel CMOS Video Processor PAL/NTSC Video Format 1920 (H) *1080 (V) Effective Pixel Min Illumination 0.05Lux@(F1.2,AGC ON),0 Lux with IR Electronic Shutter Support slow shutter. 1/3s~1/100,000s...
- Page 8 Pan: 0°~360°: Tilt: 0°~90°: Flip: 0°~360° Angle Adjustment 500g Weight Wall mount Installation Mode...
-
Page 9: Framework
2 Framework 2.1 Dimensions Please refer to the following for dimension information. The unit is mm. See Figure 2-1. Figure 2-1 2.2 Structure Please refer to the following figure for structure information. See Figure 2-2. Figure 2-2 Please refer to the following sheet for detailed information. - Page 10 Name Function Lens It is to receive the optical signal from the environments. Sunshield Cover Bracket Support camera body and rotate to adjust monitor angle. Power input port Connect to the DC 12V power to input the power. BNC port is to output HDCVI/CVBS standard definition video signal. Video output port You can connect to the devices such as the DVR or the NVS conforming to the HDCVI specifications.
-
Page 11: Installation
3 Installation Important Before the installation, please make sure the installation surface can sustain at least 3X weight of the bracket and the camera. Please refer to the steps listed below for installation information. Figure 3-1 Step 1 Install the camera bracket according to your installation mode. Before you install the bracket, please pull the cable through the cable exit of the installation surface or pull the cable through the cable exit of the bracket. - Page 12 Step 3 Refer to Figure 3-1 to fix other two self-tapping screws and the secure. Now the camera is fixed on the installation surface. Step 4 Use the L wrench (provided) to loosen the adjusting screw to make the camera can monitor the corresponding surveillance zone.
-
Page 13: Menu
4 Menu On DVR local interface, click the “+” button of the iris on the PTZ control interface, or on the WEB interface, click the “+” button of the iris, you can open the menu interface. Click up/down button to view all the items on the left pane of the following list. Click left/right button to set the corresponding values on the right pane of the following list. - Page 14 The 1 The 2nd The 3 Night Day/Night Auto Color Function 2DNR 0~100 3DNR 0~100 D-Zoom 1~10 Lens Manual/DC Return&Ex Advanced Title Mirror/Flip Mirror OFF/ON Flip OFF/ON Return&Exit Motion Detect Area Sel 0~3 There are four motion detect zones ranging from 0 to 3. You need to set parameters for each zone.
-
Page 15: Note
The 1 The 2nd The 3 Format /1080P@ /720P /720 P@30 0P@50 20P@60 Return&Exi Reset Exit 4.2 Note Parameter Function Brightness It is to adjust monitor window bright. The value ranges from 0 to 100. The default value is 50. The larger the number is, the bright the video is. - Page 16 Anti-flicker Outdoor: In this mode, you can switch exposure mode to get the effect under the corresponding exposure mode. 50Hz: When the current is 50Hz, system can auto adjust the exposure according to the environment brightness in case there is any strip. 60Hz: When the current is 60Hz, system can auto adjust the exposure according to the environment brightness in case there is any strip.
-
Page 17: Appendix Toxic Or Hazardous Materials Or Elements
Appendix Toxic or Hazardous Materials or Elements Toxic or Hazardous Materials or Elements Component Name Cr VI PBDE Circuit Board ○ ○ ○ ○ ○ ○ Component Device Construction ○ ○ ○ ○ ○ ○ Material Wire and Cable ○ ○...
Need help?
Do you have a question about the HAC-HFW2200EP and is the answer not in the manual?
Questions and answers