Table of Contents
Advertisement
Quick Links
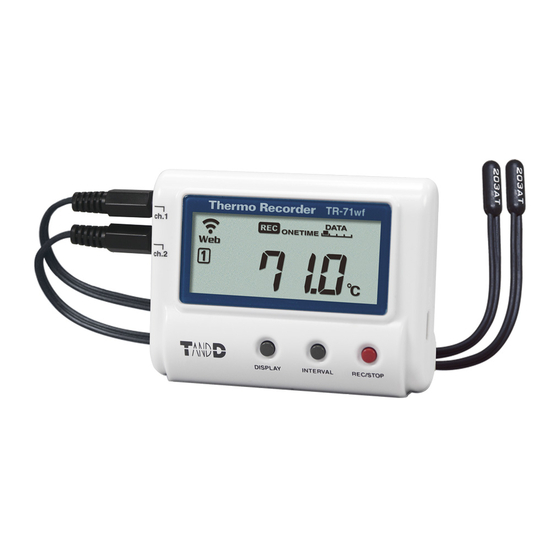
Using the T&D Thermo App with TR-7wf Data Loggers
The T&D Thermo App from T&D Corporation can be used to accomplish a variety of functions
with the TR-7wf Series of Wi-Fi enabled wireless Data Loggers. This convenient App is
available for free download from Apple's App Store for iOS devices, or from Google Play for
Android devices, and can be used on both Smart Phones and Tablets. Once installed, the App
can be used to set up a TR-7wf logger, make device settings for the logger itself, configure
T&D's free WebStorage Service, download recorded data for viewing, local archiving and
sharing with colleagues. Using the T&D Thermo App, it is entirely possible to utilize most
functions of a TR-7wf Data Logger with T&D's WebStorage Service without a PC.
Some of the TR-7wf's most useful features, such as automatic data uploading or warning
notifications, require integration with T&D's free WebStorage Service. Although you can use
the TR-7wf as a simple USB Connected logger, the device relies on connection to the
WebStorage Service for its complete functionality.
1. Using your browser go to
Smart Phone or Tablet, or on a PC if you prefer.
2. Click on Get a User ID.
3. Enter an Email Address and a Password.
4. Your User ID will be sent to this Email address. Note that this is also the email address
to which warning notifications will be sent, if enabled, so choose it accordingly.
T&D Thermo
I) Set up a WebStorage Service Account
www.webstorage-service.com
. This can be a browser on your
Advertisement
Table of Contents

Subscribe to Our Youtube Channel
Related Manuals for T&D TR-7wf Series


Summary of Contents for T&D TR-7wf Series
- Page 1 The T&D Thermo App from T&D Corporation can be used to accomplish a variety of functions with the TR-7wf Series of Wi-Fi enabled wireless Data Loggers. This convenient App is available for free download from Apple’s App Store for iOS devices, or from Google Play for Android devices, and can be used on both Smart Phones and Tablets.
- Page 2 II) Register a TR-7wf Logger to your WebStorage Service Account Tr-7wf Data Loggers can be registered to a WebStorage Service Account in two different ways. The first is through a common Web Browser such as the one that was used to set up your WebStorage Service Account.
- Page 3 II) Connecting to a Wireless LAN Note: If your Wireless Router has a WPS function it is possible to use this to connect a TR-7wf logger to your LAN without using the T&D Thermo App. Instructions for using this method of connection can be found in the Introductory Manual packed in the box with your logger.
- Page 4 6. From the Wireless LAN Settings screen you can configure the TR-7wf to log on to up to three different connection points or networks. To start tap Setting 1. 7. In the Wireless LAN Setting screen enter the SSID for the first network that you would like to connect to.
- Page 5 III) Making Device Settings for the TR-7wf Logger Once the Wireless LAN connection has been set up successfully the next step is to make device settings for the data logger. 1. Connect to the TR-7wf directly from a Smart Phone or Tablet using the T&D Thermo App as following the steps 1) through 4) described in section II above.
- Page 6 IV) Retrieving Recorded Data Directly from the TR-7wf Logger Data recorded in the logger can be downloaded directly to a Smart Phone or Tablet without connection through a LAN. 1. Connect to the TR-7wf directly from a Smart Phone or Tablet using the T&D Thermo App as following the steps 1) through 4) described in section II above.
- Page 7 V) The T&D Thermo App Home Screen When the T&D Thermo App first opens it will default to the Home Screen. Here you will find a list of all TR-7wf loggers that have been registered, a list of data files that have been downloaded to your Smart Phone or Tablet and two rows of buttons for invoking various actions.
- Page 8 C) Bottom Row Buttons 1. Device Settings: To use this Icon first select a TR-7wf logger by tapping on its window. The check mark will turn green to confirm selections. Then, tapping this button will bring up the Device Settings Window. From this screen you can make / change all of the data logger settings that you made earlier in section III).
Need help?
Do you have a question about the TR-7wf Series and is the answer not in the manual?
Questions and answers