Advertisement
Quick Links
Video instructions are available on our website!
Go to: flourishdisplays.com/instructions or scan this code with your QR Code
Reader App for a direct link to our instructions and videos.
Please, assemble the TrimLine at home the first time, not at a show.
Before beginning assembly of your TrimLine, review the enclosed Parts List to familiarize yourself with
the TrimLine, and to confirm that all parts are present.
Also, review these instructions and the instructions for any accessories you have purchased, such as
Awnings, StaBar kit, or Rear Door assemblies. Parts for TrimLine accessories are often installed as the
TrimLine is being set up. Reviewing all instructions before beginning set up will help you get the
necessary accessory parts in place as you set up your TrimLine.
TrimLine
**The
EasyRiser Kit
Visit our website to see all options available for the TrimLine:
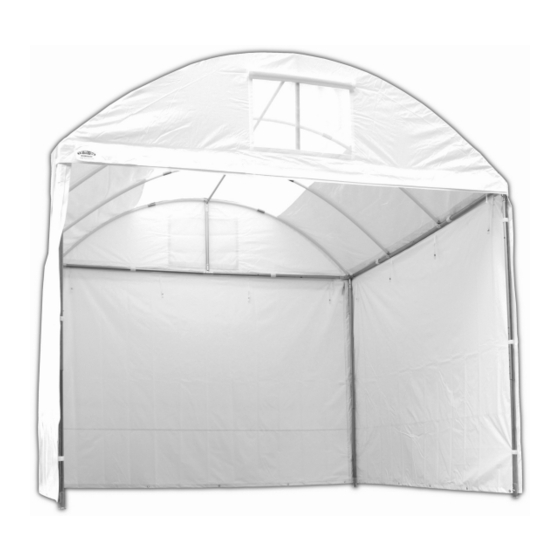
TRIMLINE CANOPY 10' x 10'
Instructions for Assembly
can be set up by one person, made easier with our optional
. As with any canopy though, set up is easiest with help!
flourishdisplays.com
Advertisement

Related Manuals for Flourish TRIMLINE CANOPY 10’ x 10’

Summary of Contents for Flourish TRIMLINE CANOPY 10’ x 10’
- Page 1 TRIMLINE CANOPY 10’ x 10’ Instructions for Assembly Video instructions are available on our website! Go to: flourishdisplays.com/instructions or scan this code with your QR Code Reader App for a direct link to our instructions and videos. Please, assemble the TrimLine at home the first time, not at a show. Before beginning assembly of your TrimLine, review the enclosed Parts List to familiarize yourself with the TrimLine, and to confirm that all parts are present.
-
Page 2: Frame Overview
Frame Overview Ridge Pole Ridge Support (Arrow must point DOWN) Riser Pole Corner Joint Rafter Base Purple Pole Tee Joint No-Color Pole Telescoping StaBar Pole Foot StaBar Ell StaBar 3-Way *Note: Frame shown with Joining Pole Sections: optional StaBar Kit installed. If Pole sections click together. - Page 3 Assembly of Roof Frame 1. Begin by clicking together the male and female purple coded sections to form two 10 ft poles. 2. Slide the Rafter Base Joints onto the purple coded poles, clicking onto the snap buttons located mid- way on each section.
- Page 4 Rafters 1. To assemble the rafters, slide each Rafter End onto a Rafter Base Stub, keeping the metal end up. 2. Slide two of the Rafter Center sections through the Ridge Support Joint at each gable end of the frame. 3.
- Page 5 Topper *Your canopy topper has been folded for shipment in a way that makes it easy to set up. Please read these directions before unfolding topper. 1. Beginning at one gable end of the roof frame, unroll top along the ridge pole, letting the ends hang down over either end.
- Page 6 Setting Up and Using the Telescoping Legs Initial Set Up 1. Begin by holding leg upright, with the row of holes towards the bottom of the leg. Line up the snap button at the very bottom with the row of holes, then start pulling the inner nested section of the leg out, just about 6”...
-
Page 7: Attaching The Legs
ATTACHING THE LEGS 1. Begin with the legs on the edge that you have determined to be the front of the canopy. *If you are using a StaBar Kit the front legs will have StaBar Ell Joints attached at the bottom. 2. - Page 8 Rear Legs and Optional StaBars 1. Lift back edge of roof frame and insert rear legs into the Corner Joints. *If you are working alone, the easiest way to do this is to insert the legs while they are in their “travel”...
- Page 9 Packing Up You may choose to break your canopy down to it's smallest component parts if packing space is tight, but for ease of set up at your next show you may prefer to leave the hardware connected to the poles.
- Page 10 Care and Feeding of your TrimLine Canopy * Vinyl is a tough and durable fabric. It resists mildew and dirt but should receive your care and attention to keep it in prime condition. DO NOT STORE WET. If you have had to break down wet, remove canopy top and walls as soon as possible and open to allow it to dry thoroughly.
Need help?
Do you have a question about the TRIMLINE CANOPY 10’ x 10’ and is the answer not in the manual?
Questions and answers