Advertisement
Quick Links
Advertisement

Related Manuals for Kew Labs UTS-1


Summary of Contents for Kew Labs UTS-1
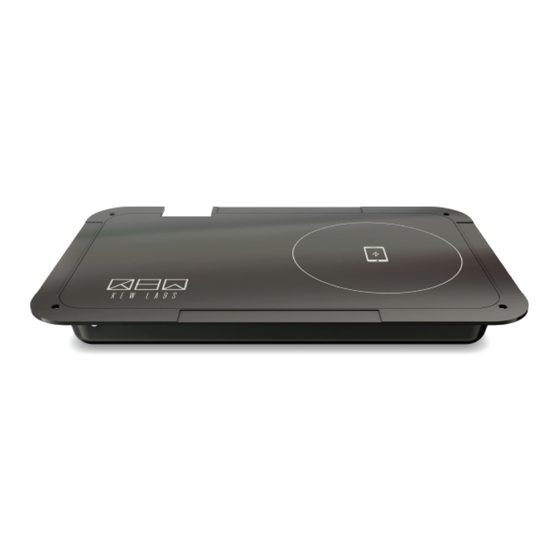
- Page 1 UTS-1 Invisible Fast Wireless Charger User Instructions Installation Guide...
- Page 2 2. Apple & Samsung phone calibration template 3. 9cm + 8cm stickers 4. Screws 5. Cable management clips 6. Power adaptor 7. Country plug adaptor 8. User instructions KEW LABS UTS-1 Invisible Fast Wireless Charger WIRELESS CHARGER User Instructions Installation guide...
-
Page 3: Check Before Installation
■ Prepare a pencil and screwdriver if needed ■ Check installation area is within 1.5m(4’ 11’’) of your power point Installation Video Guide To watch the installation guide, please scan the QR code below or visit www.kewlabstech.com/uts-1 install Installation video QR link... - Page 4 Stage 1 Use the desk sizing tool to measure your table’s compatibility. If you are not within the coloured area, you should not install the charger. please note the H(high) and L(low) setting indicator for later. Place your mobile phone where you want to charge it. Align the center of your phone to the icon in the charging area...
- Page 5 Choose between screw or tape installation. Tape or screw the charger into position making sure the charger still reaches the power point . (screws may be easier to remove) Use the cable clips to attach the power cable to your table. Plug the power cable into either port Use only one of the two ports.
- Page 6 Stage 2 Phone calibration - how to make sure your phone is positioned correctly and charging. Swich the toggle to “C” position Select a sticker template guide according to your phone size or personal preference. See suggested sizing below Small phone 8cm template Max or + model use 9cm template Apple/Samsung users...
- Page 7 Use the phone template handle to slowly move your device closer to the charging area and listen for the increasing speed of the audio beeps. - Please allow up to 1 second before Lorem ipsum moving your device to re-position. - As the audio beeps get faster, you are getting closer to the centred charging position.
- Page 8 1 beep = disabled audio confirmation buzzer 2 beeps = enabled audio confirmation buzzer Repeat again to disable or enable depending on preference. Kew Labs advises using the audio confirmation buzzer to start with to determine successful charging.
- Page 9 Place your phone face up aligning the center of your phone to the center of the sticker. The UTS-1 will make an audio confirmation beep confirming that charging has started. If you do not hear this beep, please realign your phone more centrally or lift it off and reattempt.
- Page 10 Trouble Shooting and FAQs For all other queries and questions please email support@kewlabstech.com or find us on our Facebook messaging page. Why is my phone not charging? ● Please ensure : ○ If you have a phone case, it is flat and does not contain any ■...
- Page 11 If your LED is flashing, please unplug and plug in the charger ○ again to reset. If it is still flashing, the UTS-1 might be damaged through using an incorrect adaptor usage or incompatible plug point. This can cause the overcurrent, over temperature or overvoltage protection to take over.
- Page 12 • Charges Through - All non-metalic surfaces wood , plastic , granite , quartz , marble glass • Product Dimensions - 182mm x 112mm x 20mm (7.17’ x 4.41’ x 0.79’) • Power cable length - 1.5m (4’11”) • FCCID : 2AWLH-UTS-1...
- Page 13 • LED Indication Status Power Off Off Power On System Fault Phone Protect Mode) (OTP,OCP,UVP,OVP, Blink • System Fault - Under Voltage Protect (UVP) - Over Voltage Protect (OVP) - Over Current Protect (OCP) - Over Temp Protect (OTP) - Phone Protect Mode : Action when the phone is positioned closer than the Charging distance (under 18mm) ※...
-
Page 14: Warranty
(2) improper operation or maintenance, usage not in accordance with product instructions or connection to improper voltage supply; (3) use of non Kew Labs consumables, such as replacement batteries, (4) lost parts that were originally supplied with by Kew Labs; (5) normal wear and tear. -
Page 15: Safety Instruction
Dispose of this equipment using a designated collection point for the recycling of electrical and electronic equipment. • Use only the adaptor provided with the UTS-1 product. • Use Only one adaptor. FCC Statements This device complies with Part 15 of the FCC Rules. - Page 16 This equipment should be installed and operated with minimum distance 20 cm between the radiator and your body. This transmitter must not be co-located or operating in conjunction with any other antenna or transmitter. FCCID : 2AWLH-UTS-1...
Need help?
Do you have a question about the UTS-1 and is the answer not in the manual?
Questions and answers