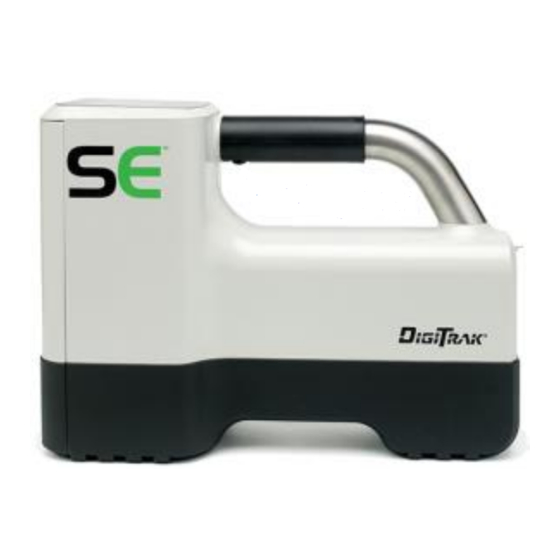
Advertisement
Quick Links
Power On Receiver
1. Install battery pack and hold
trigger for one second.
2. Click to acknowledge the
warning screen.
3. At startup screen, note region
number in globe icon.
4. Click trigger to view Locate
screen; click again to open Main menu.
Receiver Locate Screen
Locating ball
(FLP or RLP)
Receiver
Receiver Main Menu
Click to open the Main menu. Click between menu options,
hold briefly and release to select.
Box = selected
Height-Above-
Ground (HAG)
Power off
Calibration
© Nov 2015 Digital Control Incorporated
All rights reserved. 402-1007-22-A, Australia
Trigger
Roll indicator
Roll/pitch
update meter
Pitch
Signal strength
Tx temperature
Battery strength
Telemetry
Channel
Settings
Remote Steering
Programmed
reference depth
www.DigiTrak.com
1
Advertisement

Summary of Contents for DCI DigiTrak SE System
- Page 1 Power On Receiver 1. Install battery pack and hold trigger for one second. Trigger 2. Click to acknowledge the warning screen. 3. At startup screen, note region number in globe icon. 4. Click trigger to view Locate screen; click again to open Main menu. Receiver Locate Screen Roll indicator Locating ball...
-
Page 2: Calibration Menu
Power On the Transmitter Ensure region number in globe icon on transmitter matches that on the receiver startup screen. Install batteries in the SE 12 kHz transmitter. Calibration Menu Calibration is necessary prior to first-time use and before using a different transmitter, receiver, or drill head. -
Page 3: Settings Menu
Settings Menu Use this menu to set the depth units, pitch units, and roll offset as needed. Set the remote display to match receiver depth and pitch settings. Height-Above-Ground (HAG) Menu HAG is the distance from the bottom of the receiver to the ground while holding the receiver. - Page 4 FLP ™ Predicted Depth Screen (Ball-in-the-Box at FLP only) For detailed information, see the SE System Operator’s Manual, available at www.DigiTrak.com. If you have questions, contact your regional DCI office at 61.7.5531.4283 or U.S. Customer Service at 1.425.251.0559.
- Page 5 Basic Locating 1. Find FLP and RLP by centering the target ball in the box. 2. At FLP, hold trigger for predicted depth reading. 3. Find LL by centering the line in the box between FLP and RLP (see Locate screen on page 4). 4.
- Page 6 Display (SED™) 1. Install battery pack. Push 2. Connect antenna. button 3. Press the push button to power on; the display enters the Remote Mode locating screen. SED Remote Mode Locating Screen This screen shows the data the Tx is sending to the receiver. Use this screen during drilling.
Need help?
Do you have a question about the DigiTrak SE System and is the answer not in the manual?
Questions and answers