Advertisement
Quick Links
Advertisement

Summary of Contents for Hook Wizard
- Page 1 _______________ Amplification Wizard preliminary manual...
-
Page 2: Important Safety Instructions
Whilst the information contained herein is current at the time of publication, due to our policy of constant improvement and development, HOOK Amplification reserves the right to alter specifications without prior notice. Important Safety Instructions CAUTION RISK OF ELECTRIC SHOCK DO NOT OPEN WARNING : TO REDUCE THE RISK OF ELECTRIC SHOCK, DO NOT REMOVE COVER (OR BACK). - Page 3 Read these instructions. • Keep these instructions. • Heed all warnings. • Follow all instructions. • Do not use this apparatus near water. • Clean only with dry cloth. • Do not block any ventilation openings. Install in accordance with the manufacturer’s instructions. •...
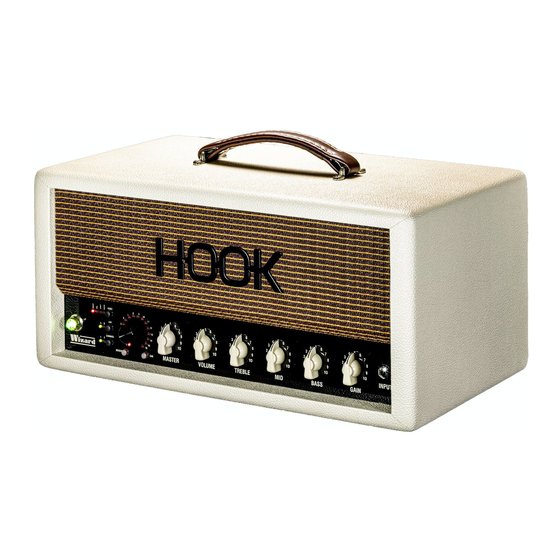
- Page 4 Frontpannel Programable Controls: • Gain • Bass • • Treble • Volume The master knob is not programmable, to have the flexibility to adept to different live situations Channel Switch between channel 1 and 2 by pressing the channel button Eq / voicing Channel 1: •...
- Page 5 Press Cab button to go into cab menu. Select 1 of the 16 cabs. Press encoder short to save for current preset. Press Cab button again to exit. If USB is connected to the wizard and the editor is running, the cab knob is not functional.
- Page 6 Dial in your favorite setting to match your cab. Power and Standby Switch the Wizard “on” and wait 45 seconds to heat up the tubes, then swtich the standy to “on” Fuses !!ALWAYS REPLACE THE FUSE BY VALUE THAT IS WRITEN BELOW THE...
- Page 7 Make to settings with the same channel and voicings (gain, bass, mid, treble, volume, reverb) Connect an expression pedal to your midi foot controller, Select midi channel, which was selected for the Wizard, CC1 (control change command) Heel down corresponds with preset 1A and toe down with preset 1B.
- Page 8 Frequency response chart of the IR’s in box 1 (you can also switch to time graph) Select a slot you want to write your new IR to, press “ad as current” The IR you select will fill the first empty slot of your Wizard amp if you press “add as new”...
- Page 9 Slot 16 has a passthru IR. This means that if you select this slot , there is no speaker simulation and you could use another device like your DAW to use a plugin (that does a simulation) Impulse Response Speaker Simulator specs •...
Need help?
Do you have a question about the Wizard and is the answer not in the manual?
Questions and answers