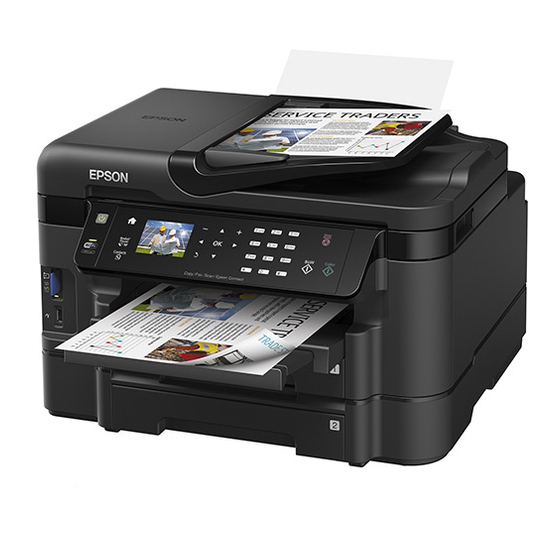
Epson WF-3520 User Manual
Removing and installing ink cartridges
Hide thumbs
Also See for WF-3520:
- Quick manual (45 pages) ,
- Guía de instalación (4 pages) ,
- Start here (4 pages)
Table of Contents
Advertisement
Quick Links
Removing and Installing Ink Cartridges
Make sure you have your replacement cartridges handy before you begin. You must install new
cartridges immediately after removing the old ones.
Caution: Leave your old cartridges in the printer until you are ready to replace them to prevent the print
head nozzles from drying out. Do not open ink cartridge packages until you are ready to install the ink.
Cartridges are vacuum packed to maintain reliability.
1. Turn on your product
• If an ink cartridge is expended, you see a message on the LCD screen. Note which cartridges
need to be replaced, then press OK and follow the instructions on the screen.
• If you are replacing a cartridge before you see a message on the LCD screen, press the
button, select Setup, select Maintenance, then select Ink Cartridge Replacement.
2. Lift up the scanner unit.
230
home
Advertisement
Table of Contents

Related Manuals for Epson WF-3520


Summary of Contents for Epson WF-3520
- Page 1 Removing and Installing Ink Cartridges Make sure you have your replacement cartridges handy before you begin. You must install new cartridges immediately after removing the old ones. Caution: Leave your old cartridges in the printer until you are ready to replace them to prevent the print head nozzles from drying out.
- Page 2 3. Open the cartridge cover. Note: Dispose of used cartridges carefully. Do not take the used cartridge apart or try to refill it. Warning: If ink gets on your skin, wash it thoroughly with soap and water. If ink gets into your eyes, flush them immediately with water.
- Page 3 5. Gently shake the new cartridge four or five times as shown. Then remove the cartridge from the package. Caution: Do not remove any labels or seals, or ink will leak. Do not touch the green chip on the cartridge. Install the new cartridge immediately after removing the old one; if you do not, the print head may dry out and be unable to print.
- Page 4 7. Insert the new cartridge into the holder and push it down until it clicks into place. 8. Close the cartridge cover and push it down until it clicks into place. 9. Lower the scanner unit to begin ink priming. Caution: If you see a message that an ink cartridge is installed incorrectly, lift up the scanner unit, open the cartridge cover, and press the ink cartridge down until it clicks into place.
Need help?
Do you have a question about the WF-3520 and is the answer not in the manual?
Questions and answers
why does this printer not scan the documents