Table of Contents
Advertisement
Quick Links
WIRELESS 868 MHz TEMPERATURE STATION
Instruction Manual
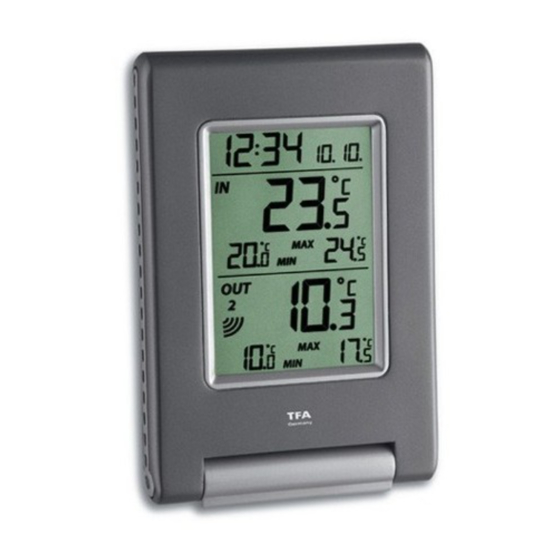
INTRODUCTION:
Congratulations on purchasing this compact 868MHz Temperature Station which displays
radio controlled time, date, indoor and outdoor temperature. In addition, the daily minimum
and maximum indoor and outdoor temperature are shown in the normal display. With only
two keys, this product is ideal for use in the home or office.
39
Advertisement
Table of Contents


Need help?
Do you have a question about the EASY GO and is the answer not in the manual?
Questions and answers