Table of Contents
Advertisement
Available languages
Available languages
Quick Links
Advertisement
Table of Contents

Related Manuals for oneConcept 10029729


Summary of Contents for oneConcept 10029729
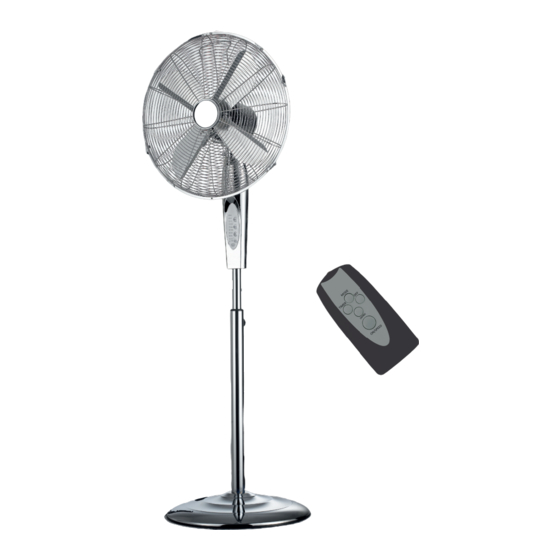
- Page 1 Standventilator 10029729...
- Page 2 Sehr geehrter Kunde, wir gratulieren Ihnen zum Erwerb Ihres Klarstein Gerätes. Lesen Sie die folgenden Anschluss- und Anwendungshinweise sorgfältig durch und befolgen Sie diese, um möglichen technischen Schäden vorzubeugen. Für Schäden, die durch Missachtung der Sicherheitshinweise und unsachgemäßen Ge- brauch entstehen, übernehmen wir keine Haftung. Sicherheitshinweise LESEN SIE SICH ALLE ANWEISUNGEN VOR DER VERWENDUNG DURCH! •...
- Page 3 • Stecken Sie das Standrohr (19) in die Basisplatte (20) und kontern Sie es an der Unterseite mit dem Gewicht (21). Verschrauben Sie mit der Hakenfömigen Sicherheitsschraube (24) und der Unterleg- scheibe (22) • Lösen Sie die Höheneinstellungsschraube (18), ziehen Sie das innere Rohr so weit wie gewünscht aus und fixieren Sie es, indem Sie die Schraube wieder anziehen.
-
Page 4: Technische Daten
Nutzungshinweise • Verbinden Sie den Stecker mit einer Netzsteckdose. • Nutzen Sie die ON/SPEED-Taste am Bedienteil (15), um eine der drei zur Verfügung stehenden Geschwindigkeitsstufen „Low“, „Medium“ und „High“ zu wählen oder den Ventilator wieder auszu- schalten. • Drücken Sie „Swing“ für die automatische Schwenkbewegung. •... -
Page 5: Important Safety Instructions
Dear Customer, Congratulations on purchasing this product. Please read and follow these instructions, in order to avoid damaging the item. We do not cover any damages that may arise from improper use of the item or the disregard of the safety instructions. Important Safety Instructions READ ALL INSTRUCTIONS BEFORE USING WARNING: Keep in mind to reduce the risk of fire, electrical shock, or injury to person:... - Page 6 • Insert the stand pipe (19) into the base (20) and put the balancing weight under the base and fix it tightly by turning clockwise the „J“ shaped fixing screw. • To adjust height, loosen the height adjustment screw (18). Slide the inner pipe (17) to the desired height, and then tighten again •...
-
Page 7: Operation
Operation • Connect the plug into an electrical socket and switch on at the wall. • You can control your stand fan either with the Remote Controller or with Control Buttons on the control panel. • Press the “ON/SPEED” button. At fi rst start-up the fan will operate at low speed. •... -
Page 8: Consignes De Sécurité
Chère cliente, cher client, Toutes nos félicitations pour l’acquisition de ce nouvel appareil. Veuillez lire attentivement les inst- ructions suivantes de branchement et d’utilisation afin d’éviter d’éventuels dommages. Le fabricant ne saurait être tenu pour responsable des dommages dus au non-respect des consignes de sécurité et à... - Page 9 • Insérez le tube vertical (19) dans la plaque de base (20) et contrez-le avec le poids sur la face inférieure (21). Visser avec la vis de sécurité en forme de crochet (24) et la rondelle (22). • Desserrez la vis de réglage de la hauteur (18), tirez le tube intérieur aussi loin que vous le souhai- tez et fixez-le en resserrant la vis.
-
Page 10: Conseils D'utilisation
Conseils d‘utilisation • Branchez la fi che dans une prise. • Utilisez la touche ON/SPEED sur le panneau de contrôle (15), pour choisir l‘une des trois vitesses disponibles „Low“, „Medium“ et „High“, ou pour éteindre le ventilateur. • Appuyez sur „Swing“ pour démarrer l‘oscillation automatique. •...
Need help?
Do you have a question about the 10029729 and is the answer not in the manual?
Questions and answers