Table of Contents
Advertisement
Quick Links
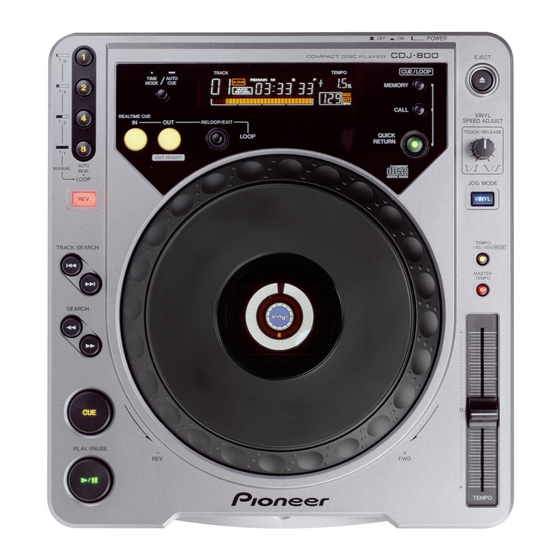
Pioneer CDJ800Mk1 optical pickup fitting instructions
By Professional Repair Services Ltd © 2011 v1.1
Before handling any connectors or the optical assembly, take anti-static precautions such as wearing
a grounded antistatic strap, or discharging yourself by touching a nearby grounded point.
Remember moving can build up the static charge again!
Do these instructions at your own risk. Be sure that you are capable of doing so - if in doubt get
someone who can to fit it. You can send the deck to me for repair if you have problems. Please see
my website www.prscardiff.co.uk.
1. Turn machine upside down.
Illustration 1: Underside of CDJ800Mk1
2. Remove three fixing screws from access cover shown in Illustration 1 and remove it.
Advertisement
Table of Contents

Summary of Contents for Pioneer CDJ800Mk1
- Page 1 Pioneer CDJ800Mk1 optical pickup fitting instructions By Professional Repair Services Ltd © 2011 v1.1 Before handling any connectors or the optical assembly, take anti-static precautions such as wearing a grounded antistatic strap, or discharging yourself by touching a nearby grounded point.
- Page 2 Illustration 2: The CD mechanism underneath the access cover 3. Remove the four cd mechanism fixing screws and the small ground strap fixing screw with green wire attached, shown in Illustration 2. Be careful and use a magnetised screwdriver so you don't lose any screws inside the unit.
- Page 3 Illustration 3: The CD mechanism 6. Remove two fixing screws holding metal bar the CD mechanism frame., shown in Illustration 3. 7. Extract the bar completely from the optical pickup. 8. Move optical pickup down as far as it will go and it will fall through the gap cut in the bottom of the metal frame.
- Page 4 Illustration 4: Antistatic solder bridge 9. Inspect new optical pickup for removal of antistatic bridge . I remove this before sending the replacement pickup so that soldering is not required. If it is still present, wipe the nib of a soldering iron across it to remove.
- Page 5 Illustration 5: Fitting the new part 10. To fit the new pickup, fit the optical pickup rack next to the gearwheel, then carefully fit the right hand side of the assembly into position, making sure the plastic tabs are as shown in Illustration 5.


Need help?
Do you have a question about the CDJ800Mk1 and is the answer not in the manual?
Questions and answers