Advertisement
Table of Contents
Quick Installation Guide
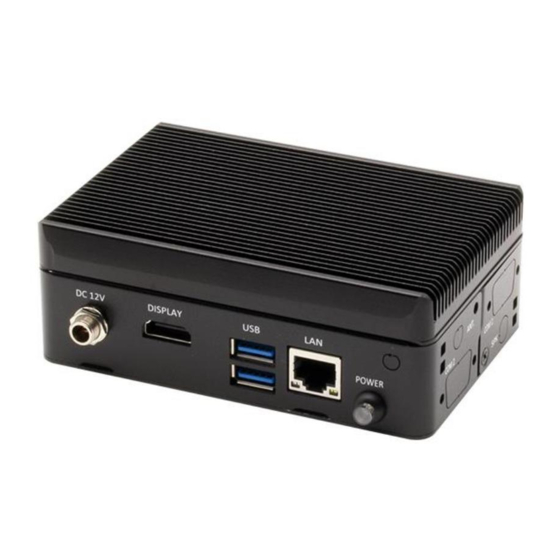
PICO-APL3-SEMI
This document will guide you through
the basic installation process for your
new PICO-APL3-SEMI.
PICO-APL3-SEMI
Parts
1
Item
1
PICO-APL3 board
2
Top Chassis
3
Bottom Chassis
4
Heatsink
5
Accessory kits
Power Button Cable x1
Screw.M3. Black x8pcs
Screw.M3 Nickel x4pcs
2
Description
3
4
Remark/PN
MB
M1APL30010
M1APL30020
M16SEMI020
1709080102
S1D3004031
S1D5106010
5
Advertisement
Table of Contents

Summary of Contents for Asus AAEON PICO-APL3-SEMI
- Page 1 Quick Installation Guide PICO-APL3-SEMI This document will guide you through the basic installation process for your new PICO-APL3-SEMI. PICO-APL3-SEMI Item Description Remark/PN PICO-APL3 board Top Chassis M1APL30010 Bottom Chassis M1APL30020 Heatsink M16SEMI020 Accessory kits Power Button Cable x1 1709080102 Screw.M3. Black x8pcs S1D3004031 Screw.M3 Nickel x4pcs S1D5106010...
- Page 2 Install Guide Steps PICO-KBU4-SEMI Quick Installation Guide Step 1: On the heatsink, remove the three plastic coverings as shown. Step 2: Place the top chassis onto the heatsink. Note the orientation of the chassis with the heatsink. Secure with four black screws. Step 3: On the PICO-APL3 board, remove the nut and washer from the power input port.
- Page 3 Step 7: Peel the backing off of the tape on the CMOS battery. Gently press the battery onto the PICO- APL3 board to secure it. Step 8: Attach the bottom chassis by first lining up the right side, then swivel the chassis into place. NOTE: the bottom chassis does not slide directly on, it must swivel into place as shown in the figure.


Need help?
Do you have a question about the AAEON PICO-APL3-SEMI and is the answer not in the manual?
Questions and answers