Table of Contents
Advertisement
Quick Links
Advertisement
Table of Contents

Subscribe to Our Youtube Channel
Related Manuals for L.L.Bean ADIRONDACK GLIDER


Summary of Contents for L.L.Bean ADIRONDACK GLIDER
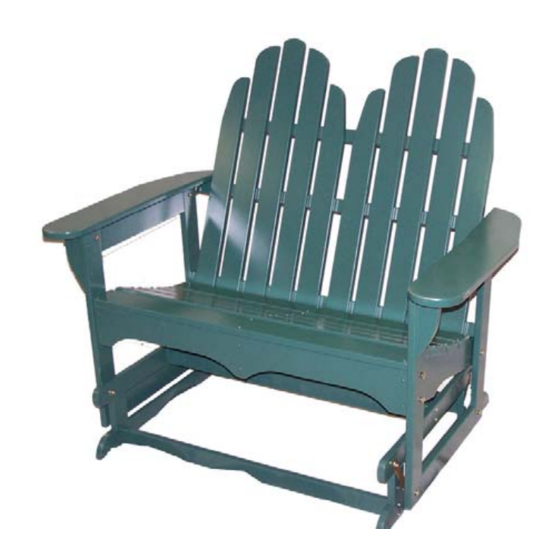
- Page 1 ADIRONDACK GLIDER Thank you for purchasing this L.L. Bean Home Adirondack Glider. Assembly of this product requires a 7/16” wrench or an adjustable wrench and a Phillips screwdriver. We have found it helpful to have a second person assist with assembly.
- Page 2 STEP 1 Read through these instructions thoroughly before beginning assembly. We have found this to be of great value when first assembling this product. STEP 2 Remove all parts and hardware from packing material. Wooden pieces should be placed on a non-abrasive surface (like the carton or carpet) to prevent damage to the finish.
- Page 3 STEP 7 Assemble the sides by attaching the arm (E) to the side frame (D) using 2” joint connectors inserted from the inward side through the predrilled holes in the side frame (D) then adding a washer and then continuing through the predrilled holes in the mounting cleat of each arm (E) securing with a washer and locknut on the outside of the arm.
- Page 4 STEP 11 Insert nylon sleeves into the two predrilled holes at the bottom of each side frame (D). STEP 12 Insert 1 ½” machine screws through the outside side assembly through the nylon sleeves then through the hole in the lower end of each swing bracket attached to the base assembly and secure with a washer and locknut.
Need help?
Do you have a question about the ADIRONDACK GLIDER and is the answer not in the manual?
Questions and answers